
Invoice settings
In this guide, we will explore the Invoice Settings of the Bolt EV Platform.

Kostas Gardikiotis
Last Update hace 2 años
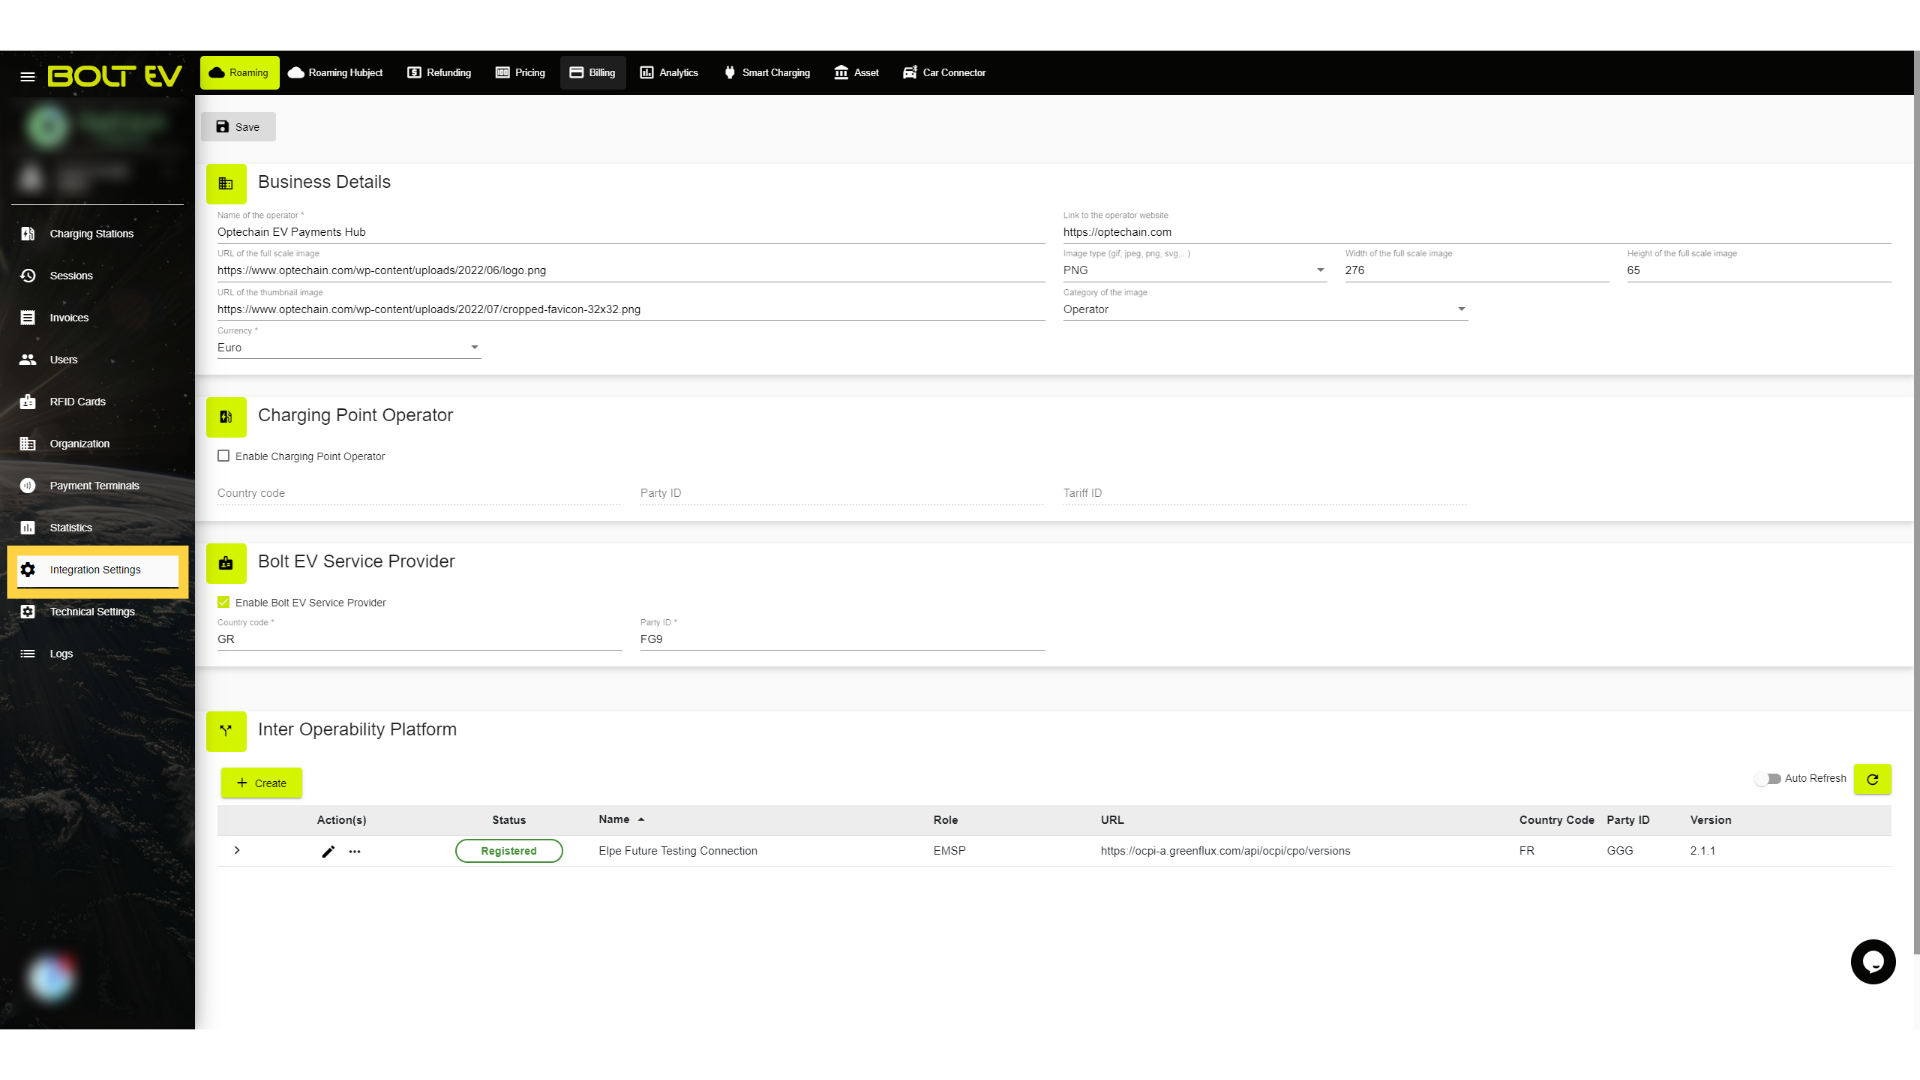
1. Integration Settings
Navigate and click Integration Settings from the main menu on the left side of the page.
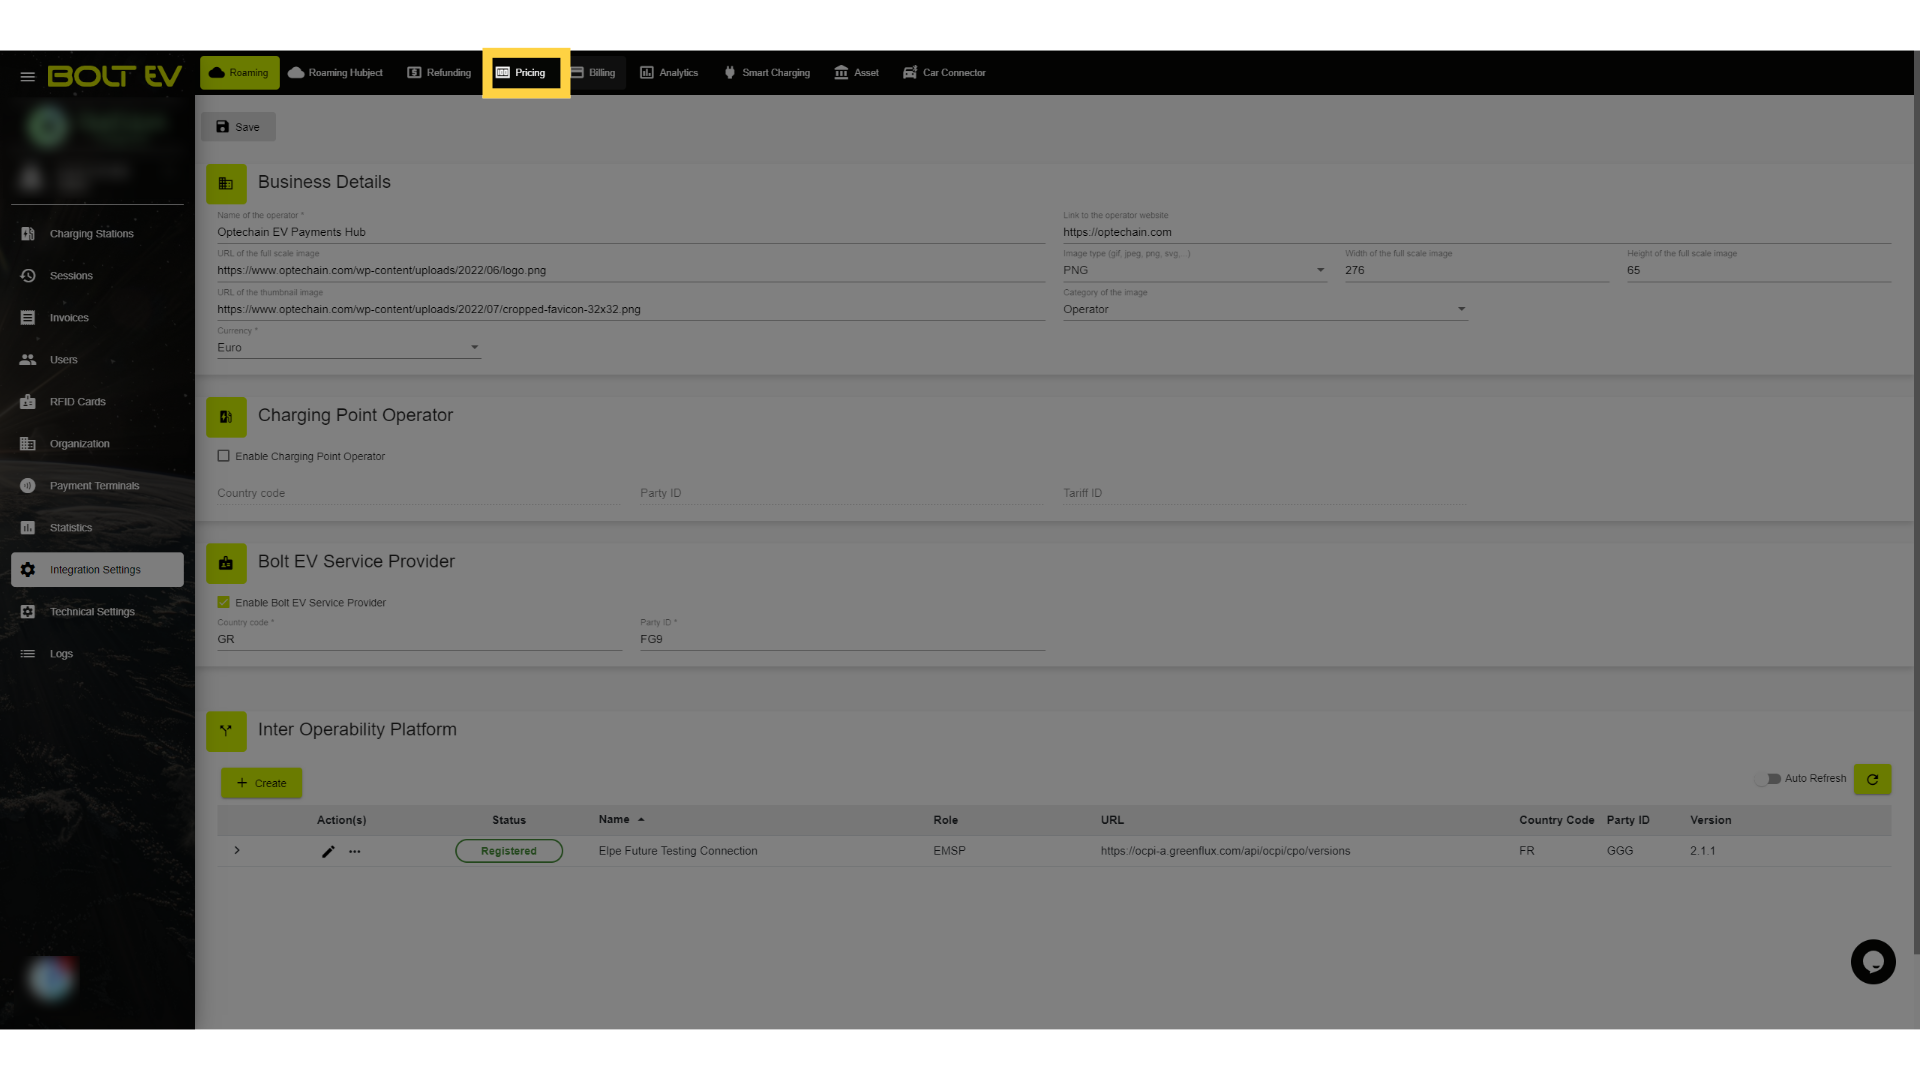
2. Pricing
After that, from the options on the top side of the page, we select Pricing.
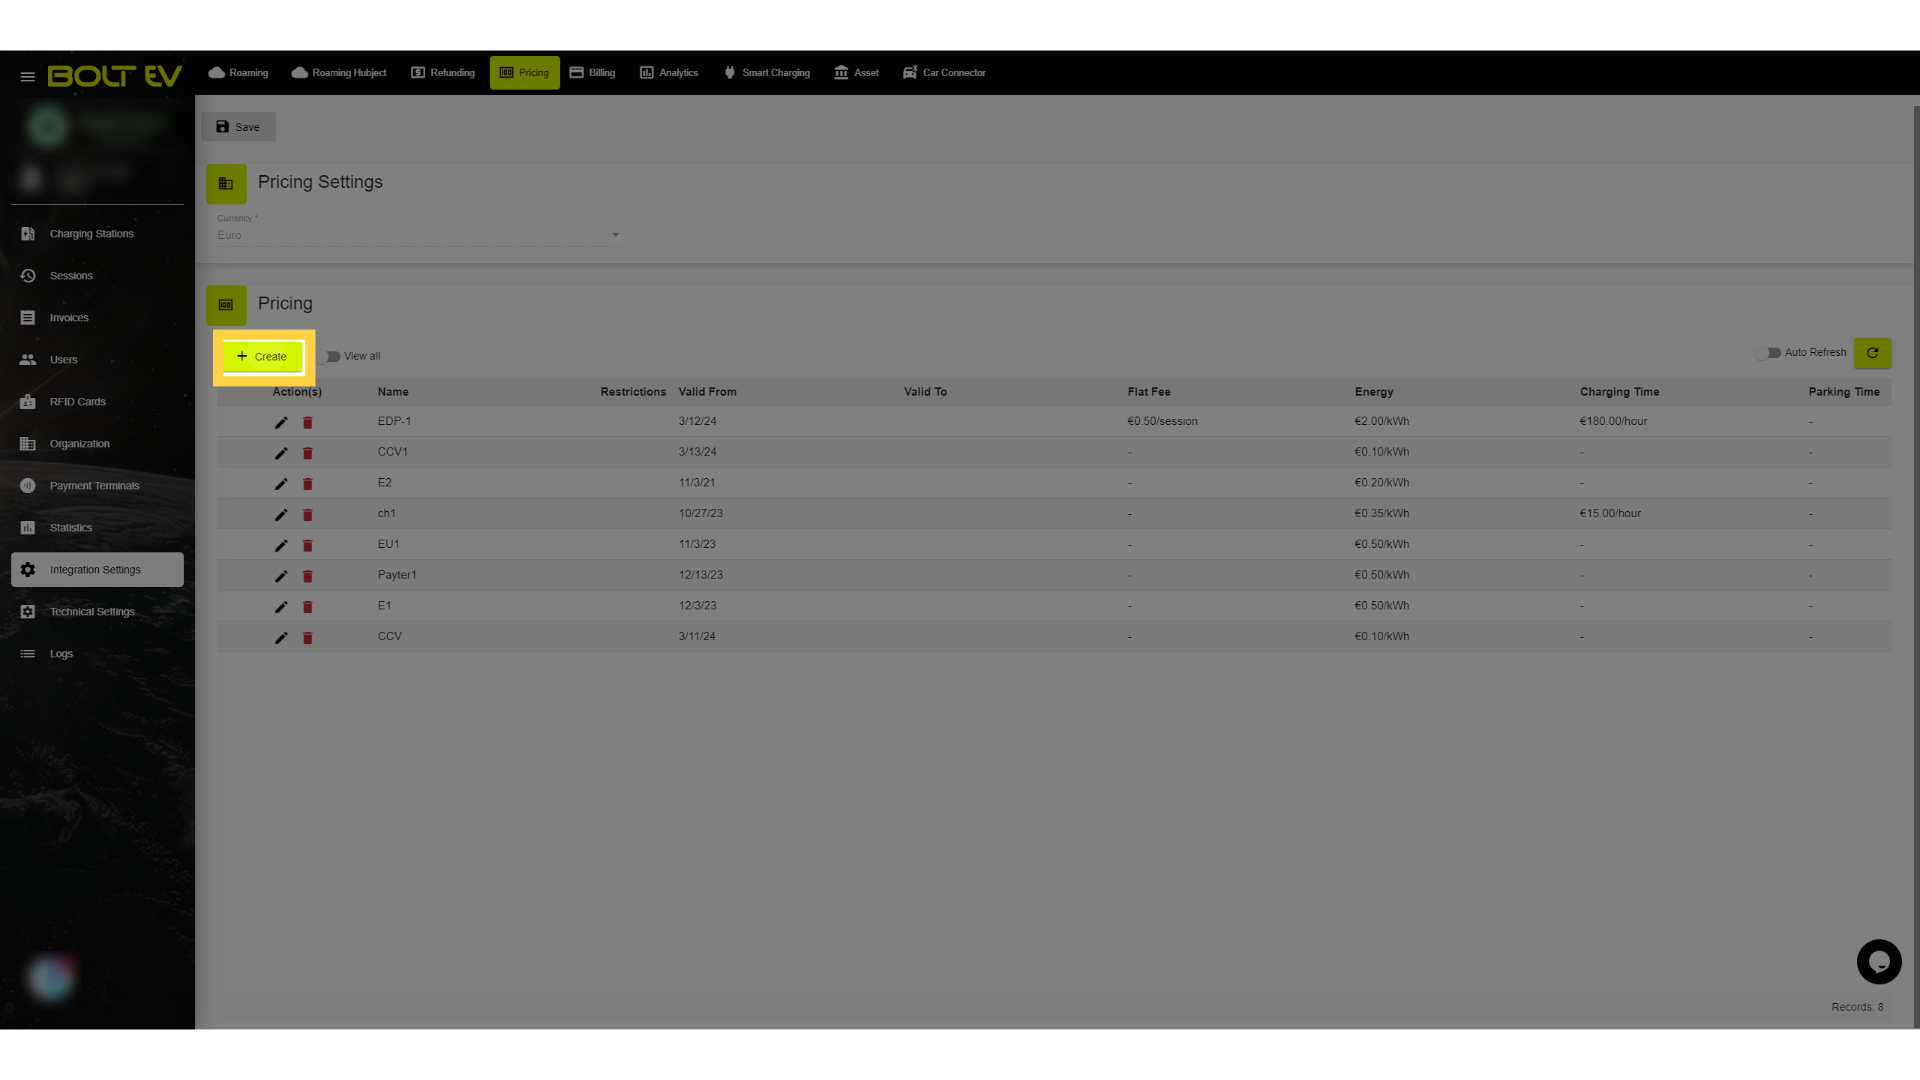
3. Create
Then we select and click on the Create option.
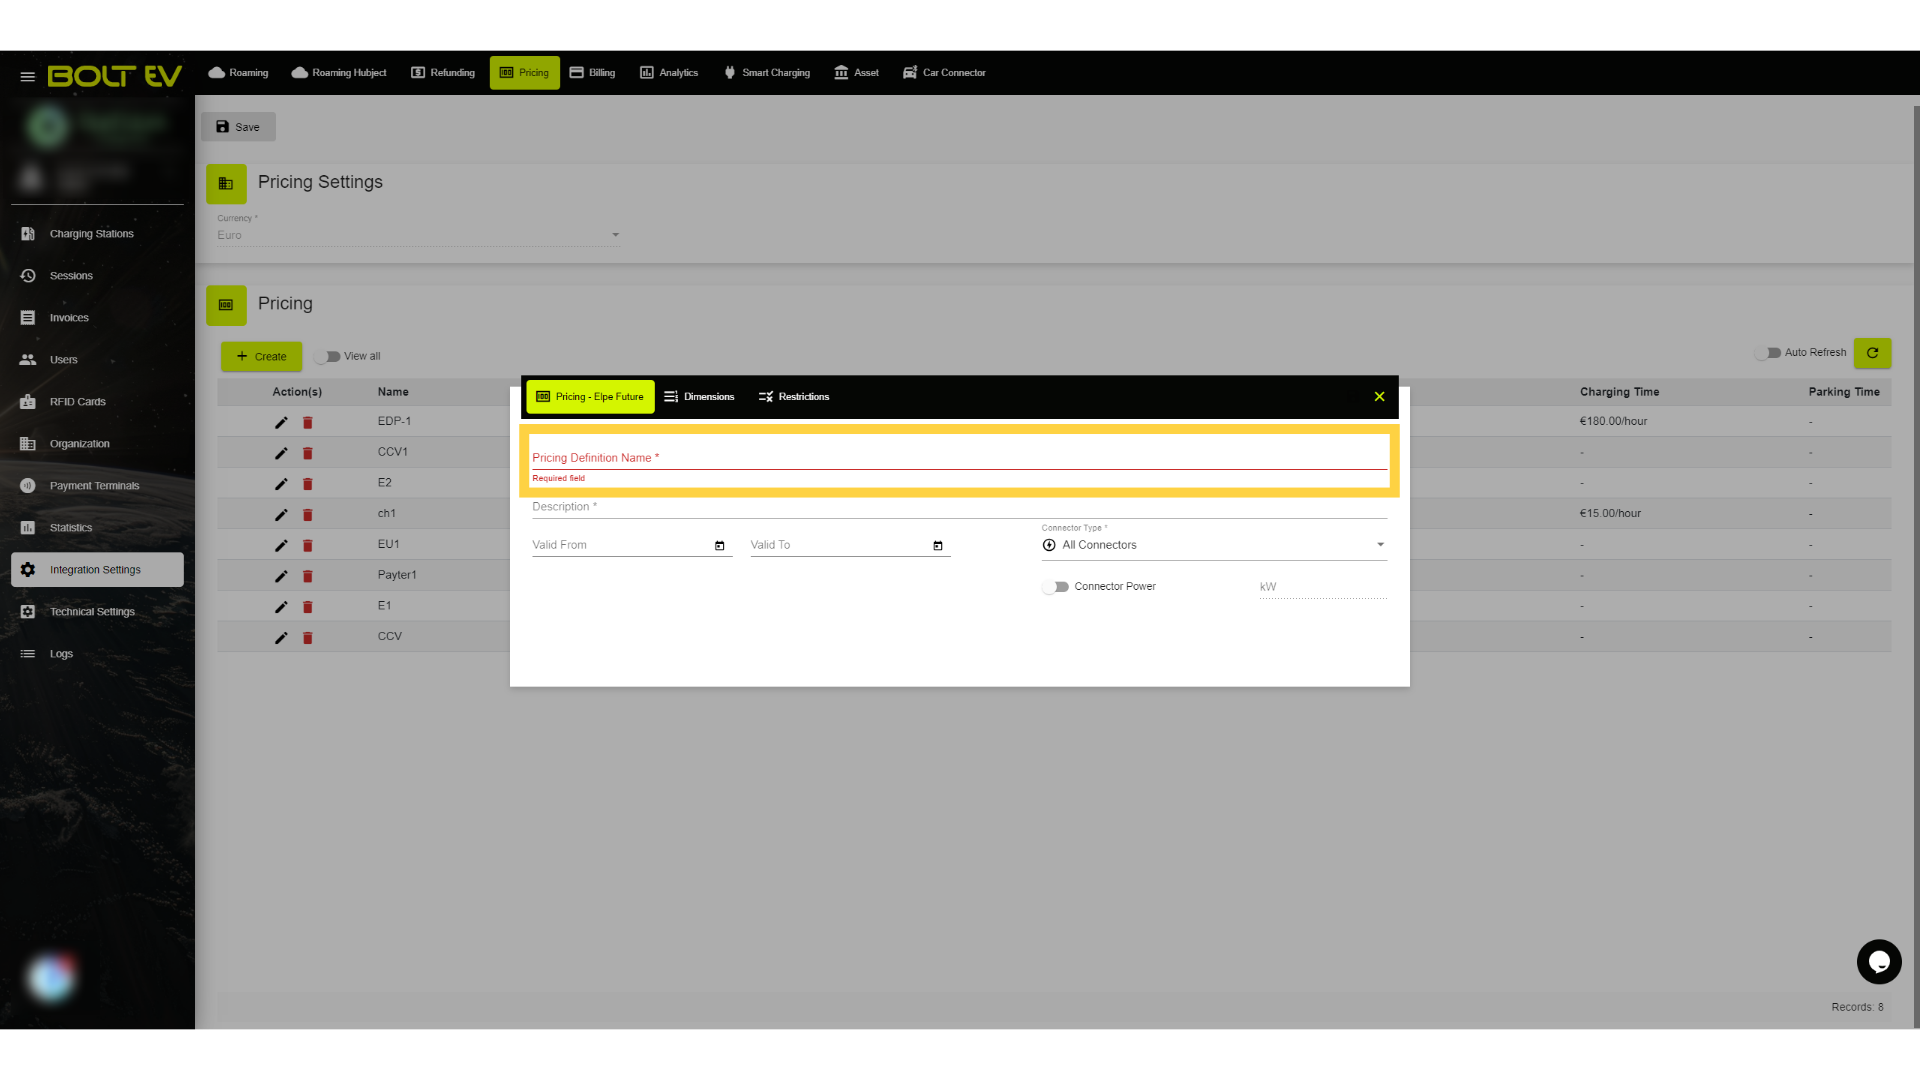
4. Pricing definition name
In the pop up window, we select the Pricing Definition Name and we enter the name of the options we want to create.
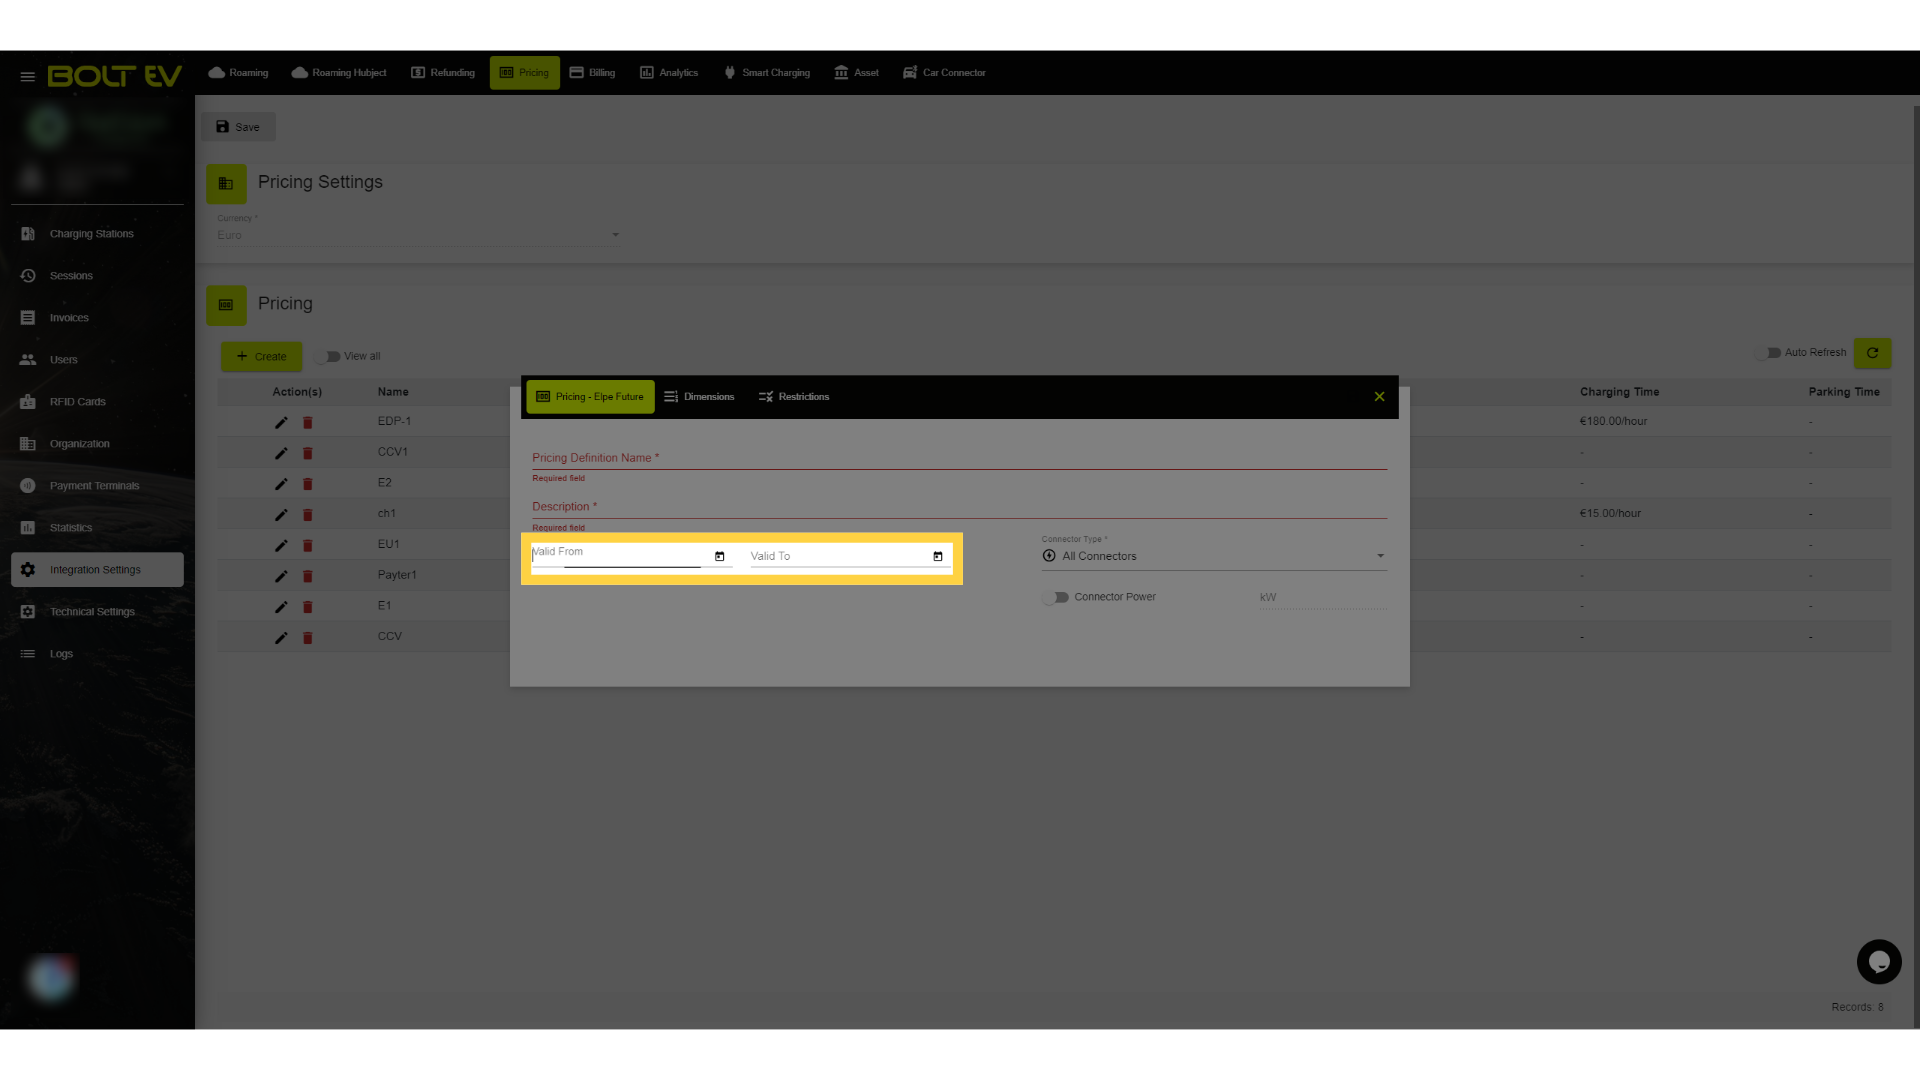
5. Valid From-To
Then, we select the time that the pricing definitions will be valid.
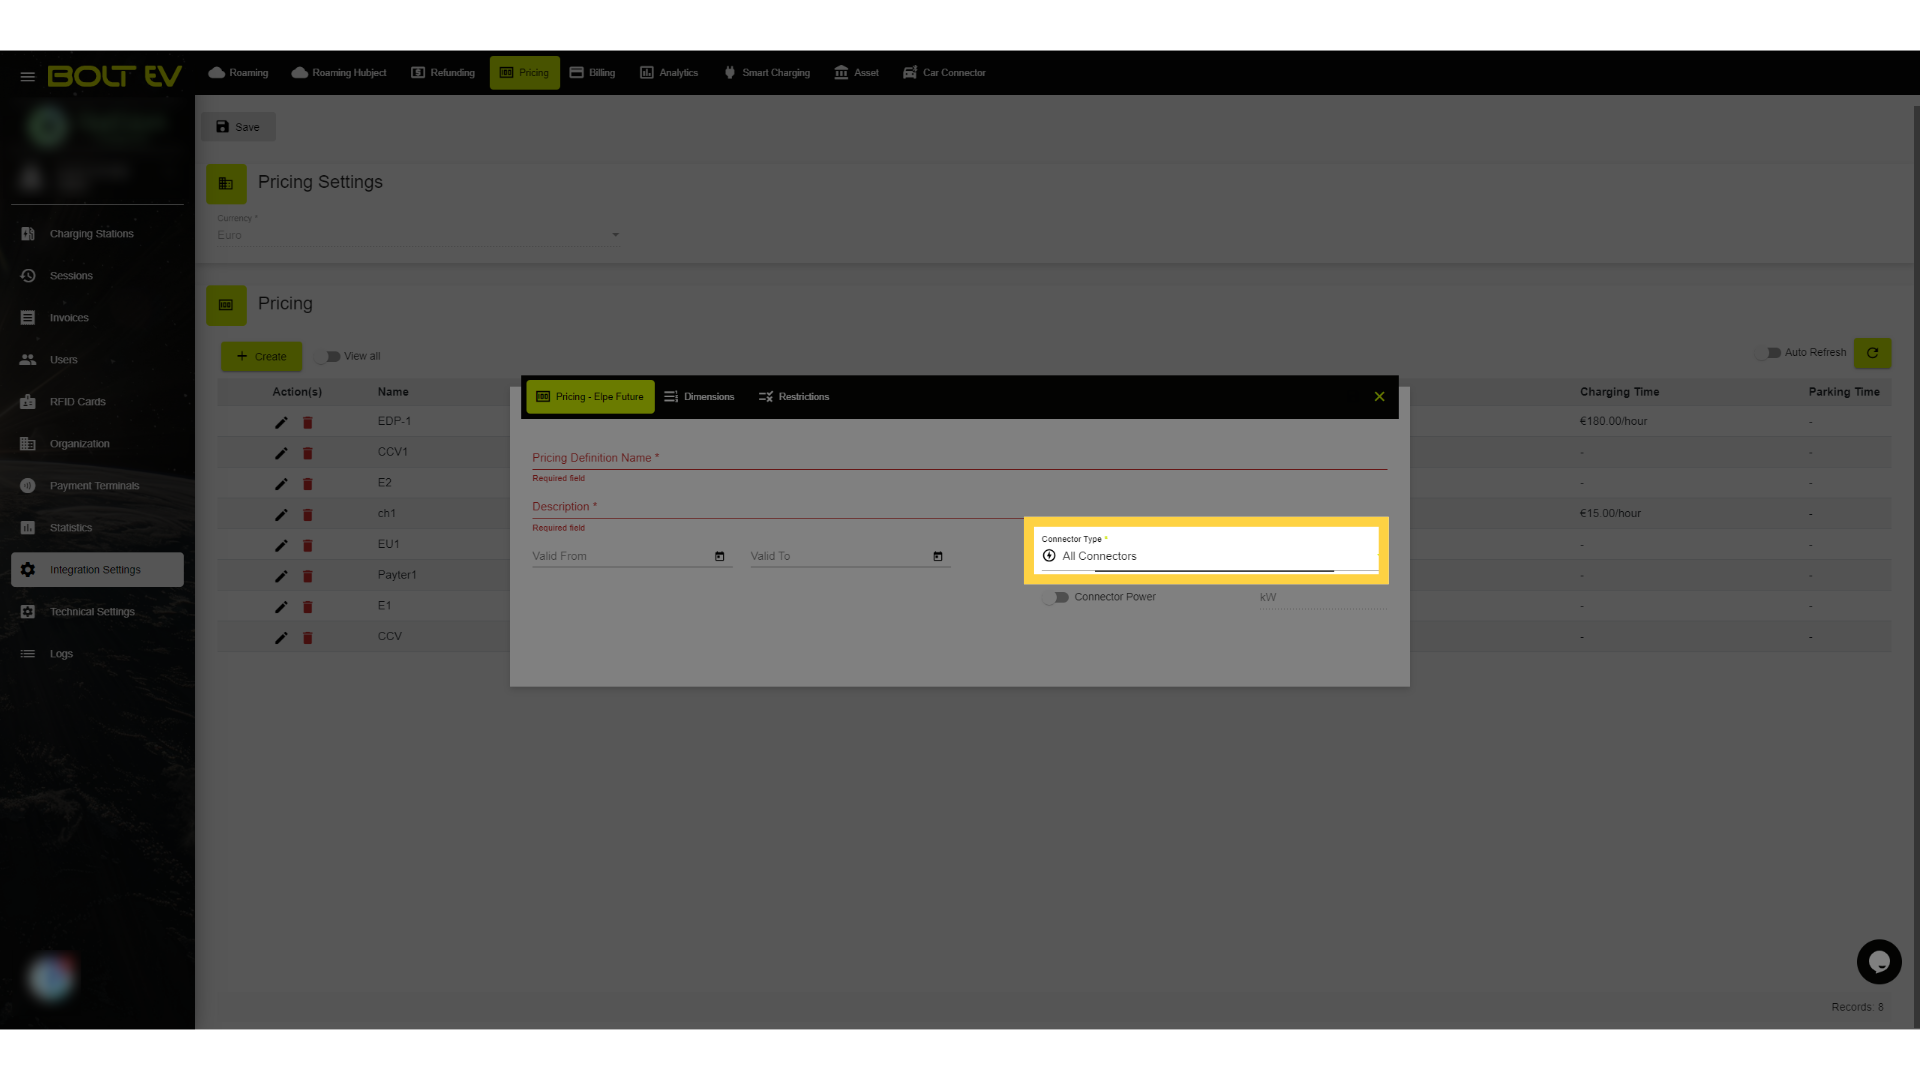
6. Connector Type
Afterwards, we select the Connector Type.
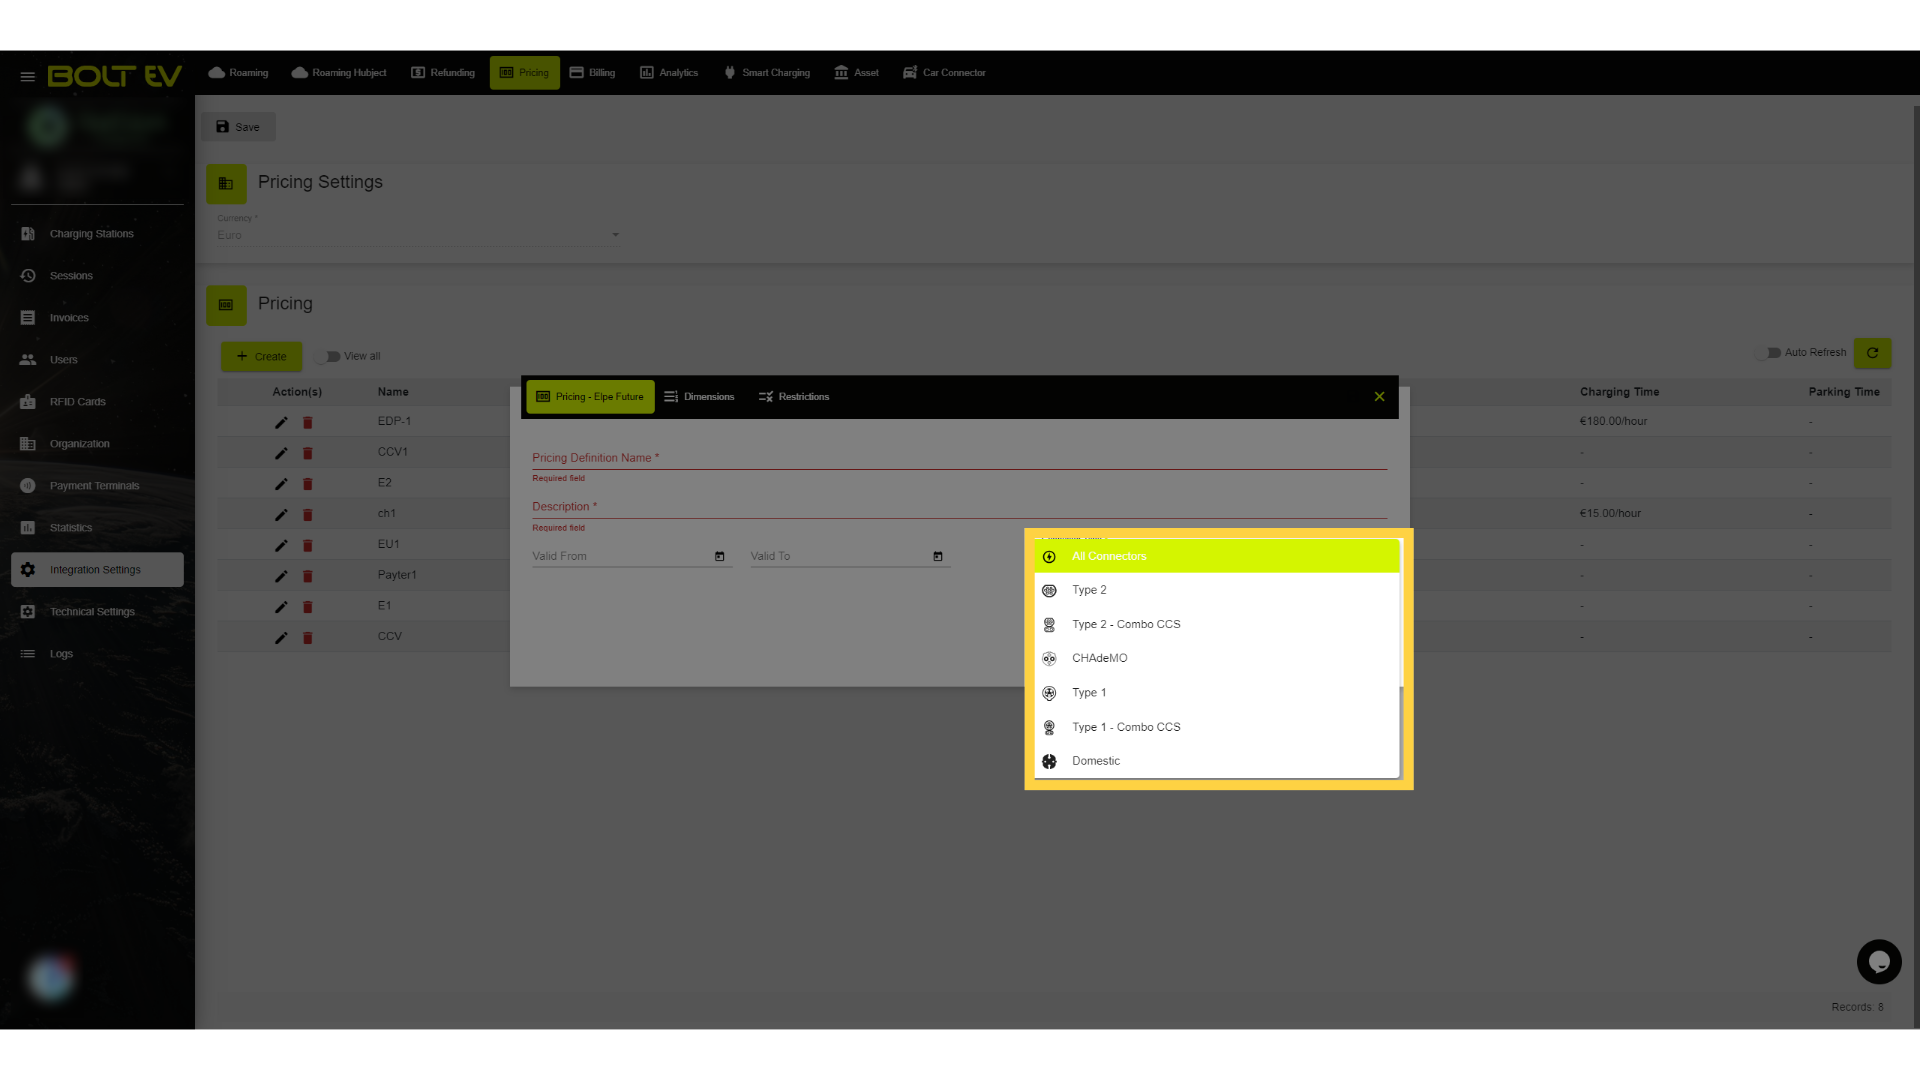
7. Select connector type
We then select the drop-down option the connector type that the pricing will take place on.
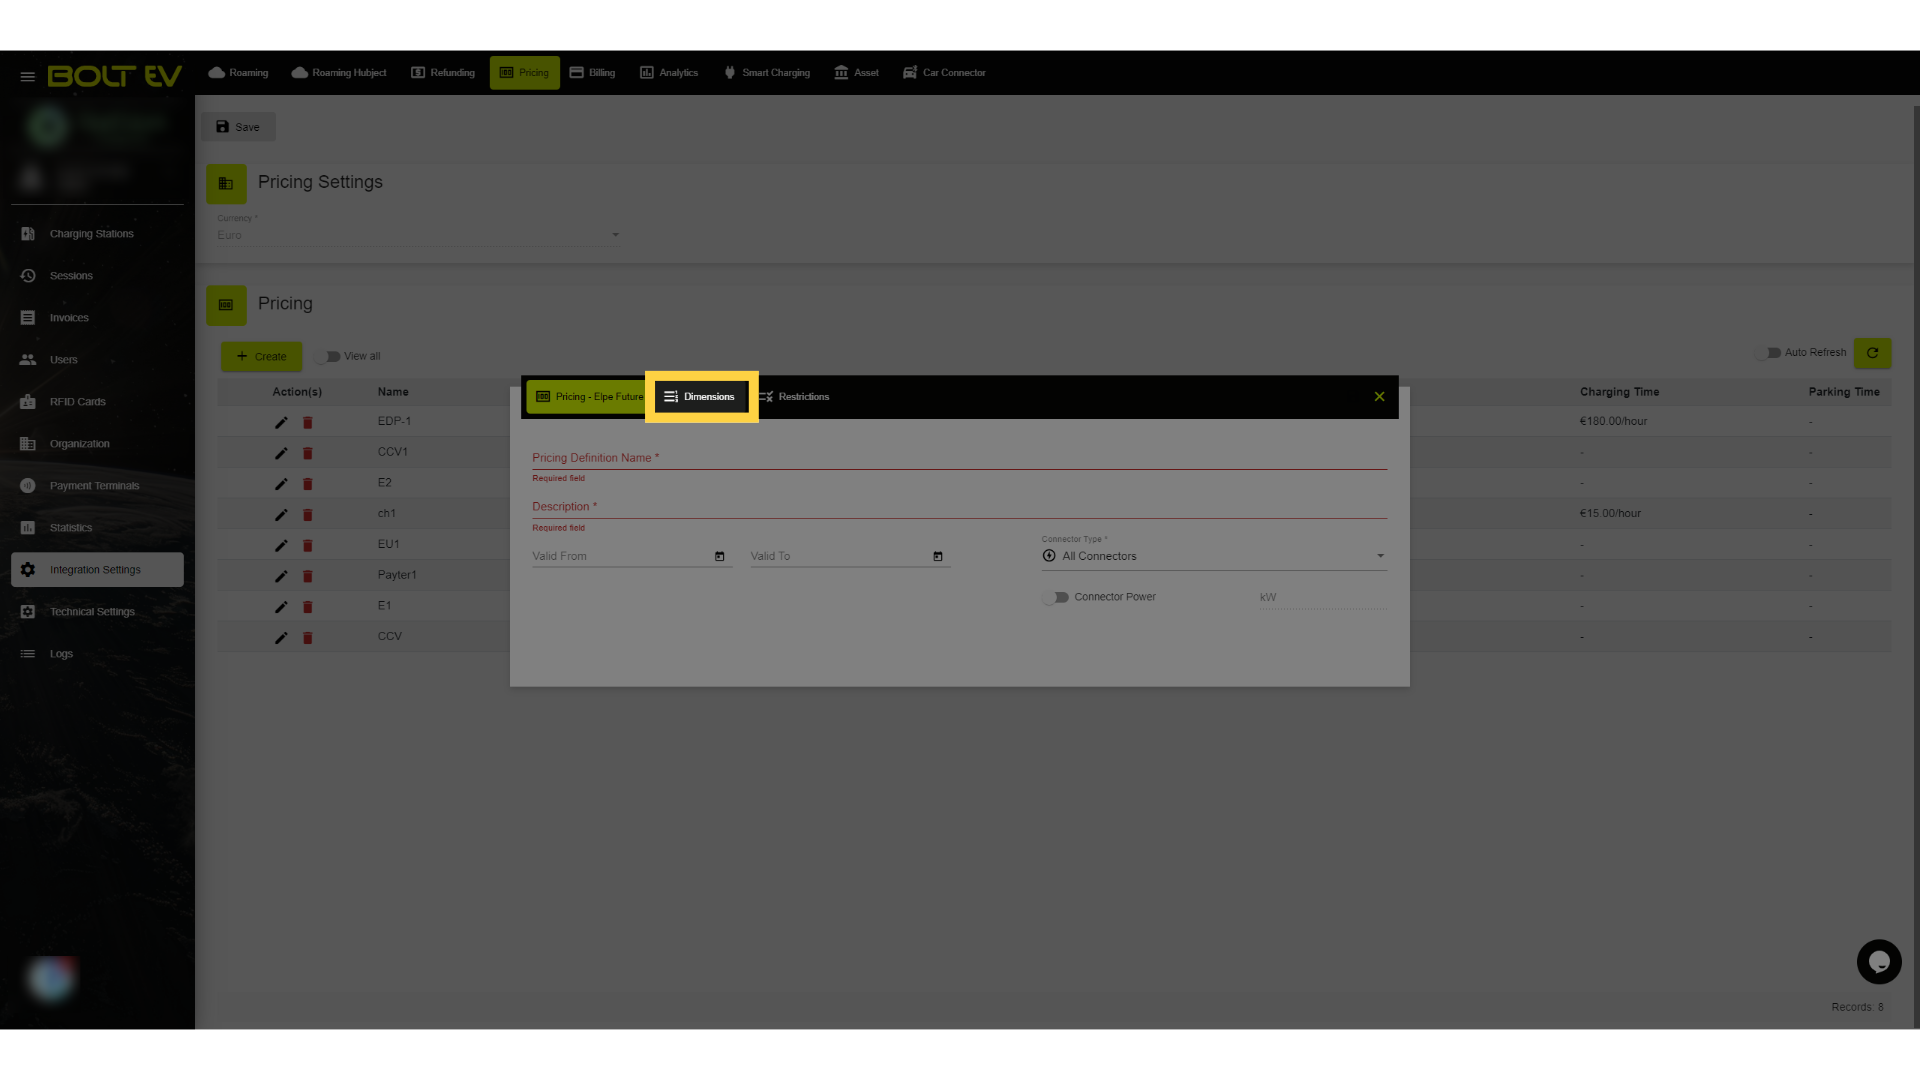
8. Dimensions
For the next step, we select and click on the DImensions option.
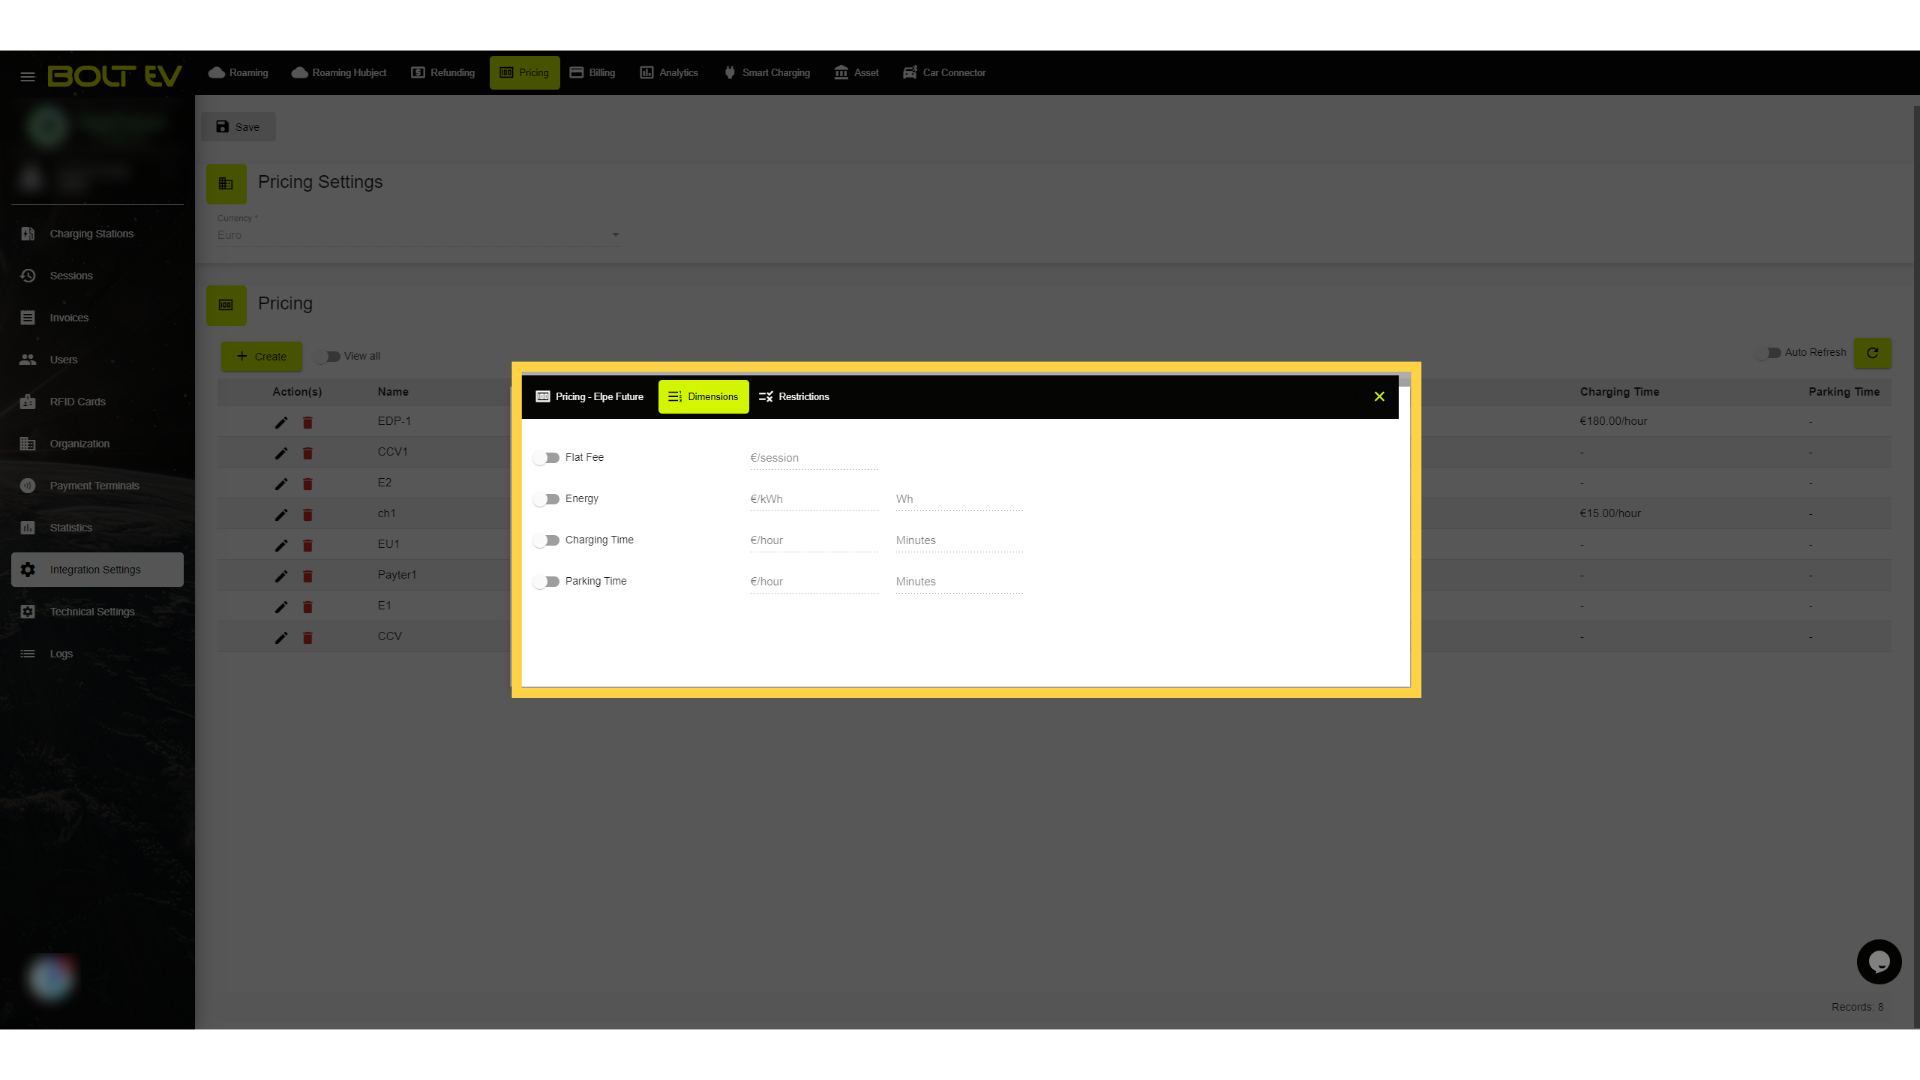
9. Dimensions settings
On this field, we can see the parameters that we can set during the Pricing Definition creation process.
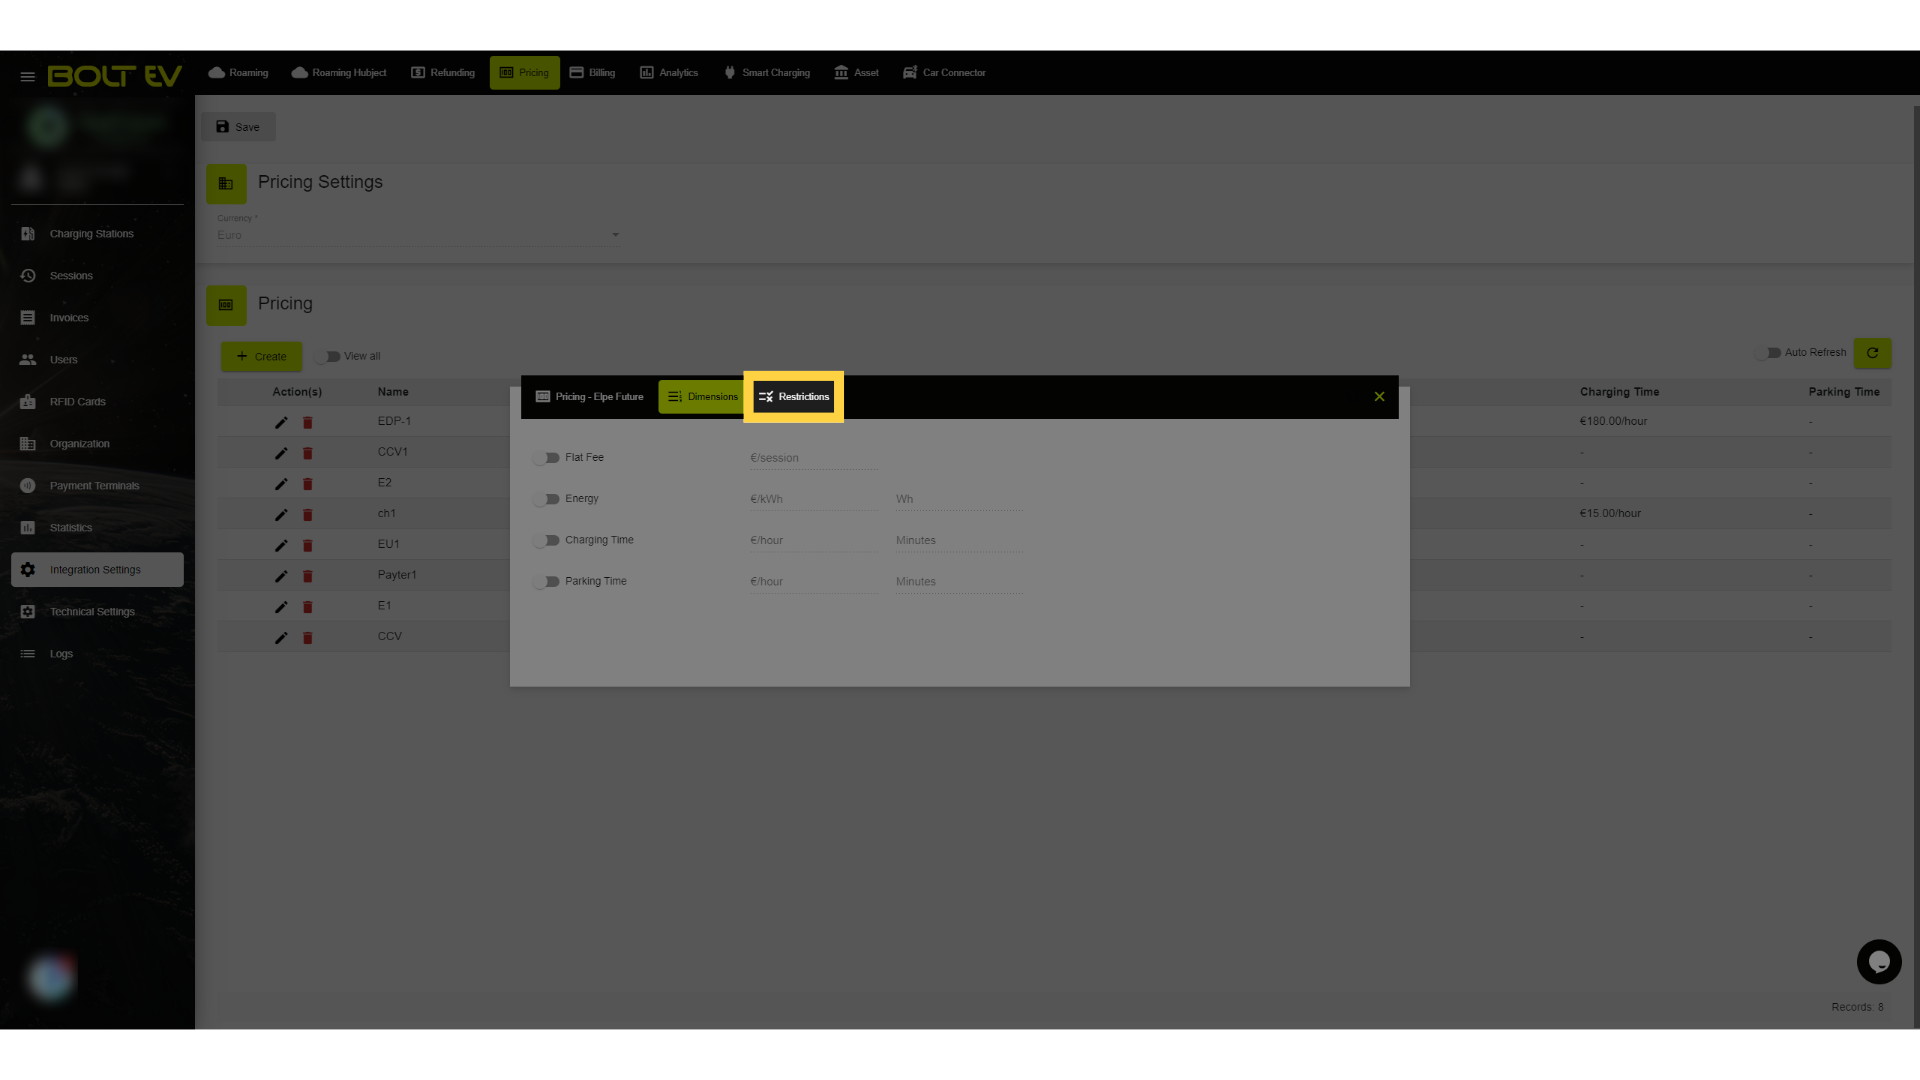
10. Restrictions
Finally, we select and click the Restrictions option.
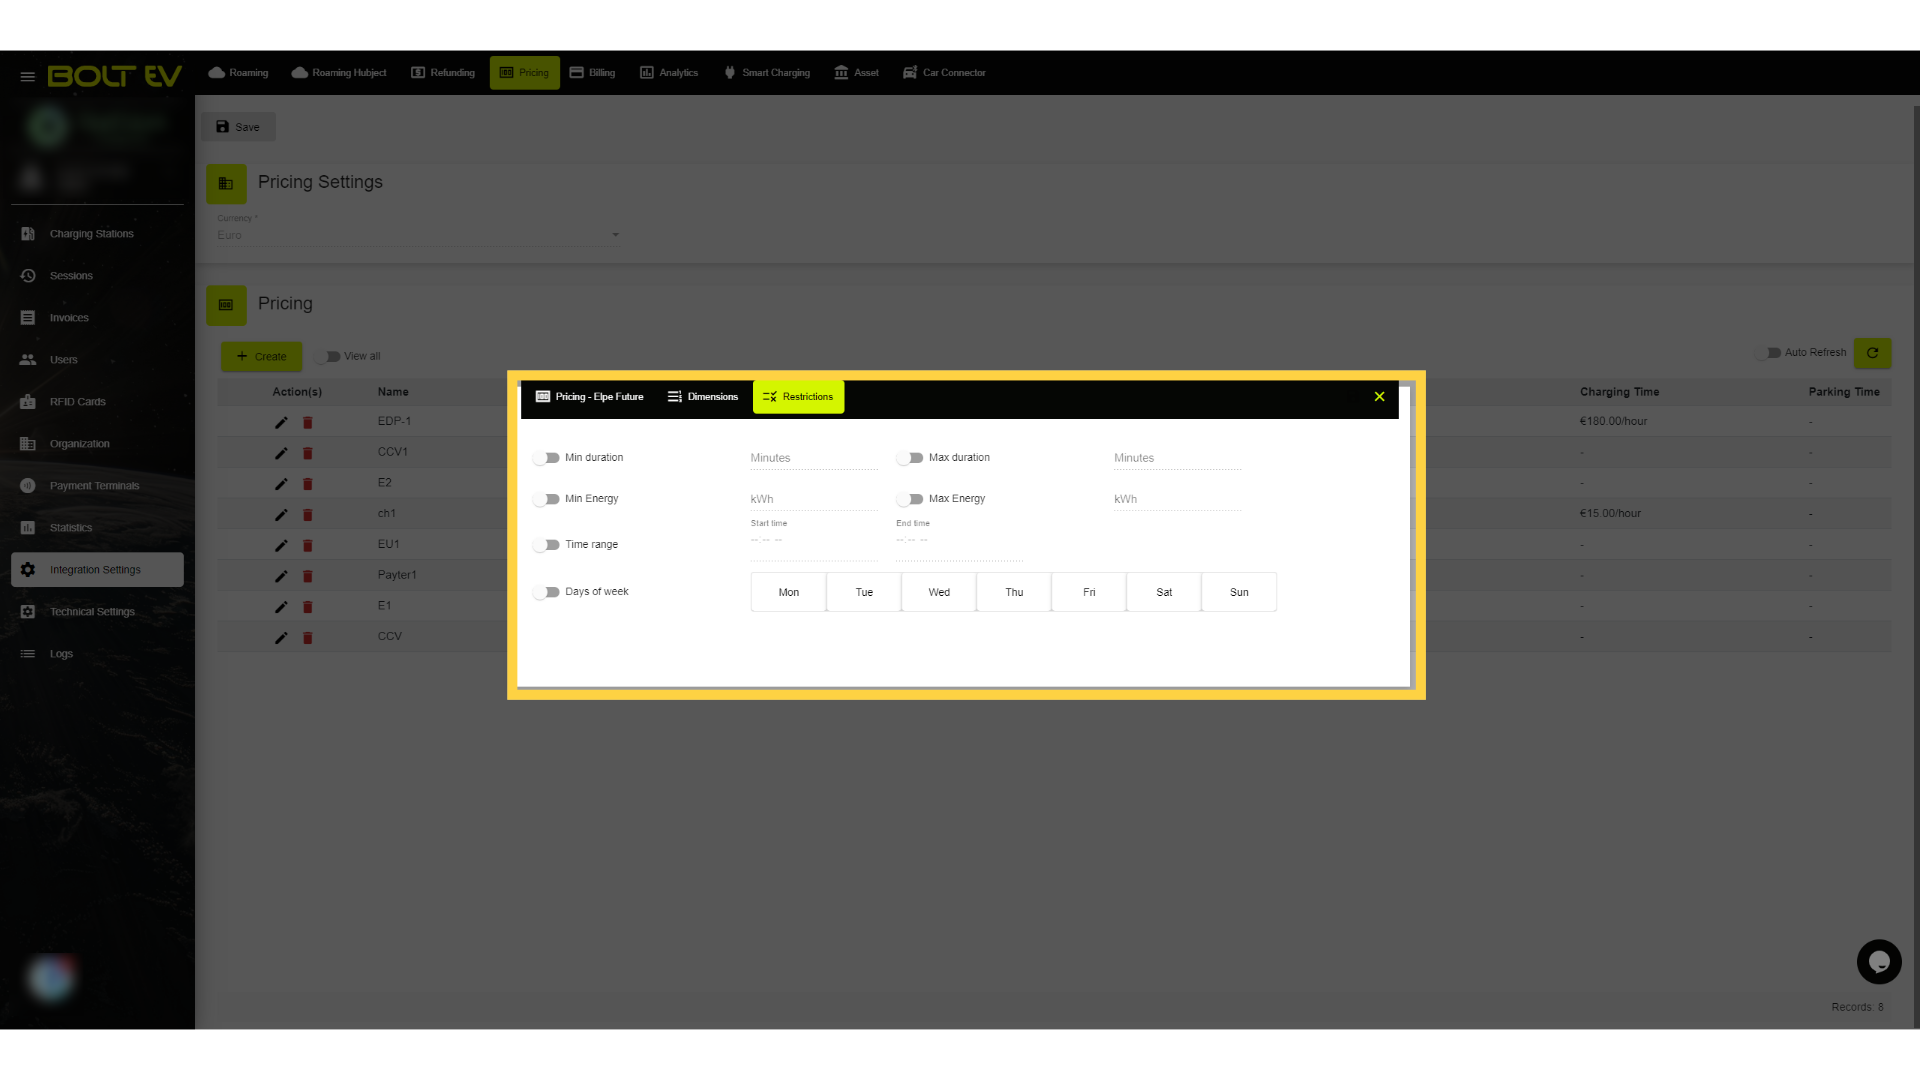
11. Restrictions settings
On that field, we can see the restrictions that we can set during the Pricing Definition creation process.
This guide covers the configuration of the invoice settings, including accessing user details, payment options, pricing, and creating new elements.