
RFID Cards
This guide will walk you through the necessary steps to manage RFID Cards efficiently on the Bolt EV platform.

Kostas Gardikiotis
Last Update 2 years ago
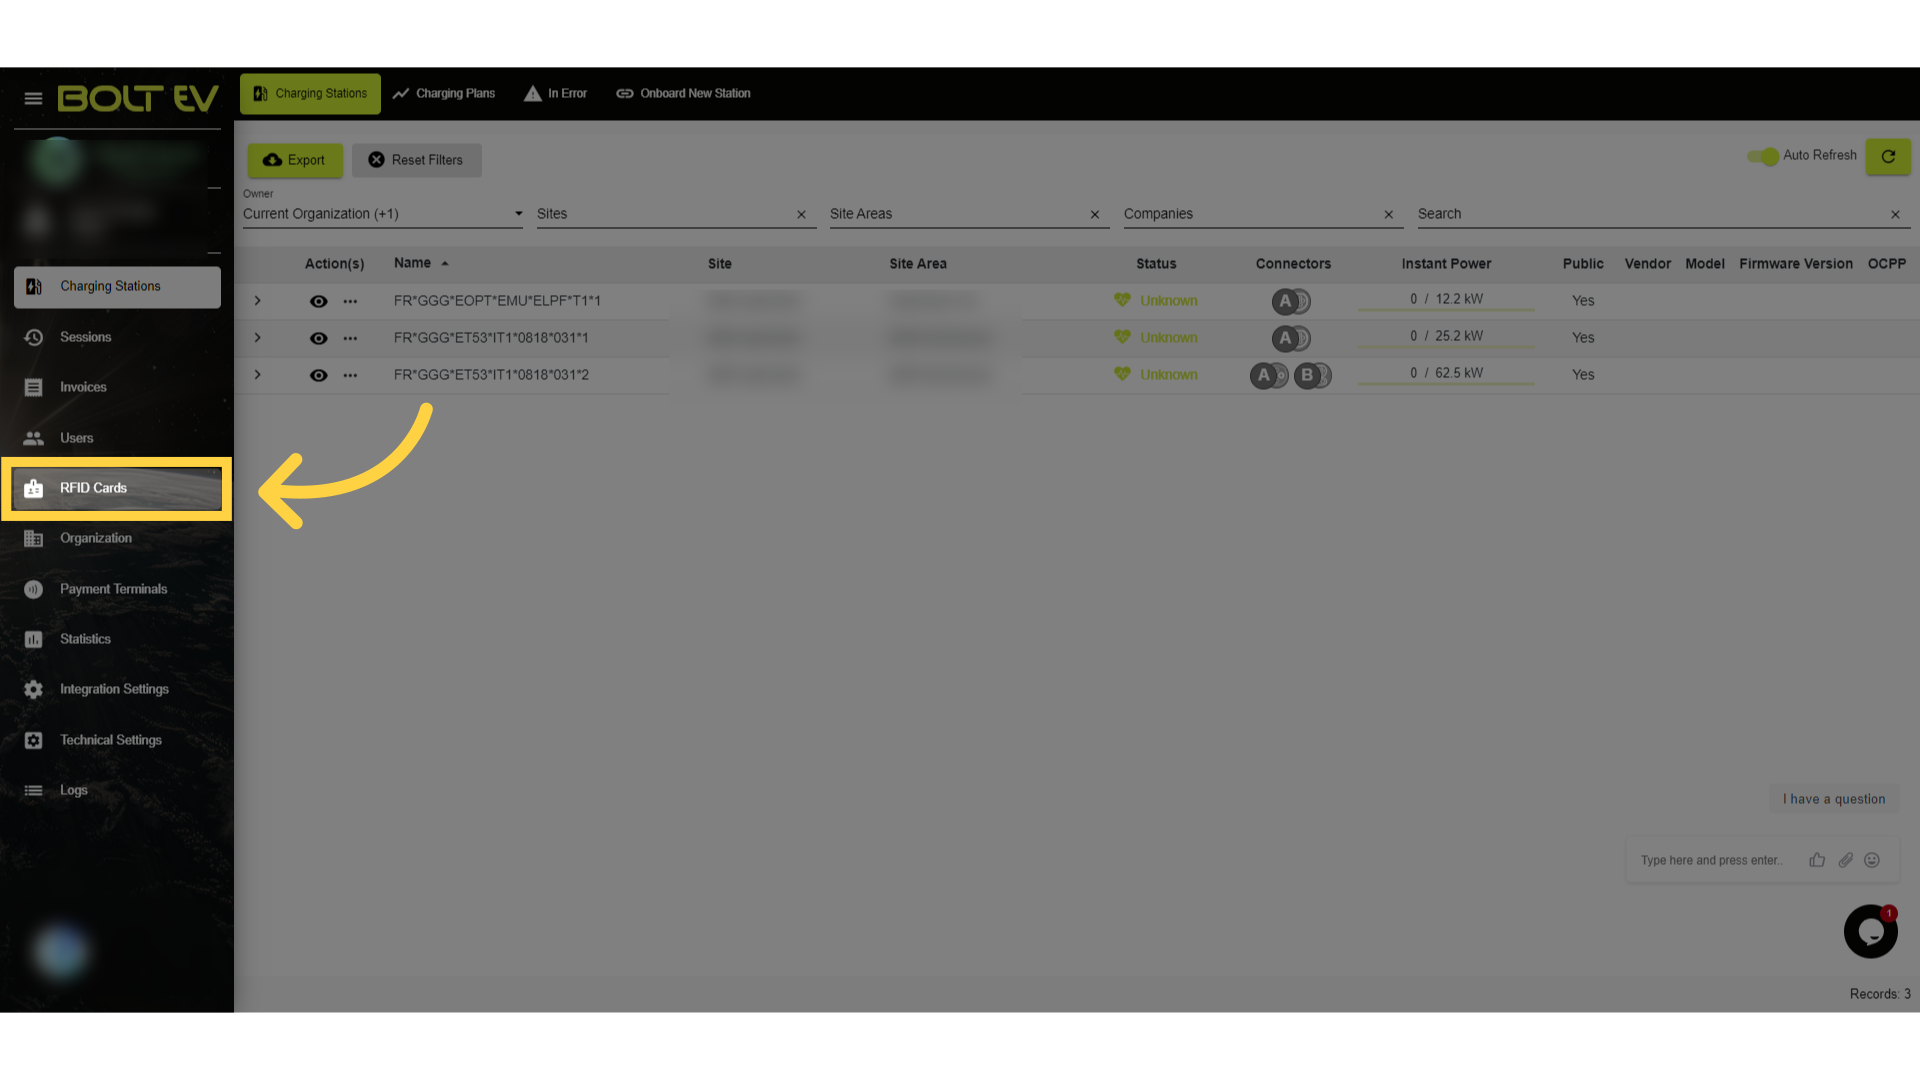
1. Click "RFID Cards"
We navigate to the main menu on the left side of the screen and use the cursor to choose the "RFID Cards" field.
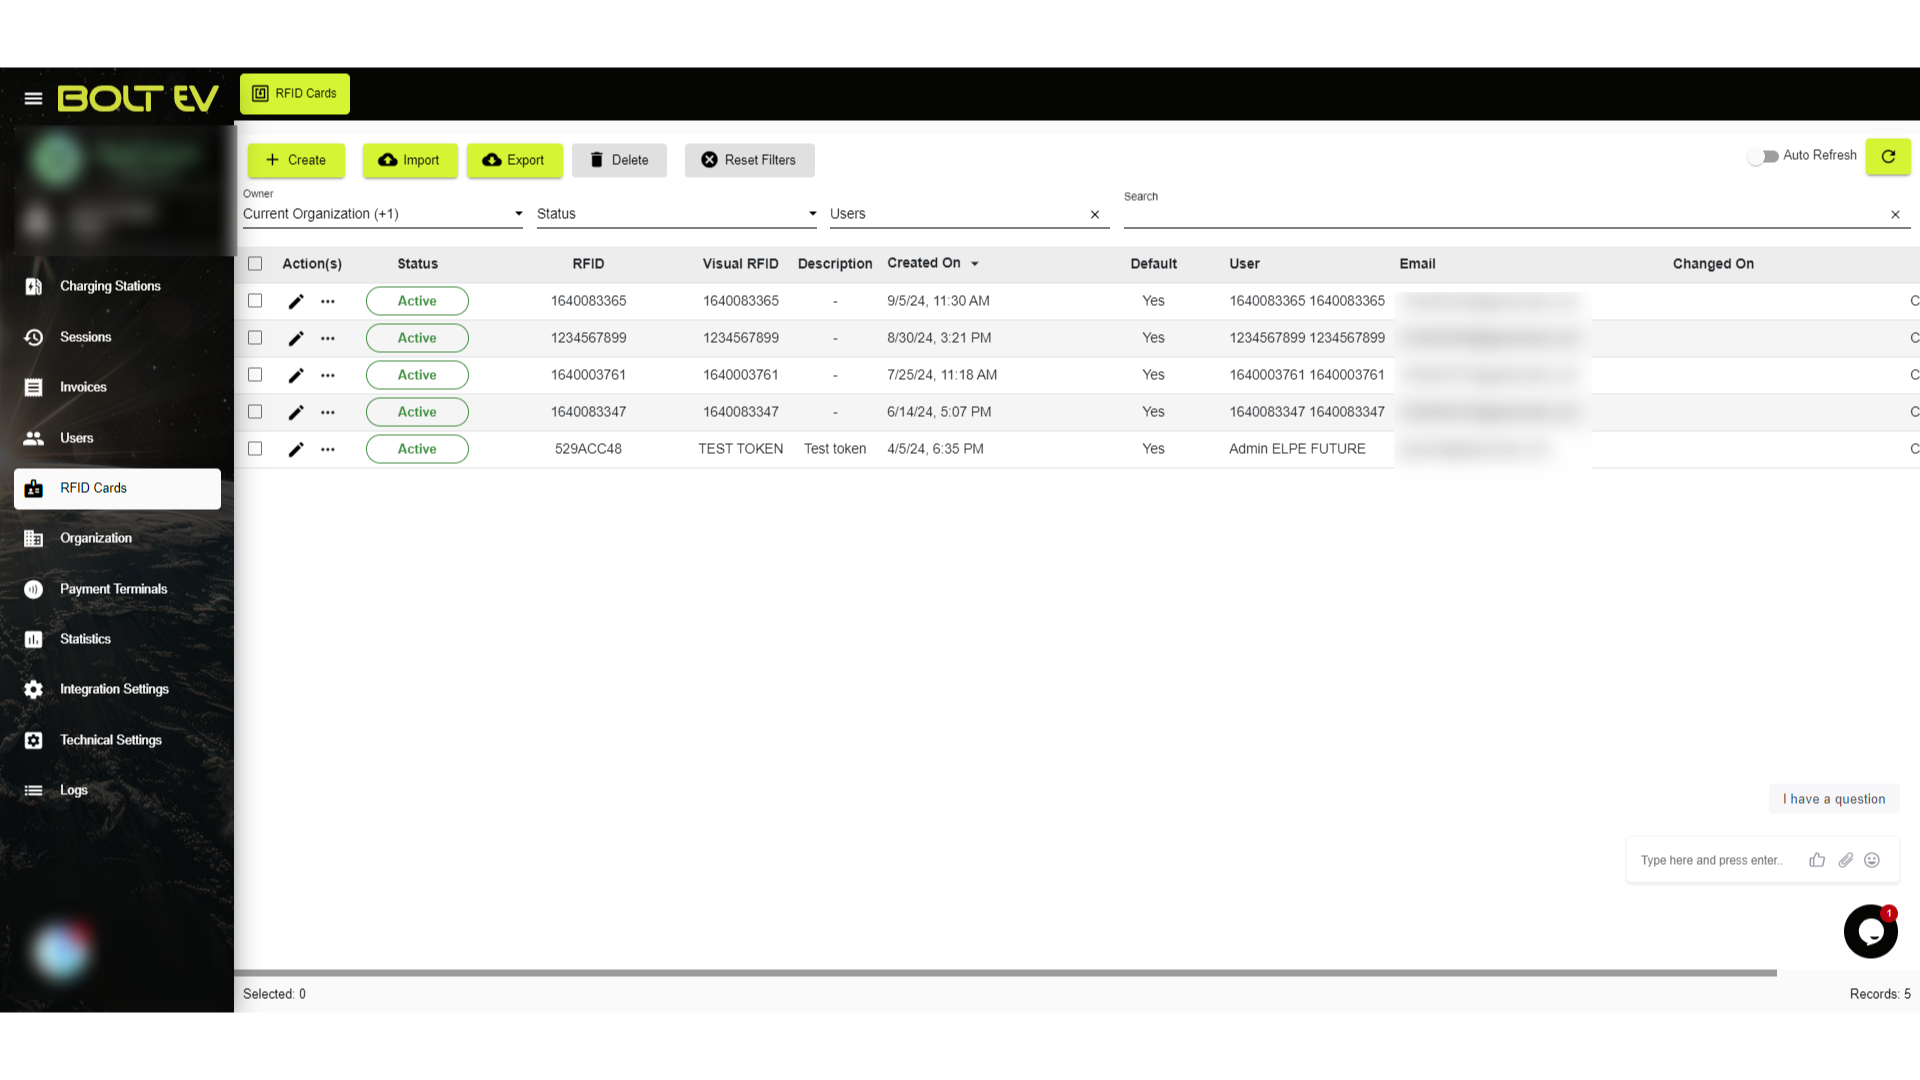
2. Introduction on RFID Cards section.
The "RFID Cards" are used to authenticate charging sessions. Each POS has its own RFID card, which is automatically generated by the system when a new POS is installed. Here, we can see what options are available in the "RFID Cards" field.
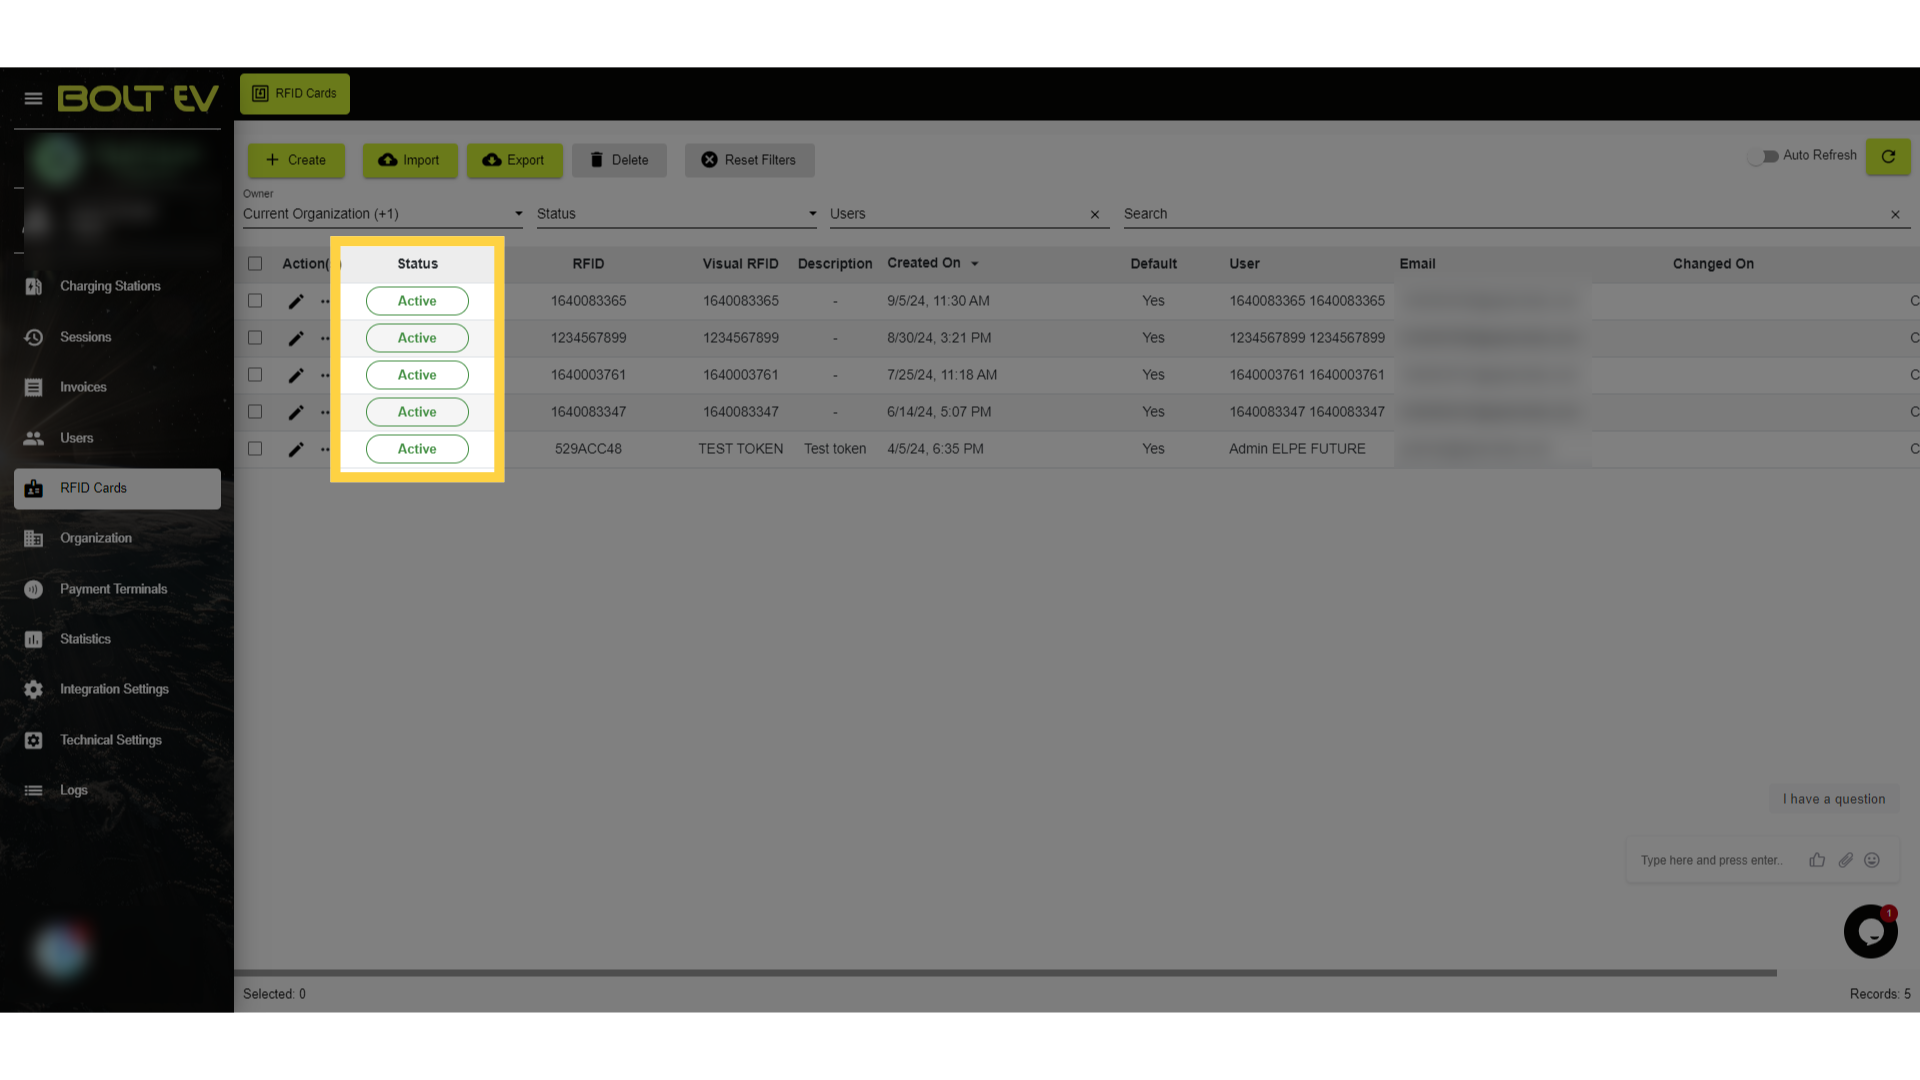
3. Click "Status"
Here's the state of the RFID cards, which indicates whether they're active or inactive.
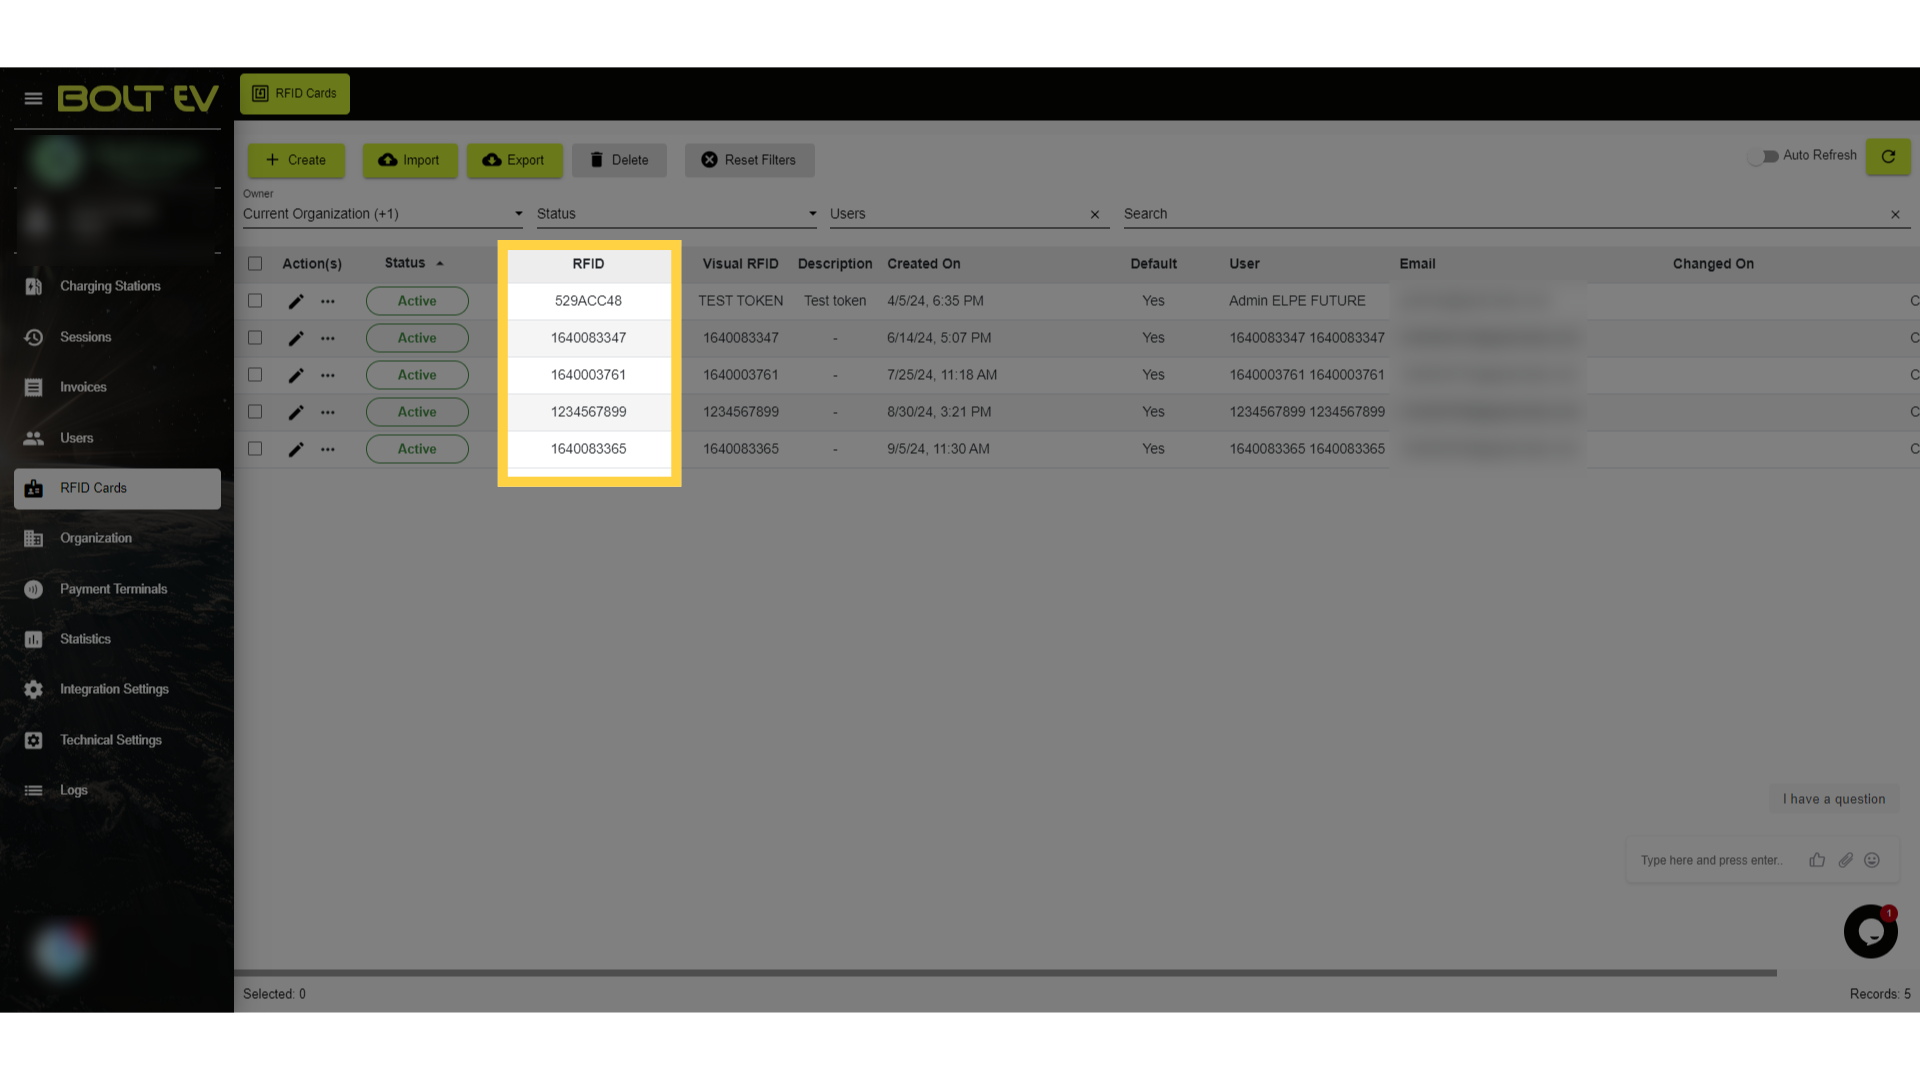
4. Click "RFID"
Here, we can see the unique id of each RFID Card.
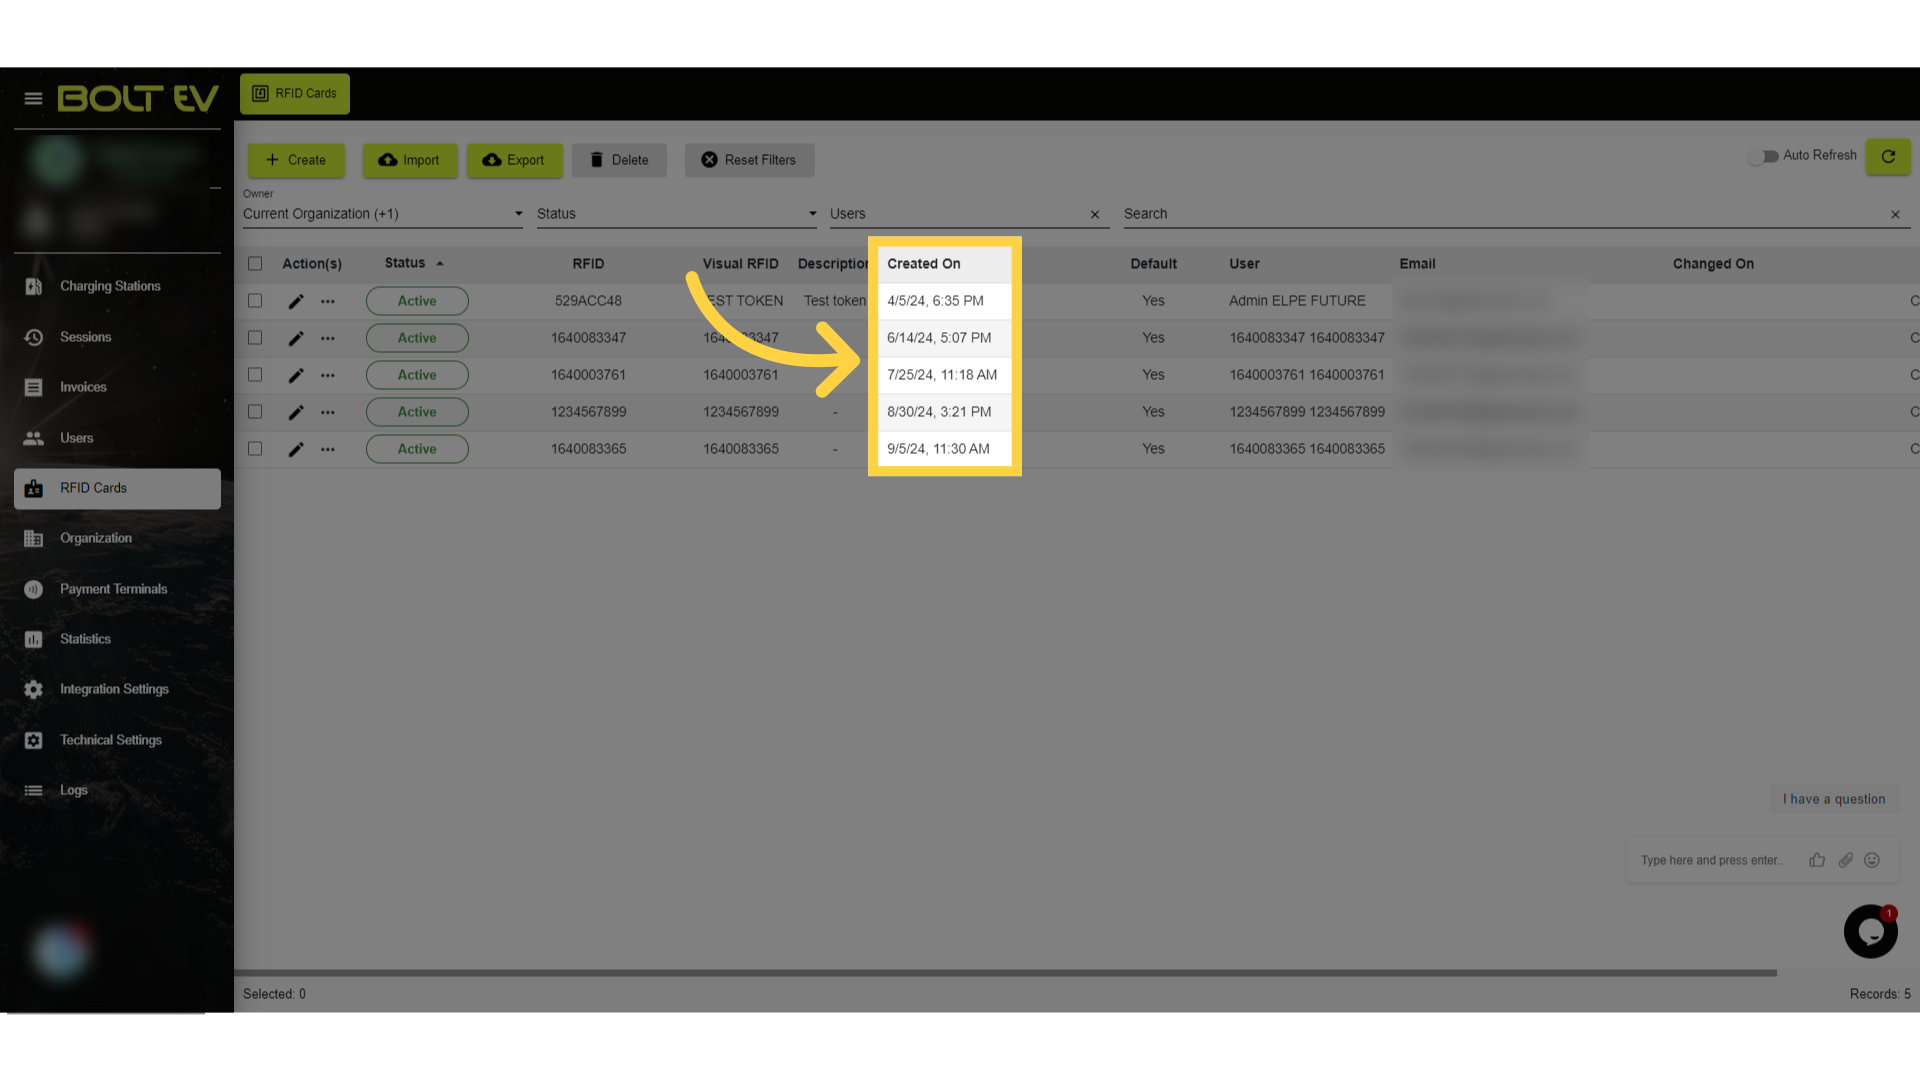
5. "Created On"
Here, we can see the date of creation of each RFID Card.
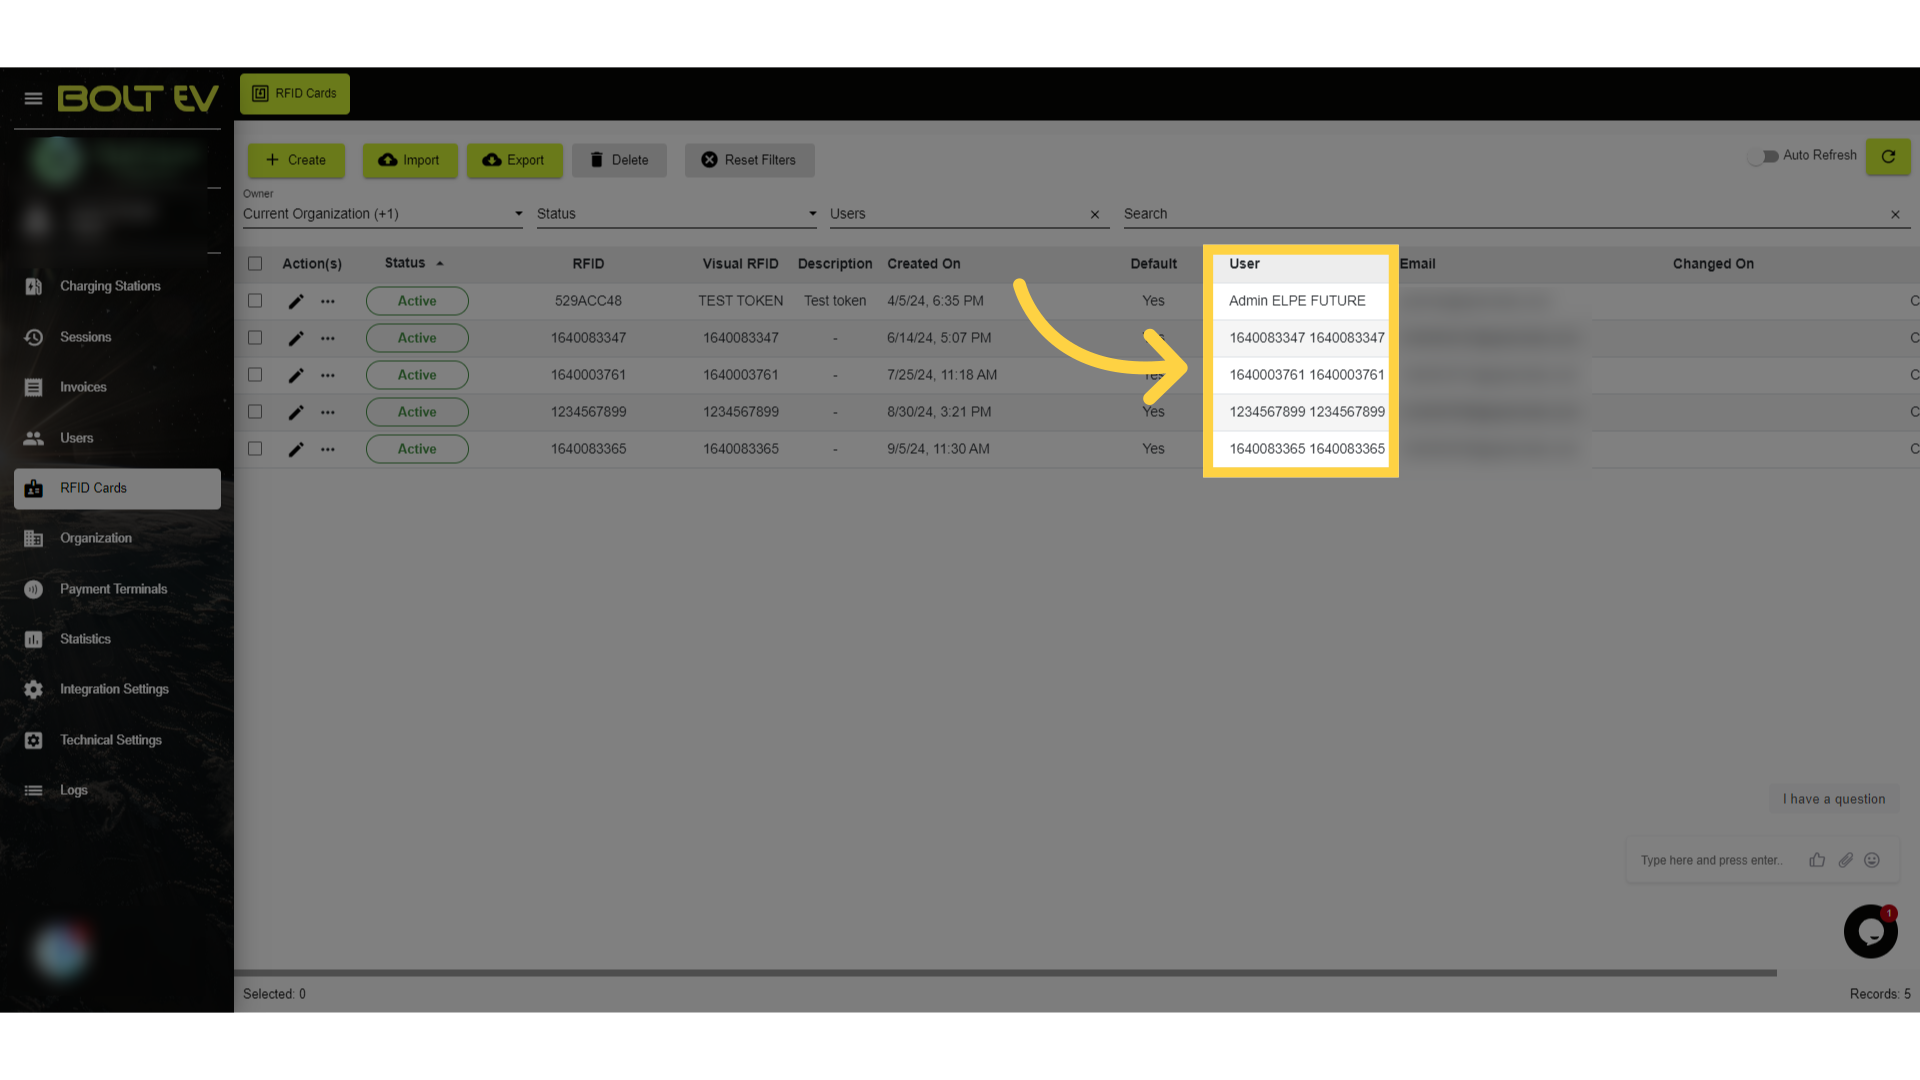
6. Click "User"
Here, we can see the POS that each RFID card is connected.
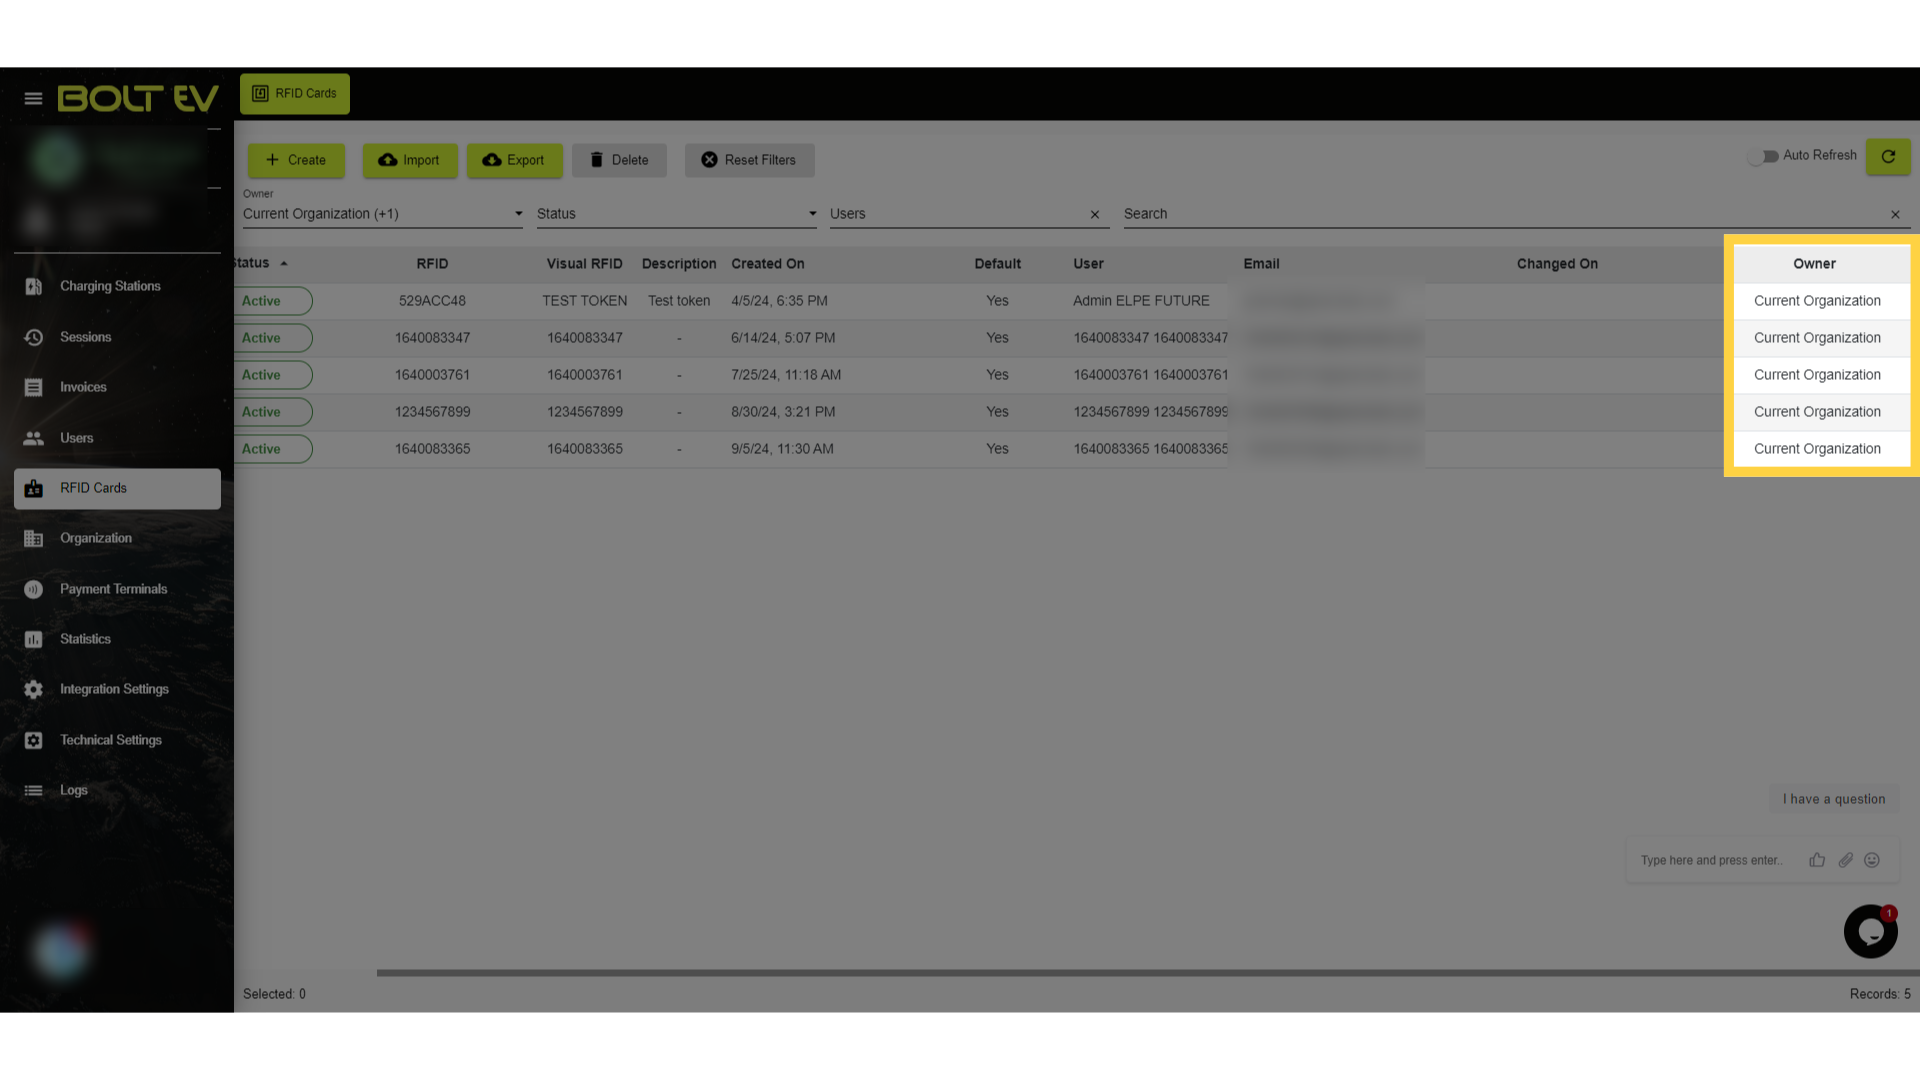
7. Click "Current Organization"
View the organization associated with the RFID card.
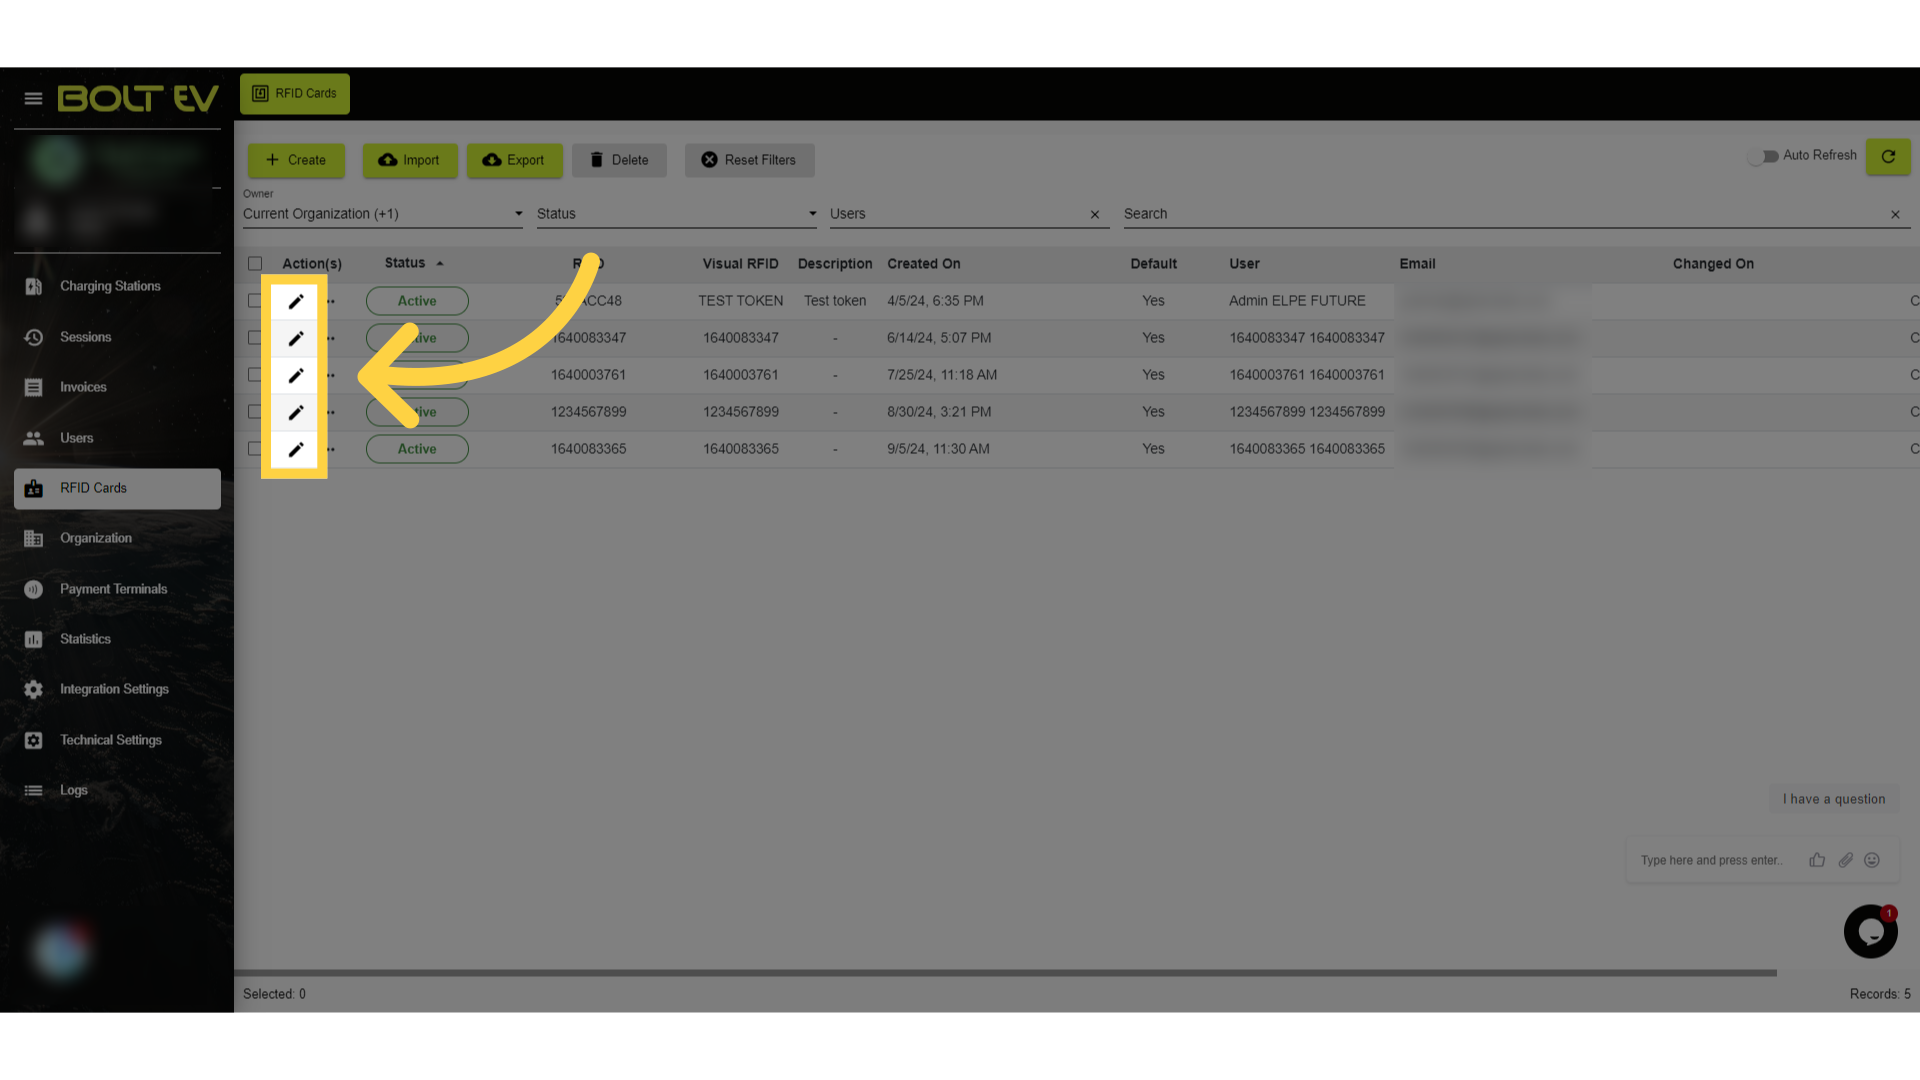
8. Click "Edit"
Next, we click "Edit"
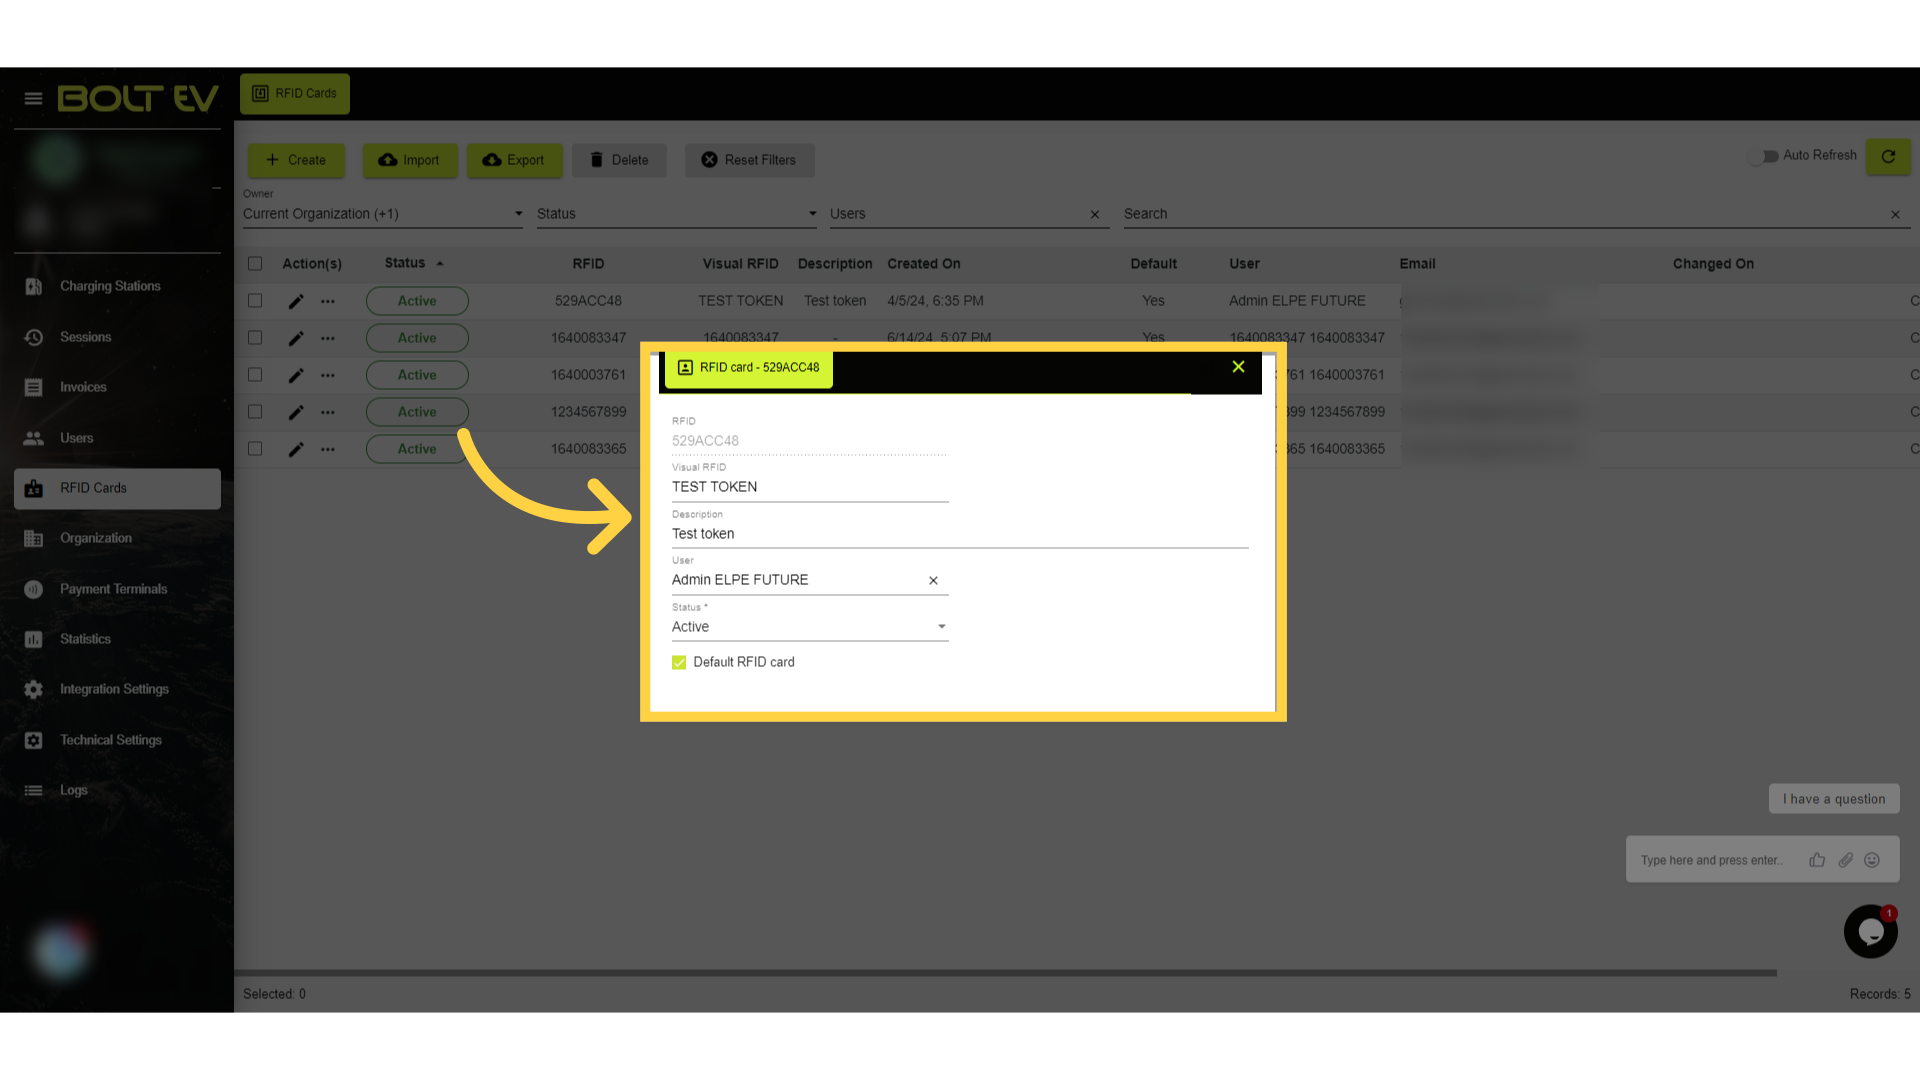
9. RFID Cards iformation
Here, we can see information about a specific RFID Card.
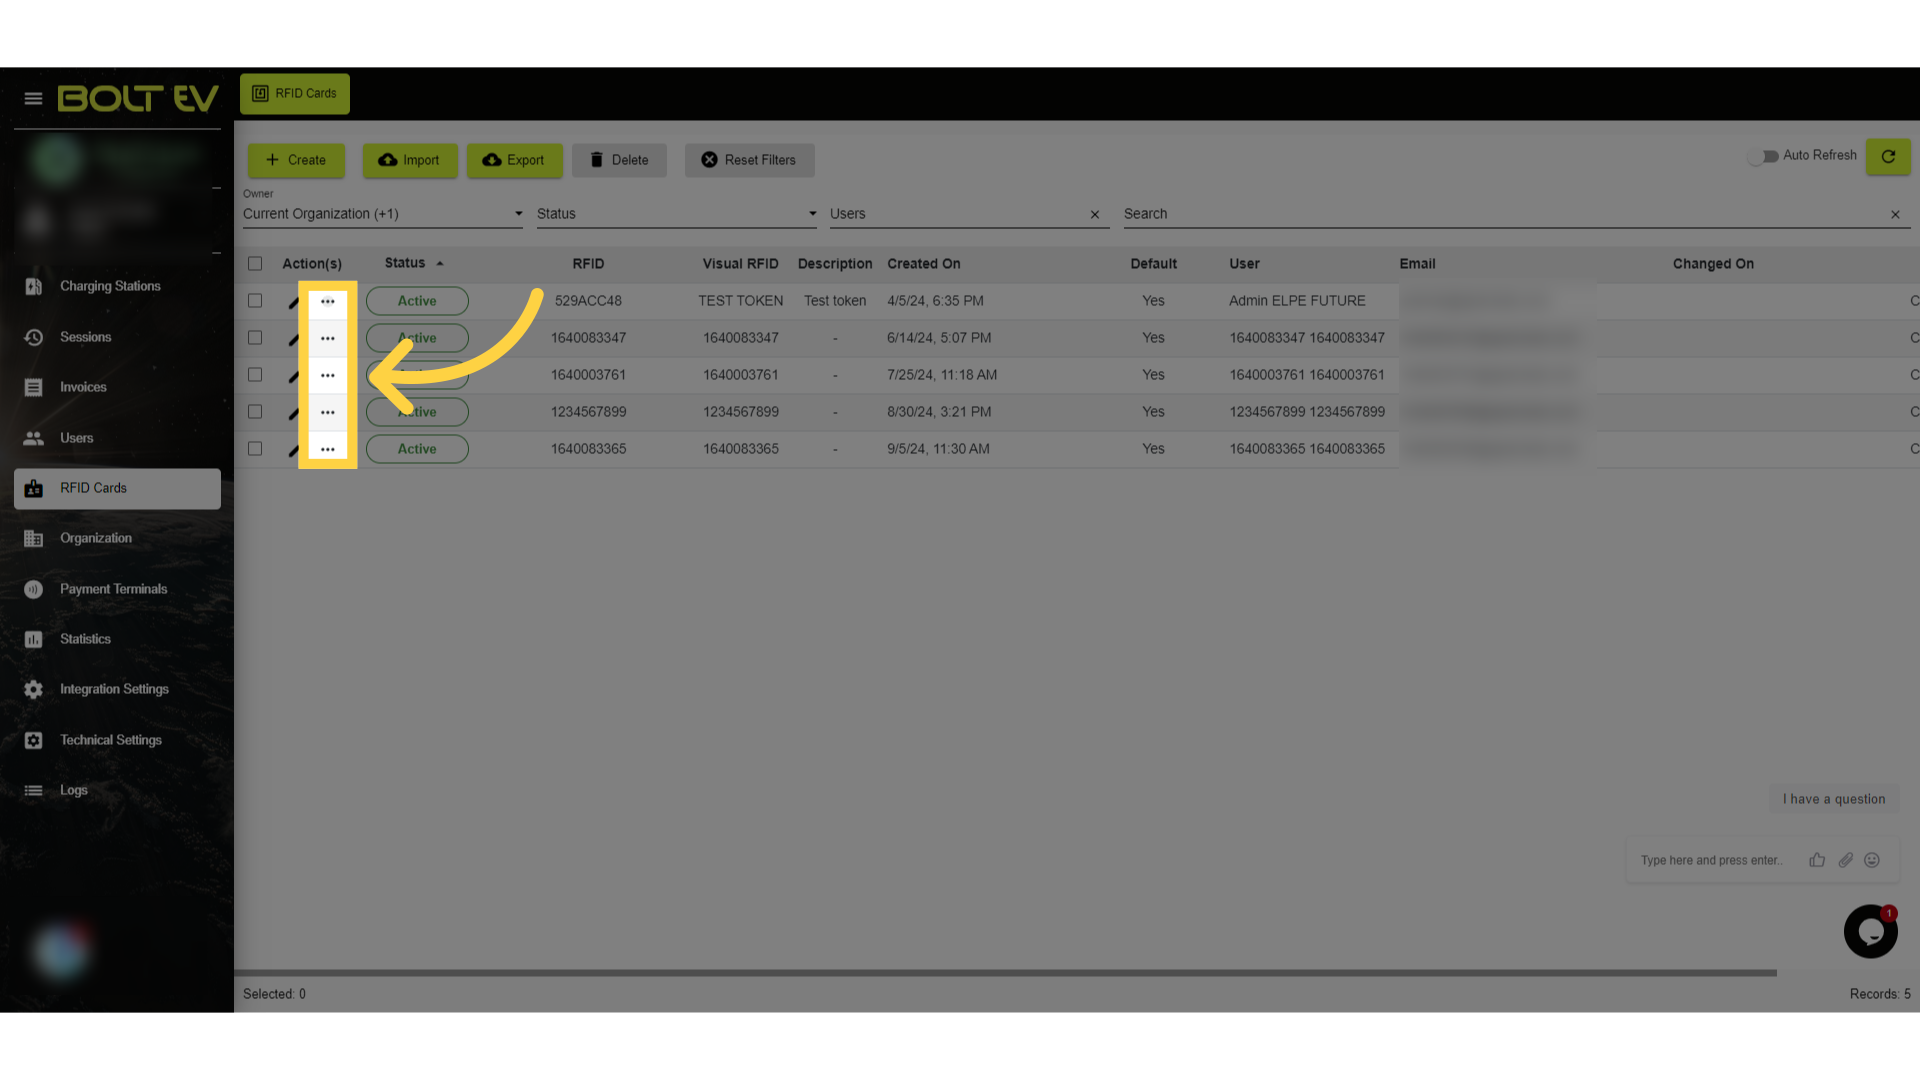
10. Click "more actions"
Next, we click on "more actions" icon.
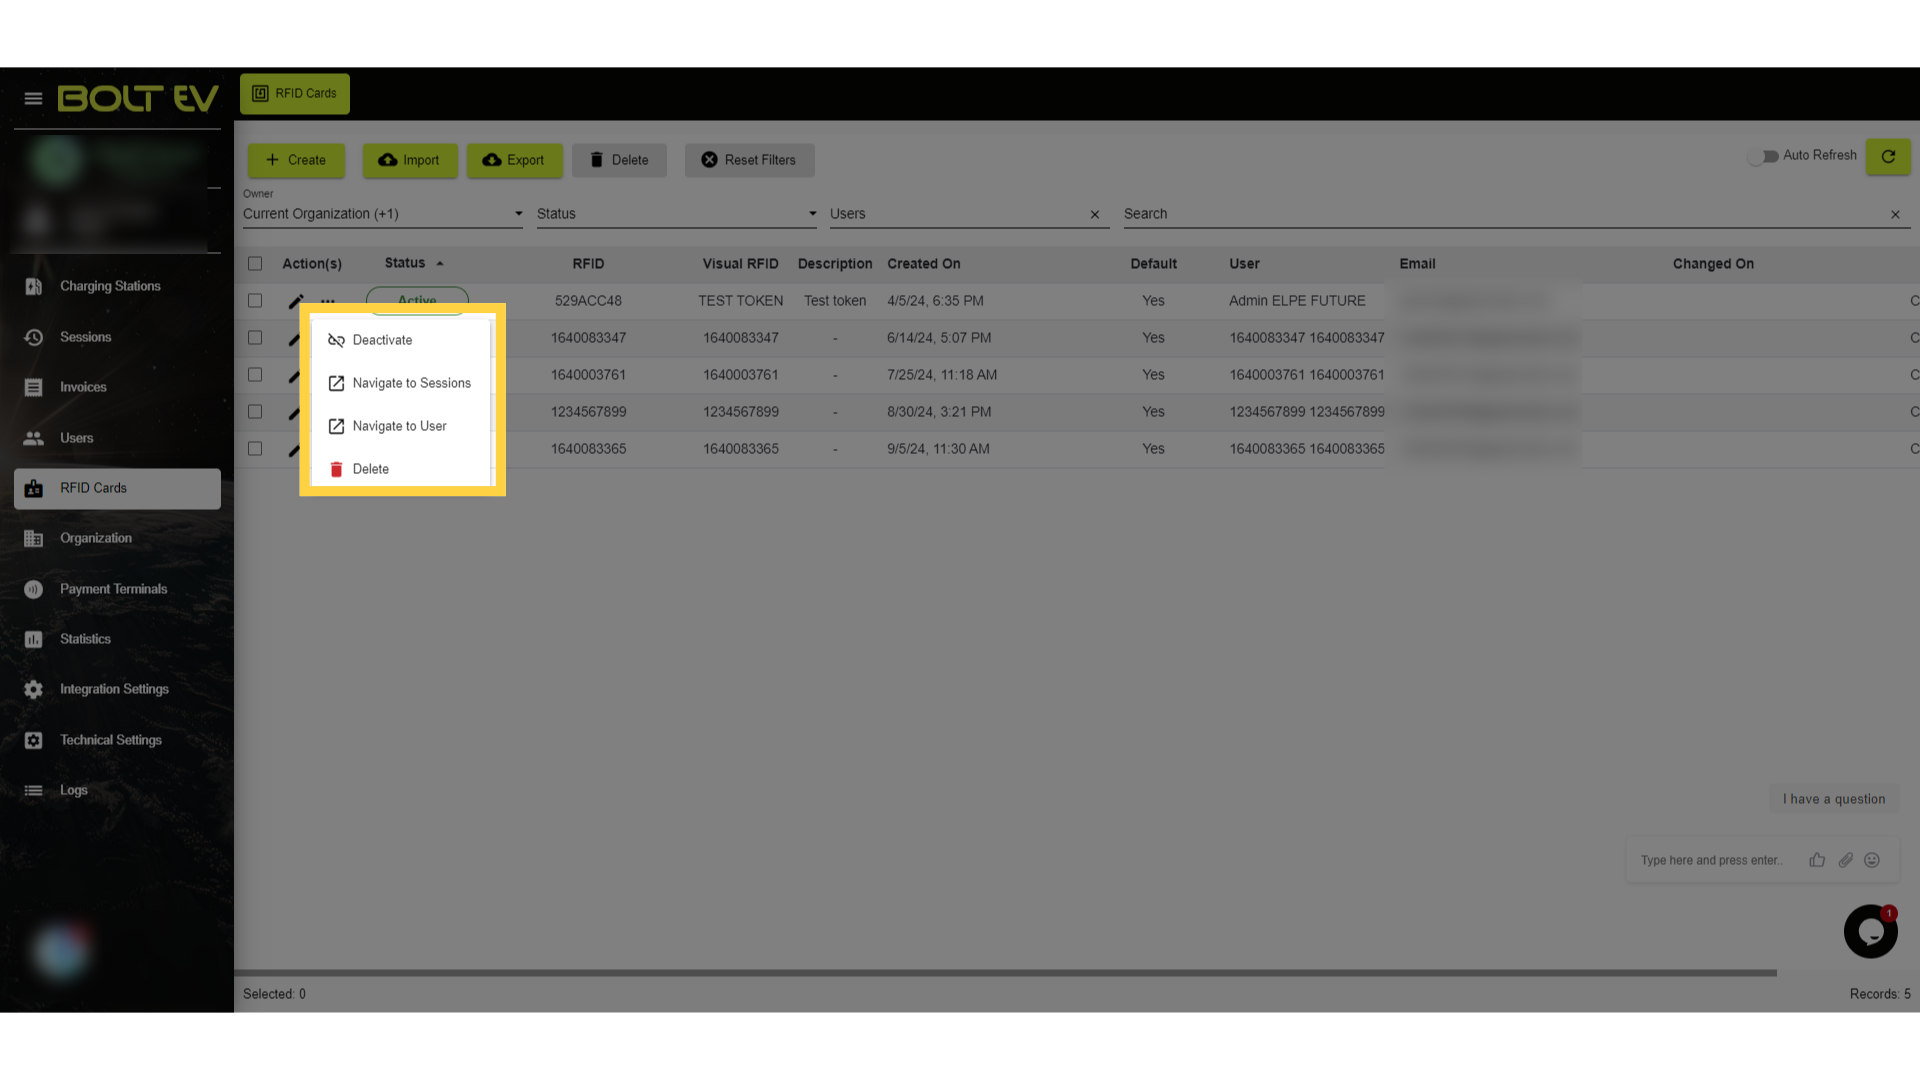
11. RFID Card info.
Here, we can see the more actions we can make, like disabling an RFID Card, navigating into charging sessions or the user and deleting an RFID Card.
This guide covered RFID Cards on Bolt EV platform. We learned how to navigate on RFID Cards sections and took information about them. I hope to see you on the next one!