
Installation of POS and pairing with charger on the Bolt EV platform.
In this guide, we will look at the necessary steps for installing a new POS on the Bolt EV platform, and then how we can assign it to a charger on the platform.

Kostas Gardikiotis
Last Update há 2 anos
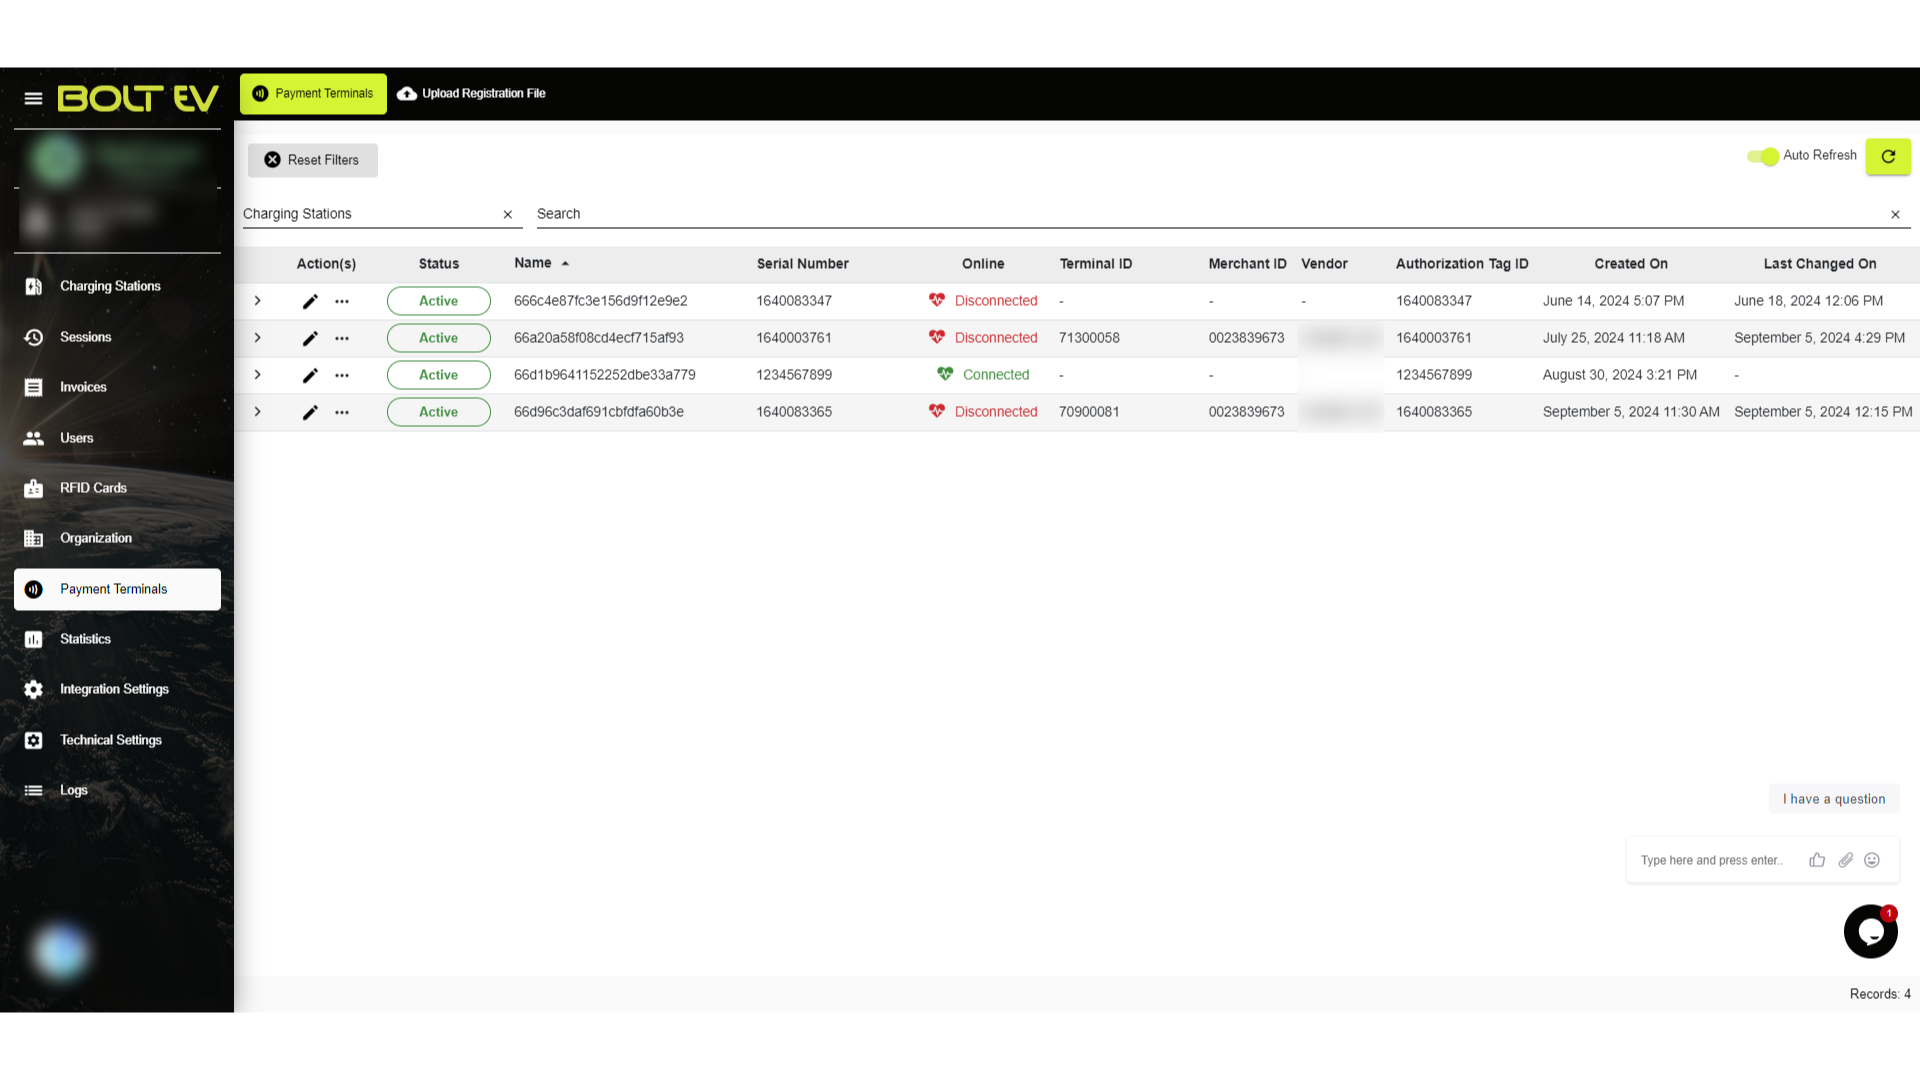
1. POS Terminals
The first step is to go to the payment terminal page.
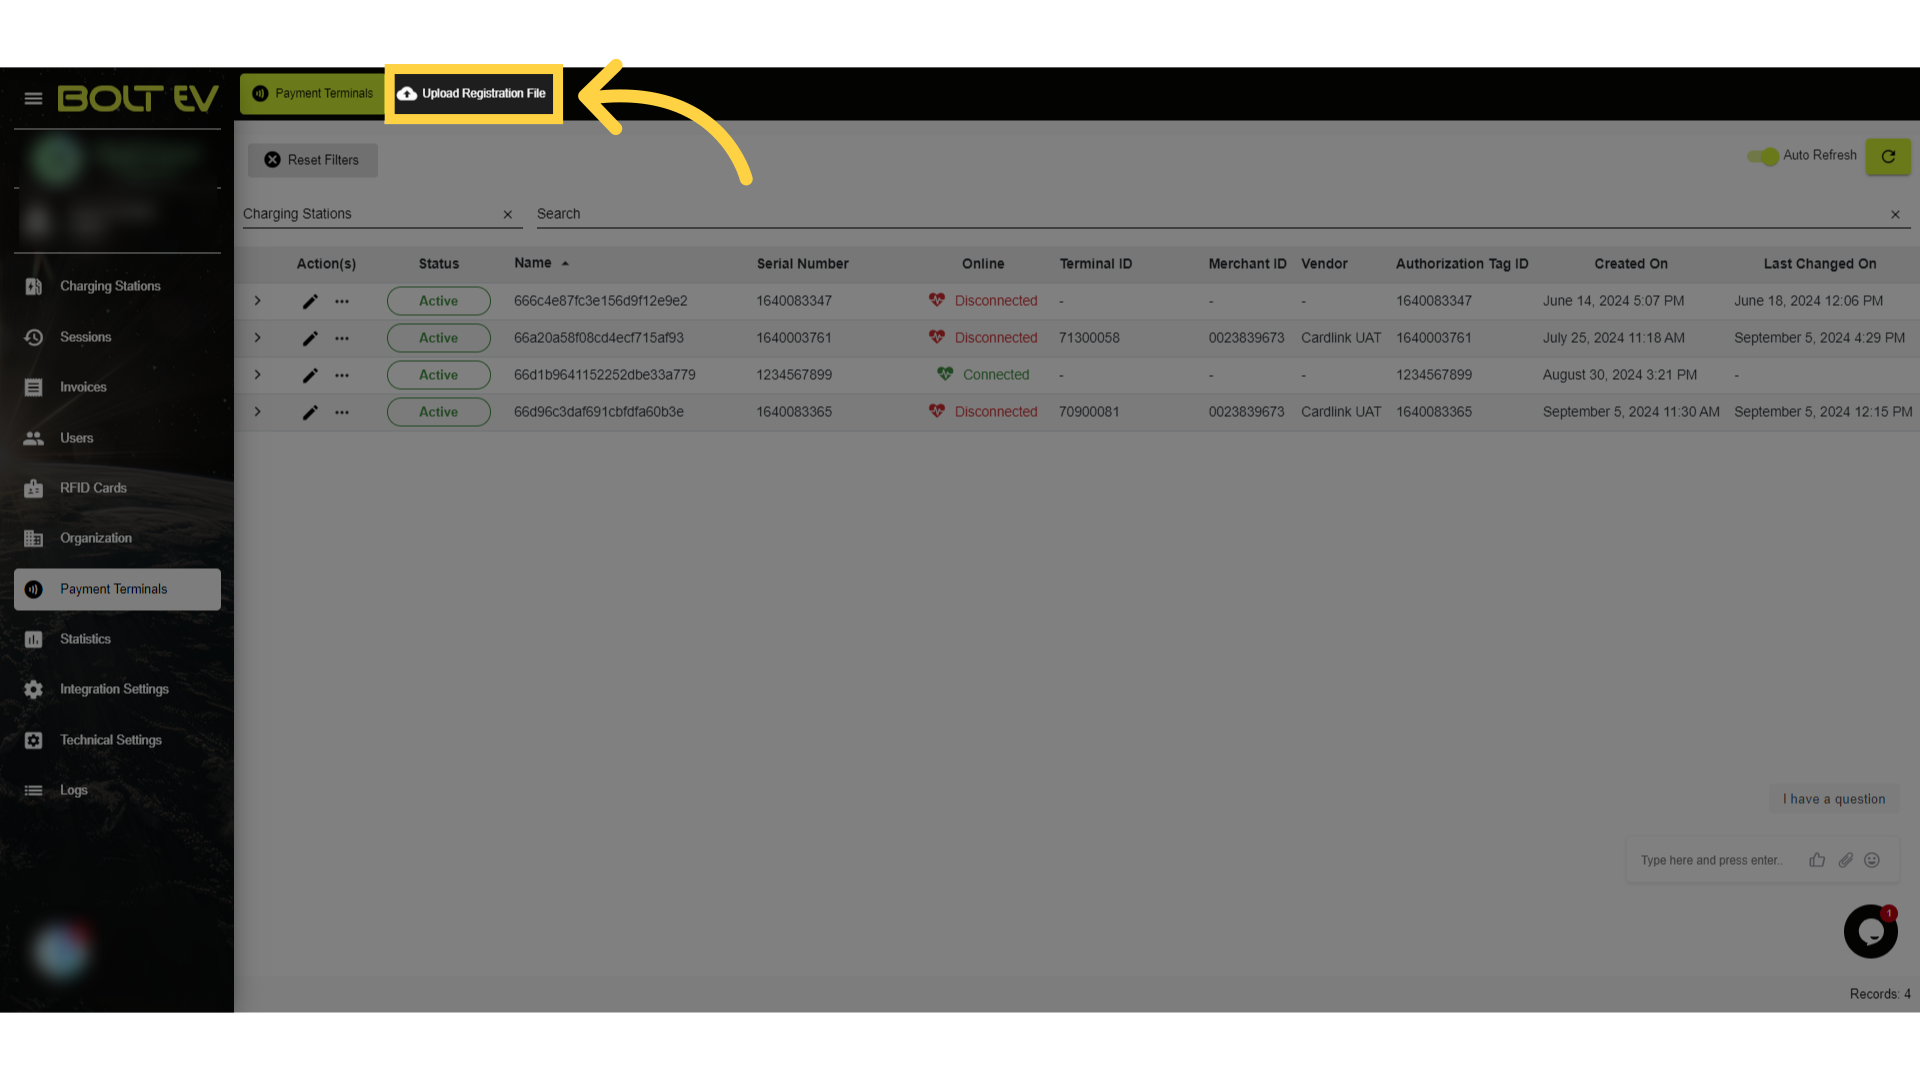
2. Click "Upload Registration File"
Next, we click on the file upload registration page.
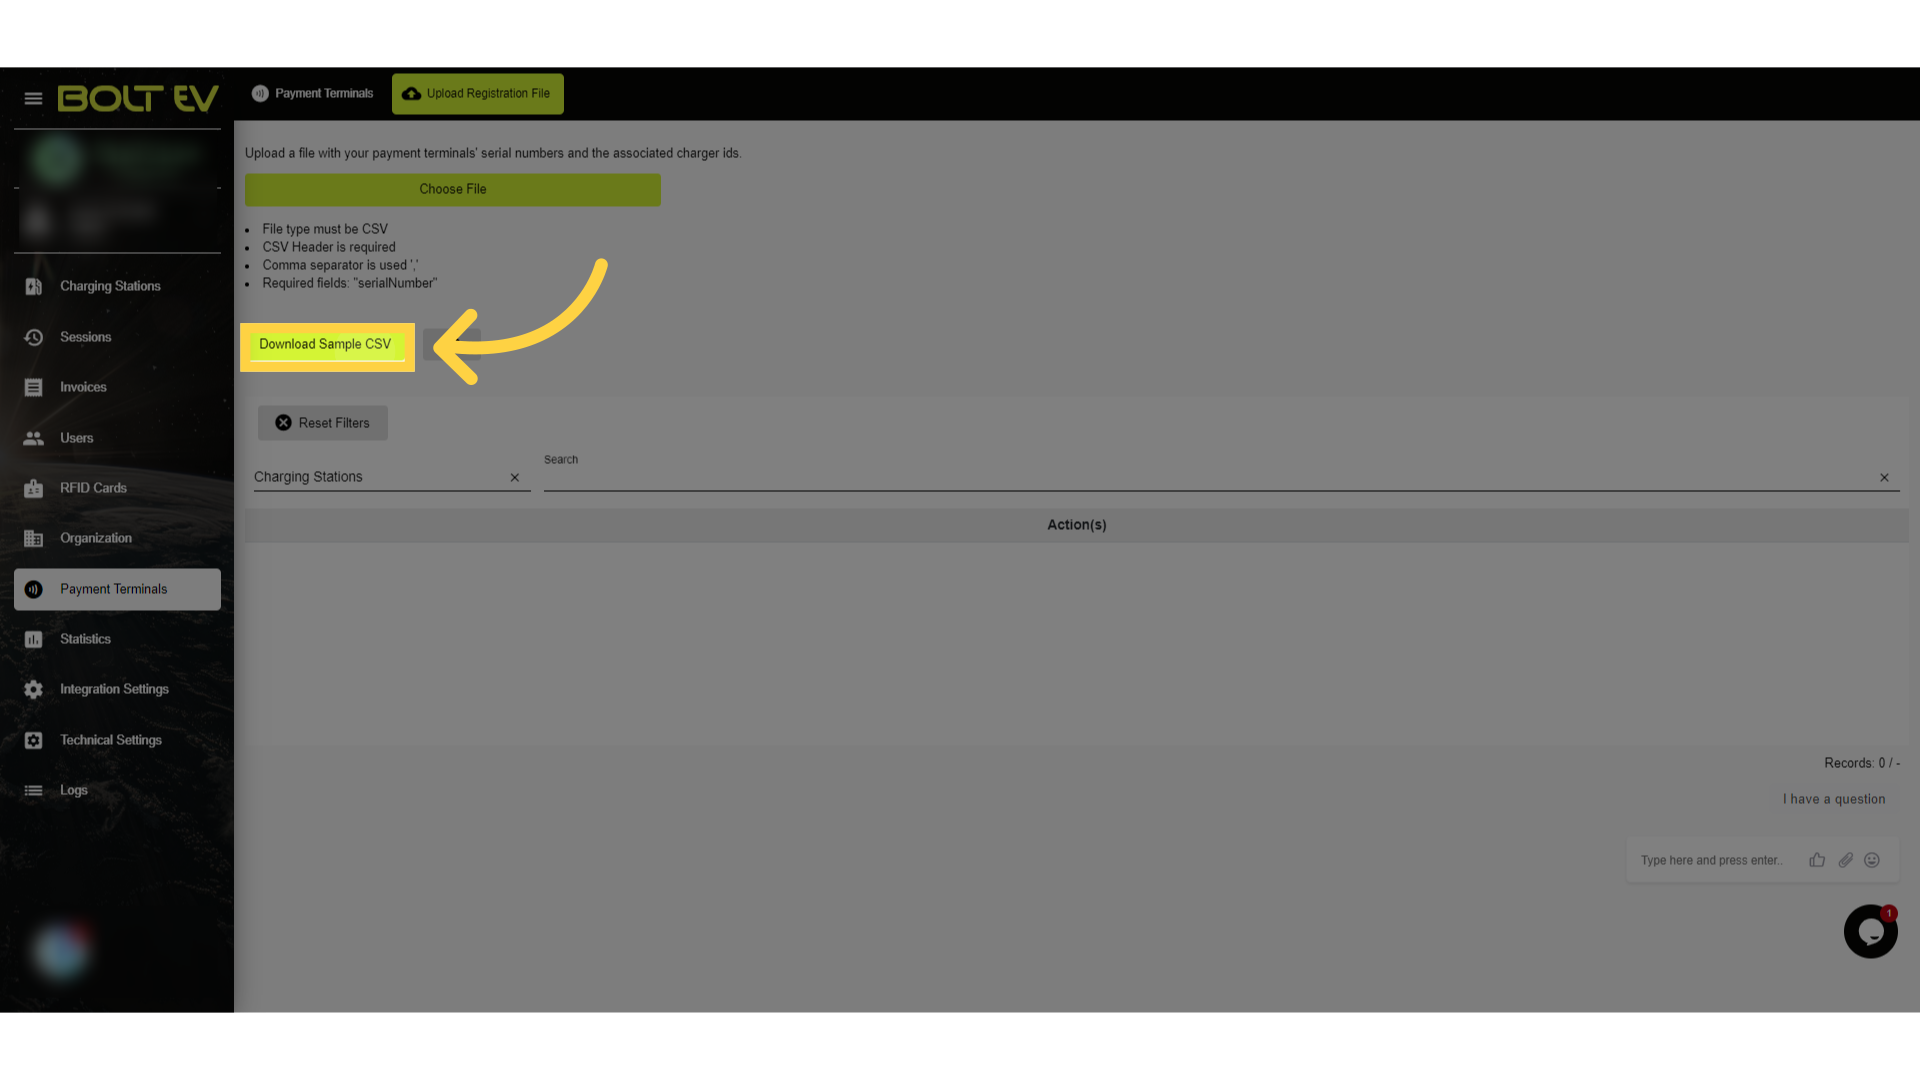
3. Click "Download Sample CSV"
From there, we click on Download Sample CSV to download the form where we will fill in the serial number of the POS.
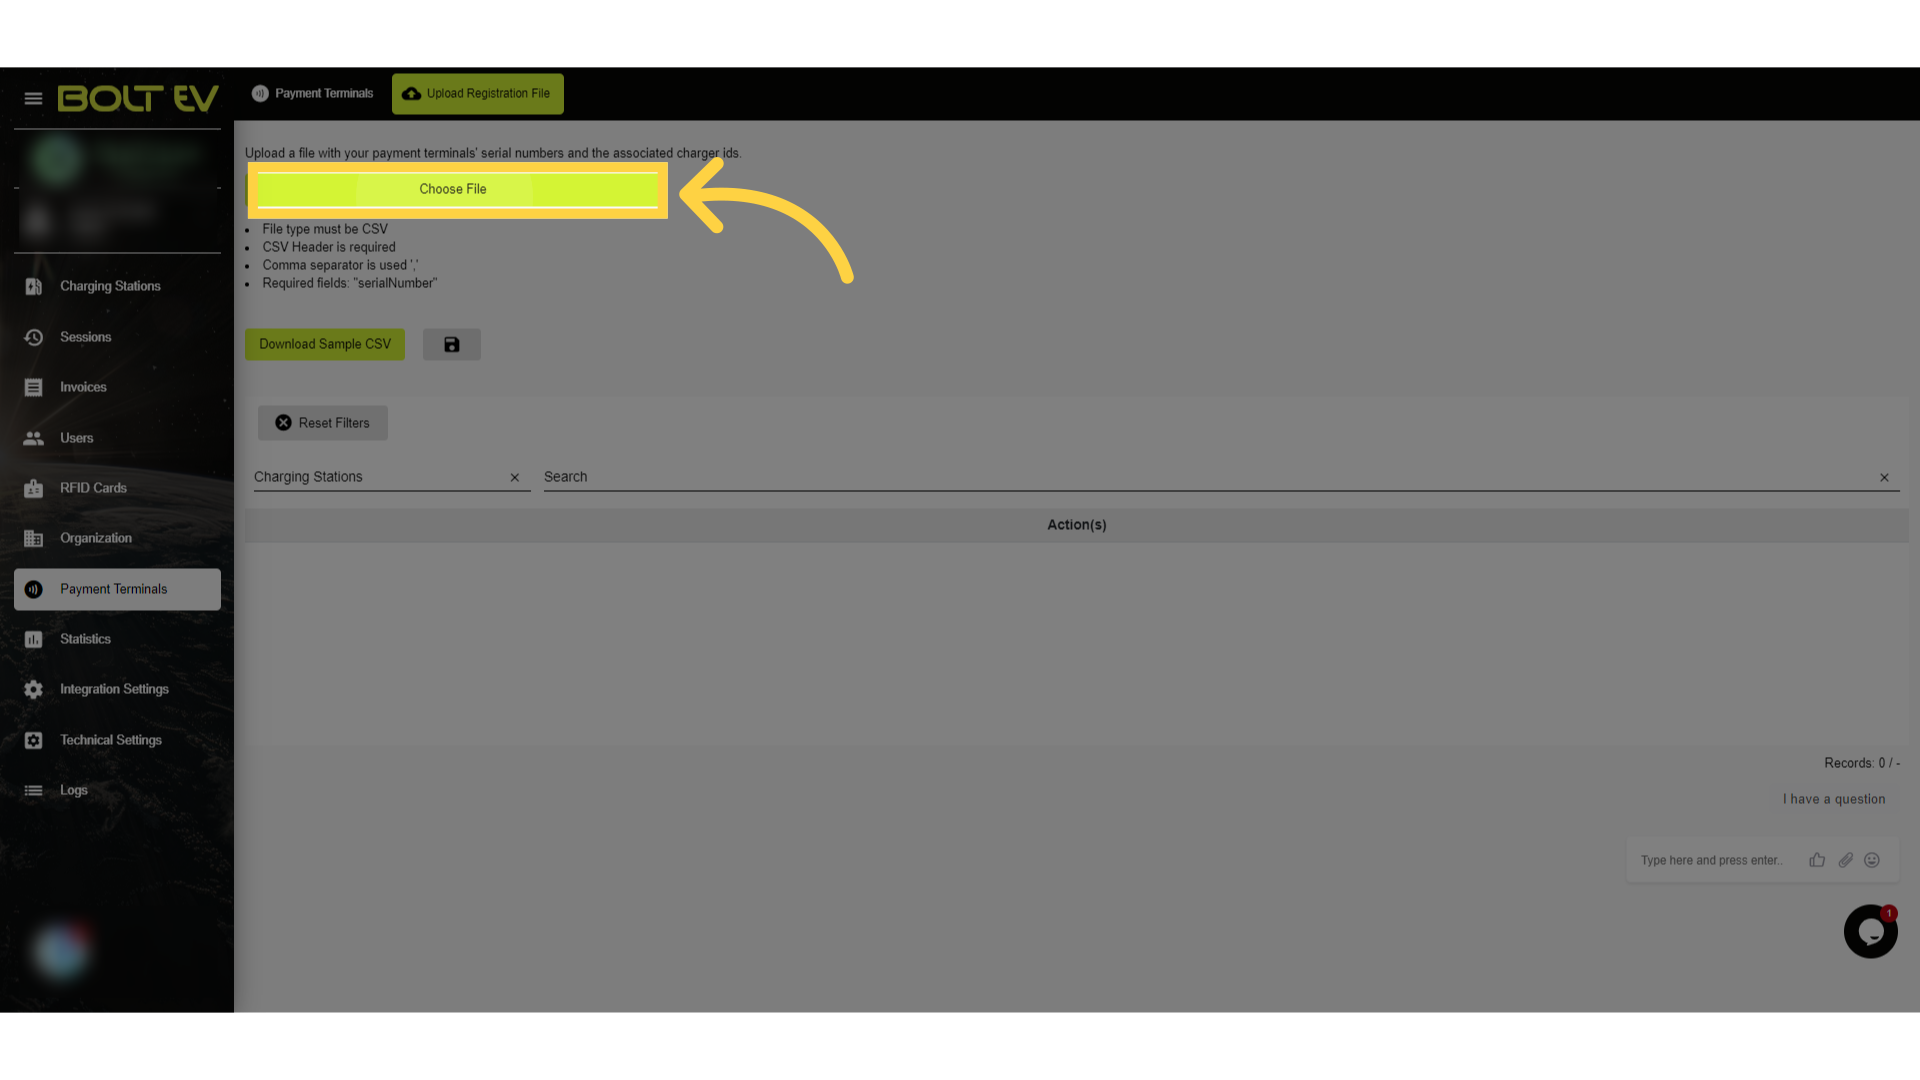
4. Click "Choose File"
Once we complete the form, we upload it in the "Select File" field.
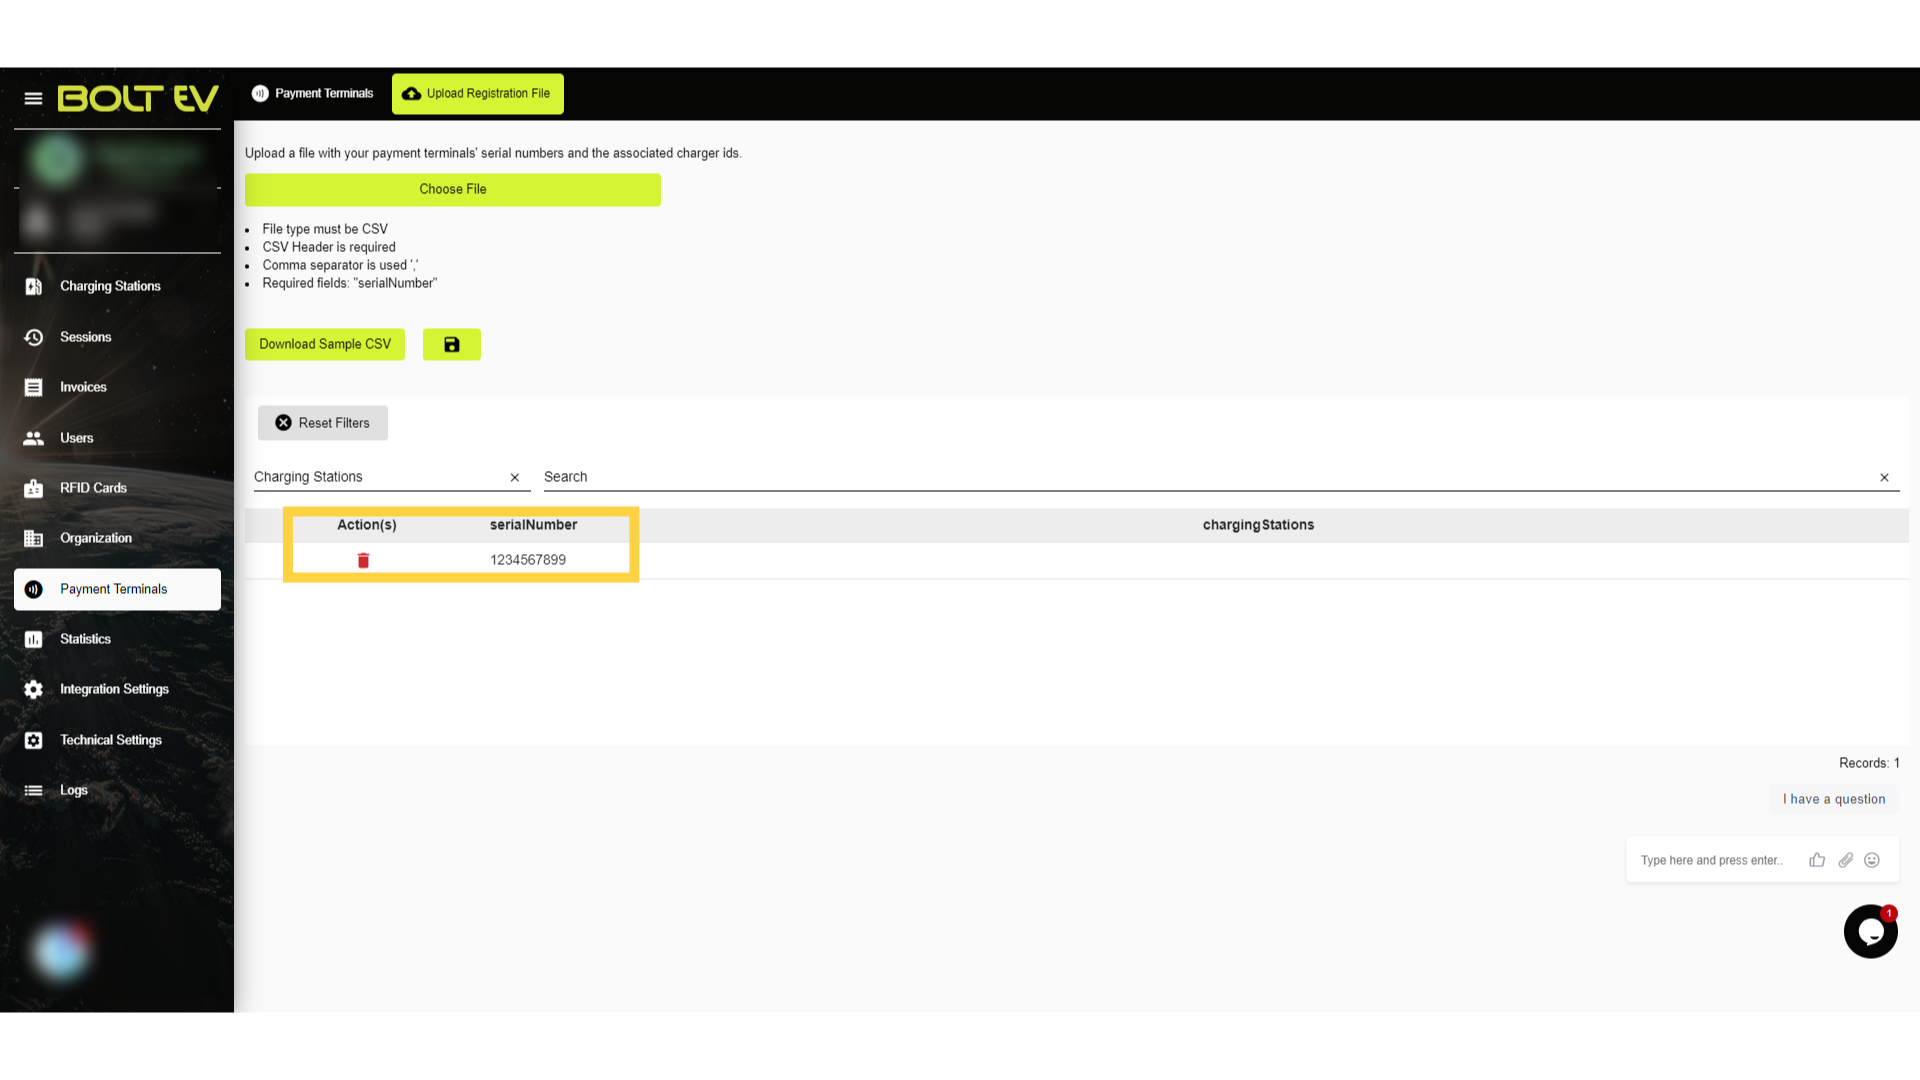
5. POS Information
Below we can see the details of the POS that we have registered.
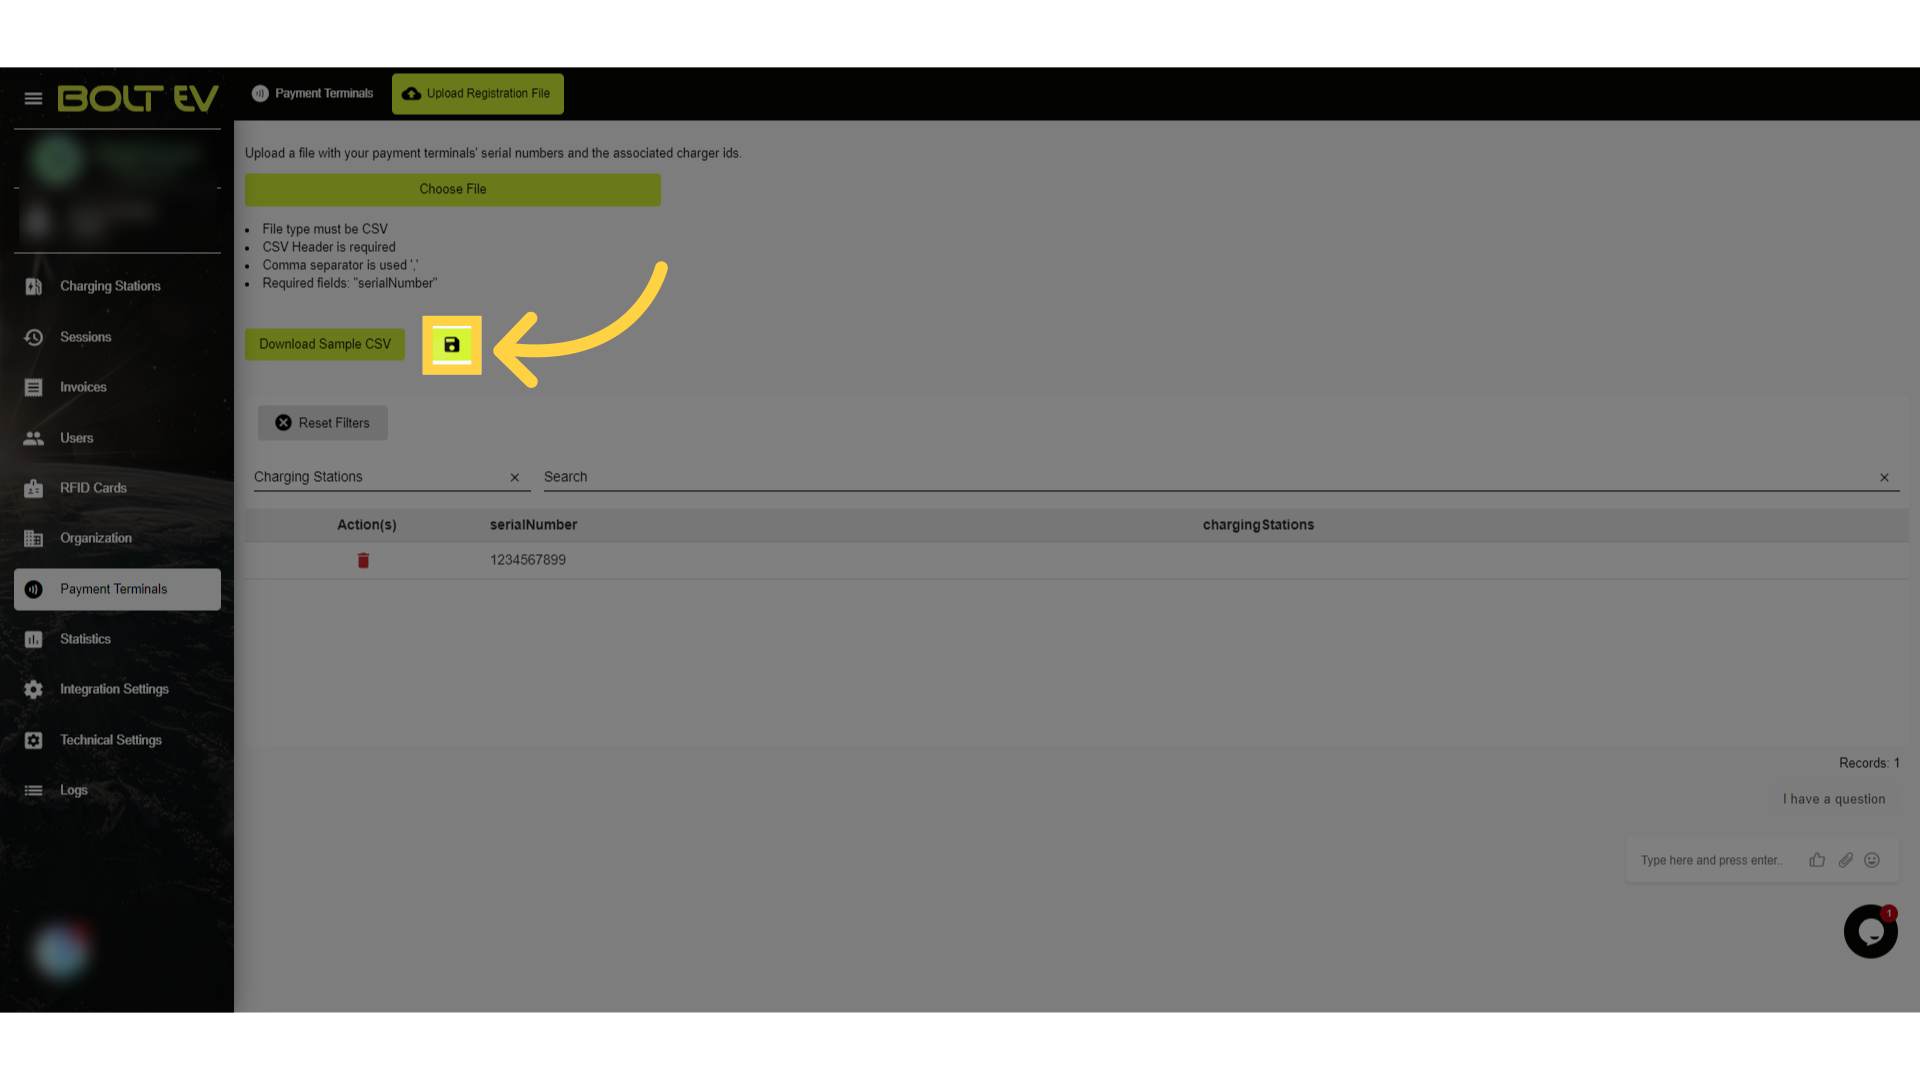
6. Click "save"
Save the changes made.
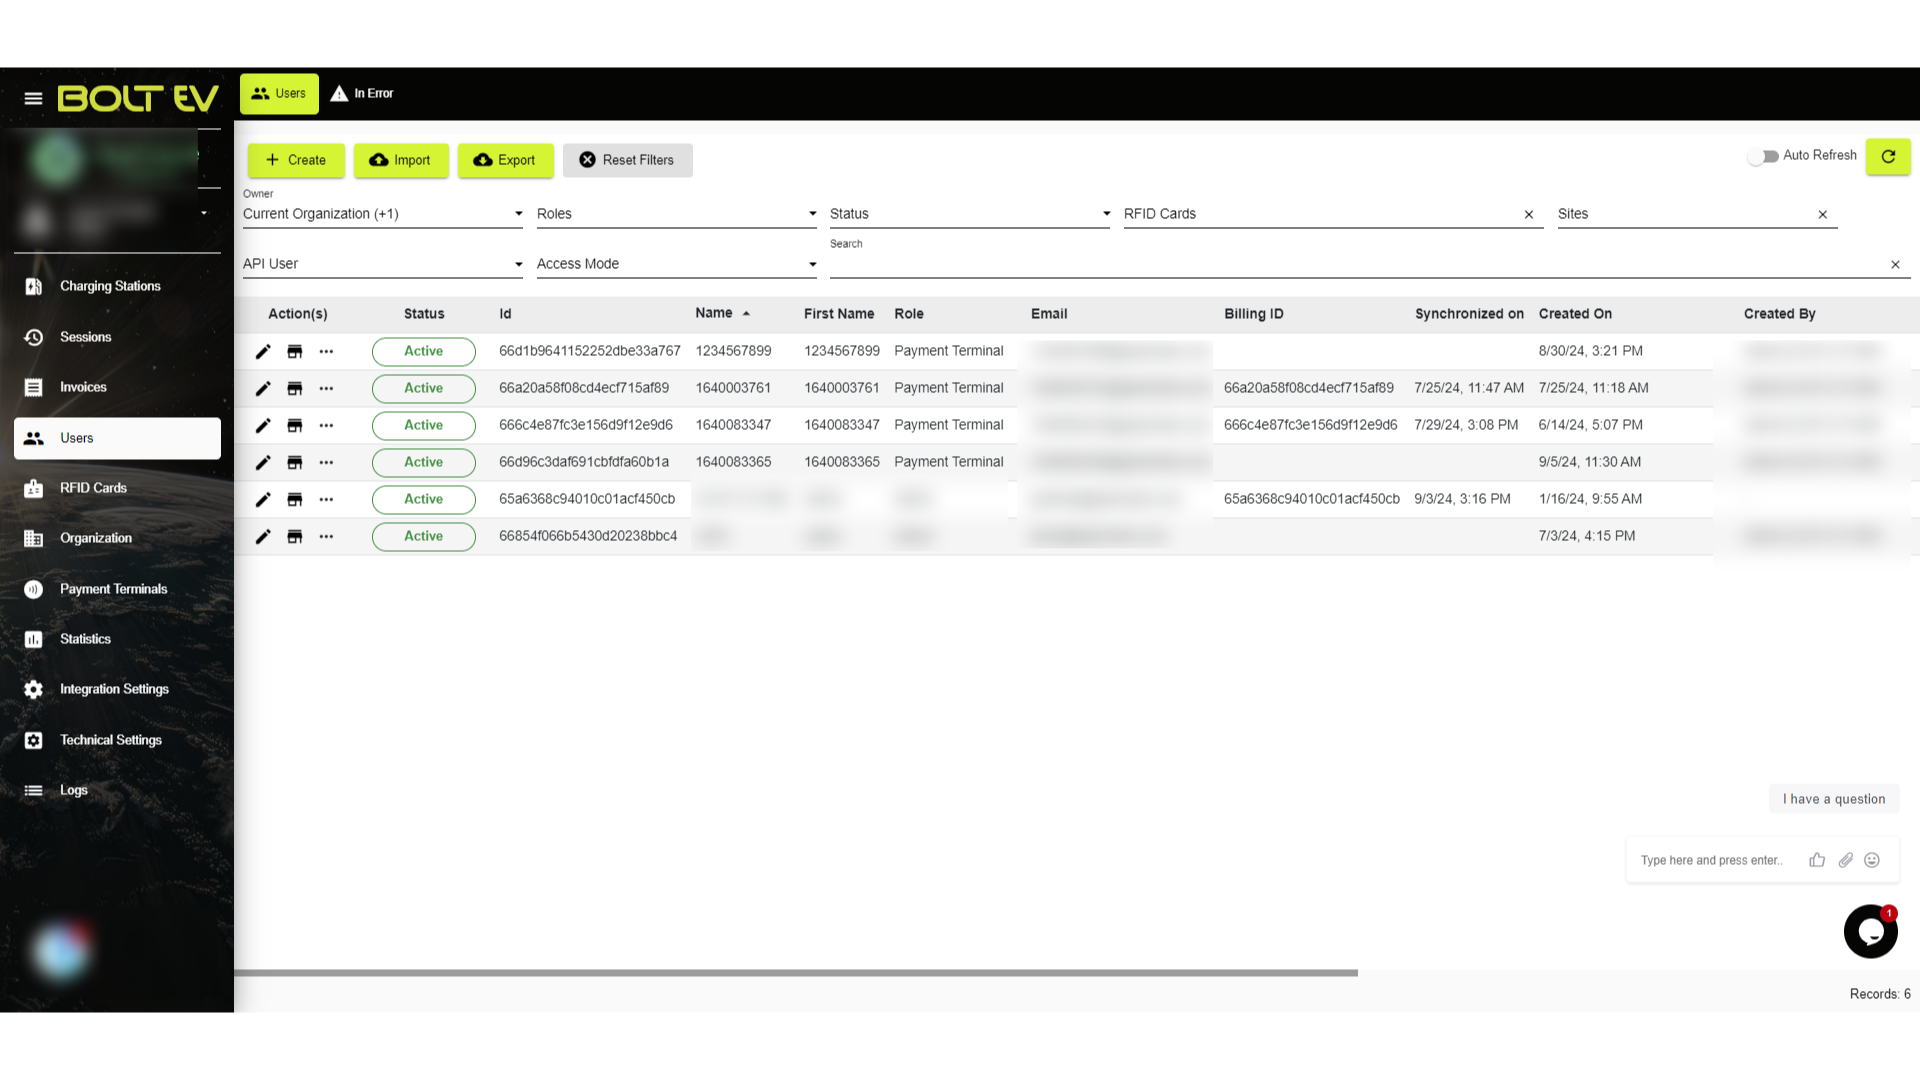
7. Users
We will automatically be redirected to the Users page.
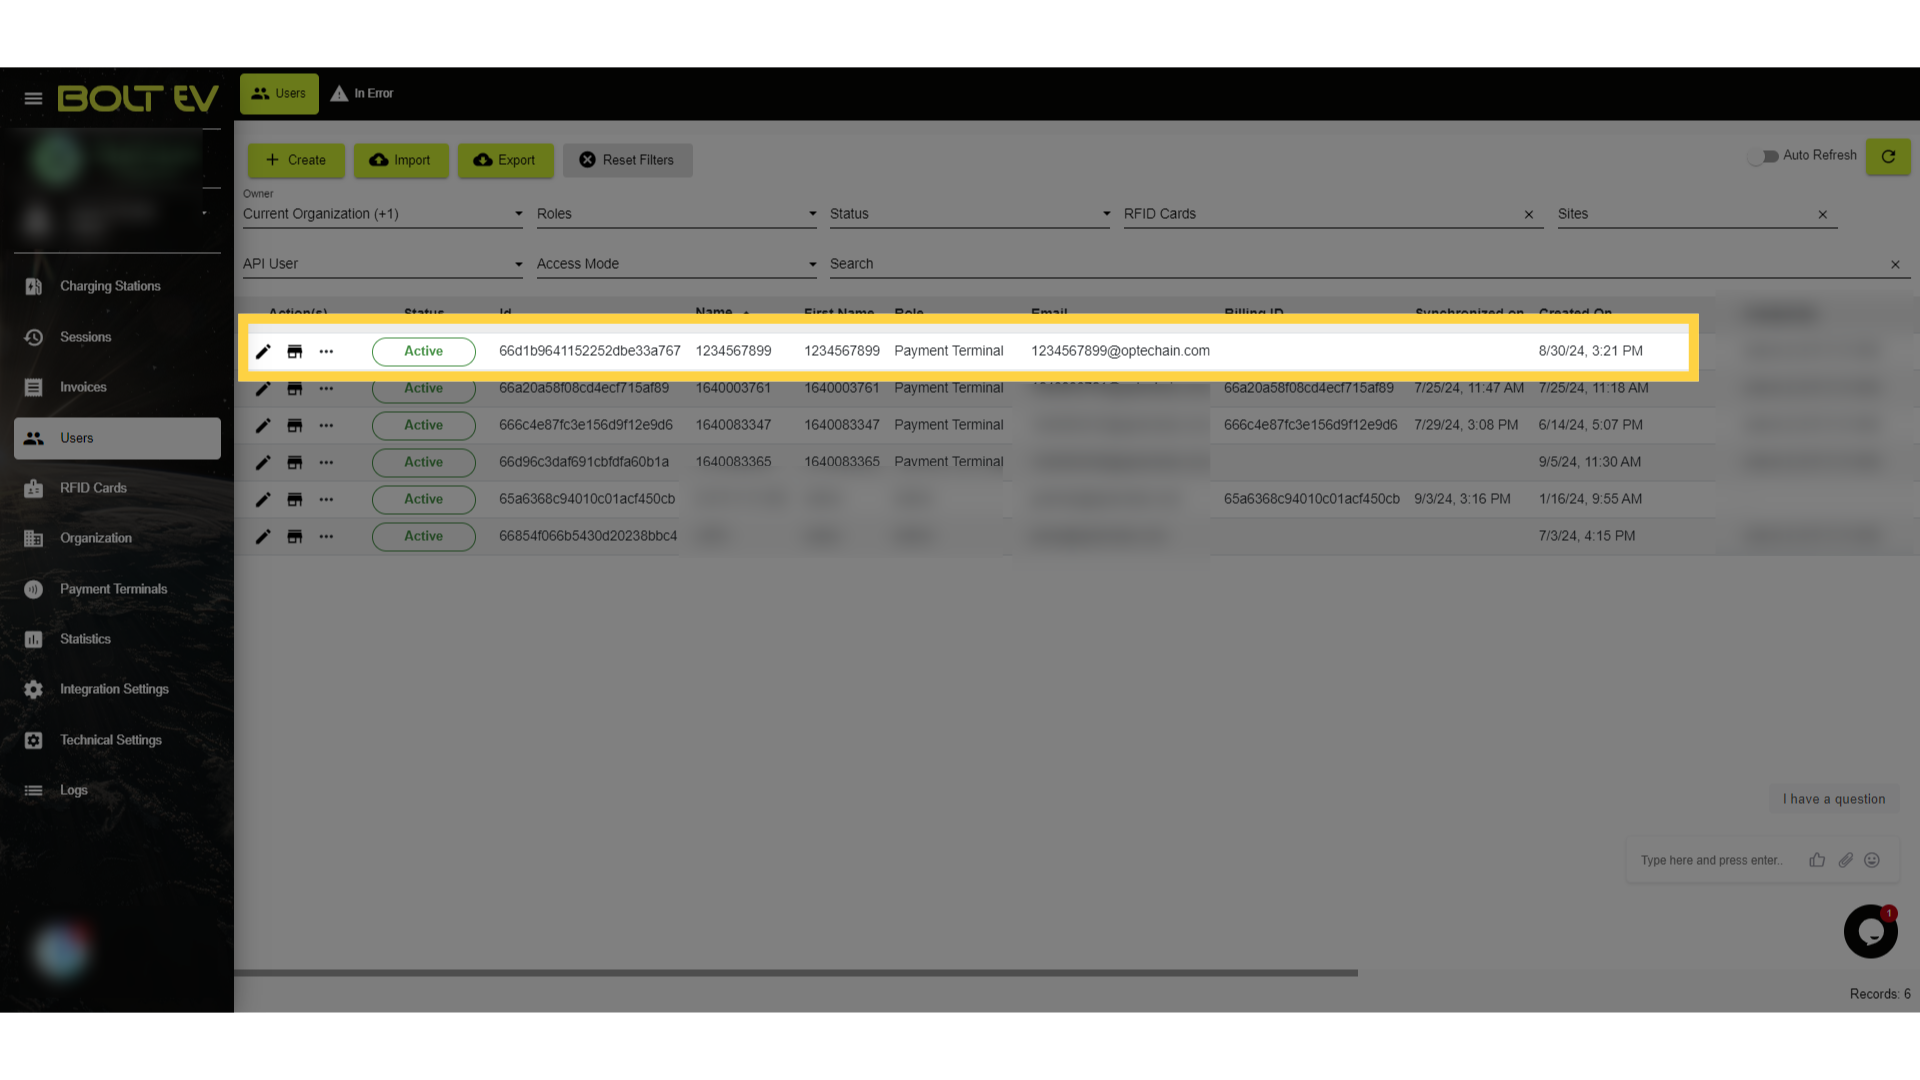
8. Registered POS.
Here we can see the POS that we have registered.
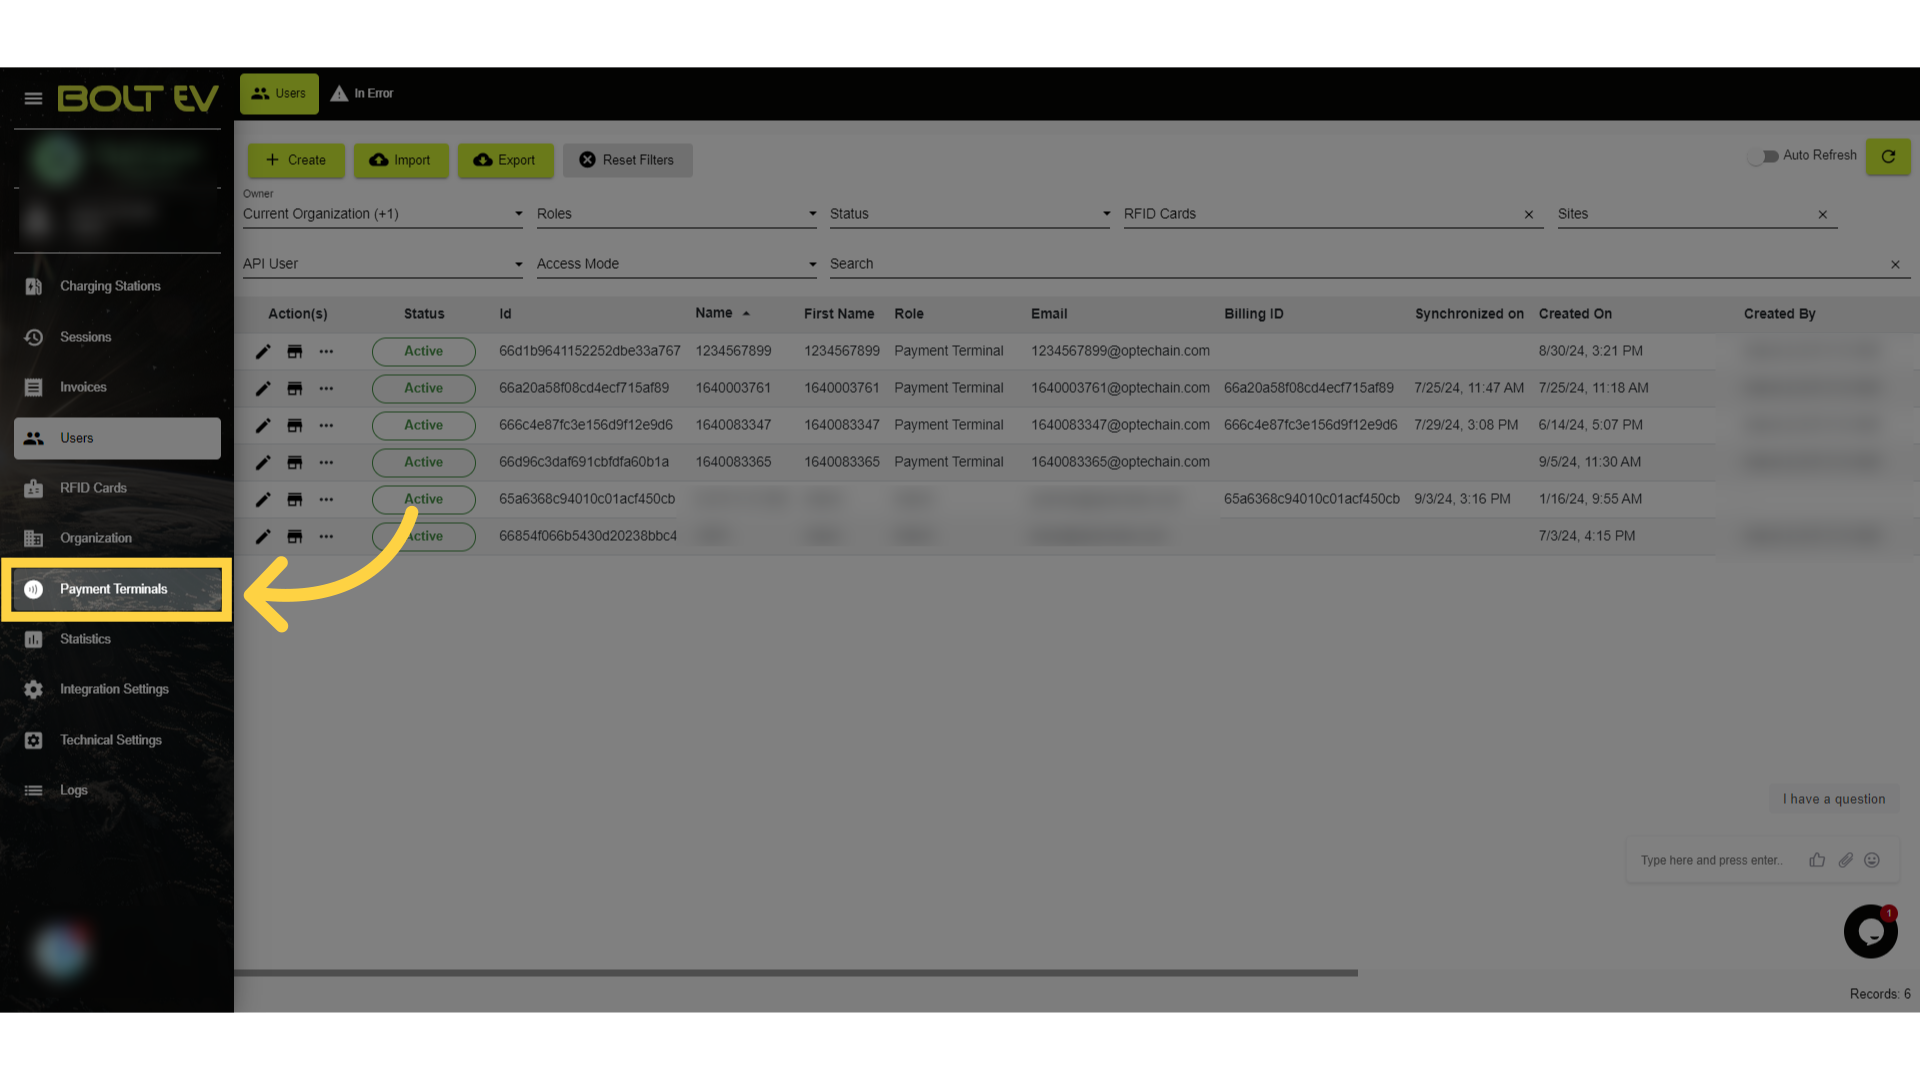
9. Click "Payment Terminals"
The next step is to pair the registered POS with a charger. We are going to the payment terminal page.
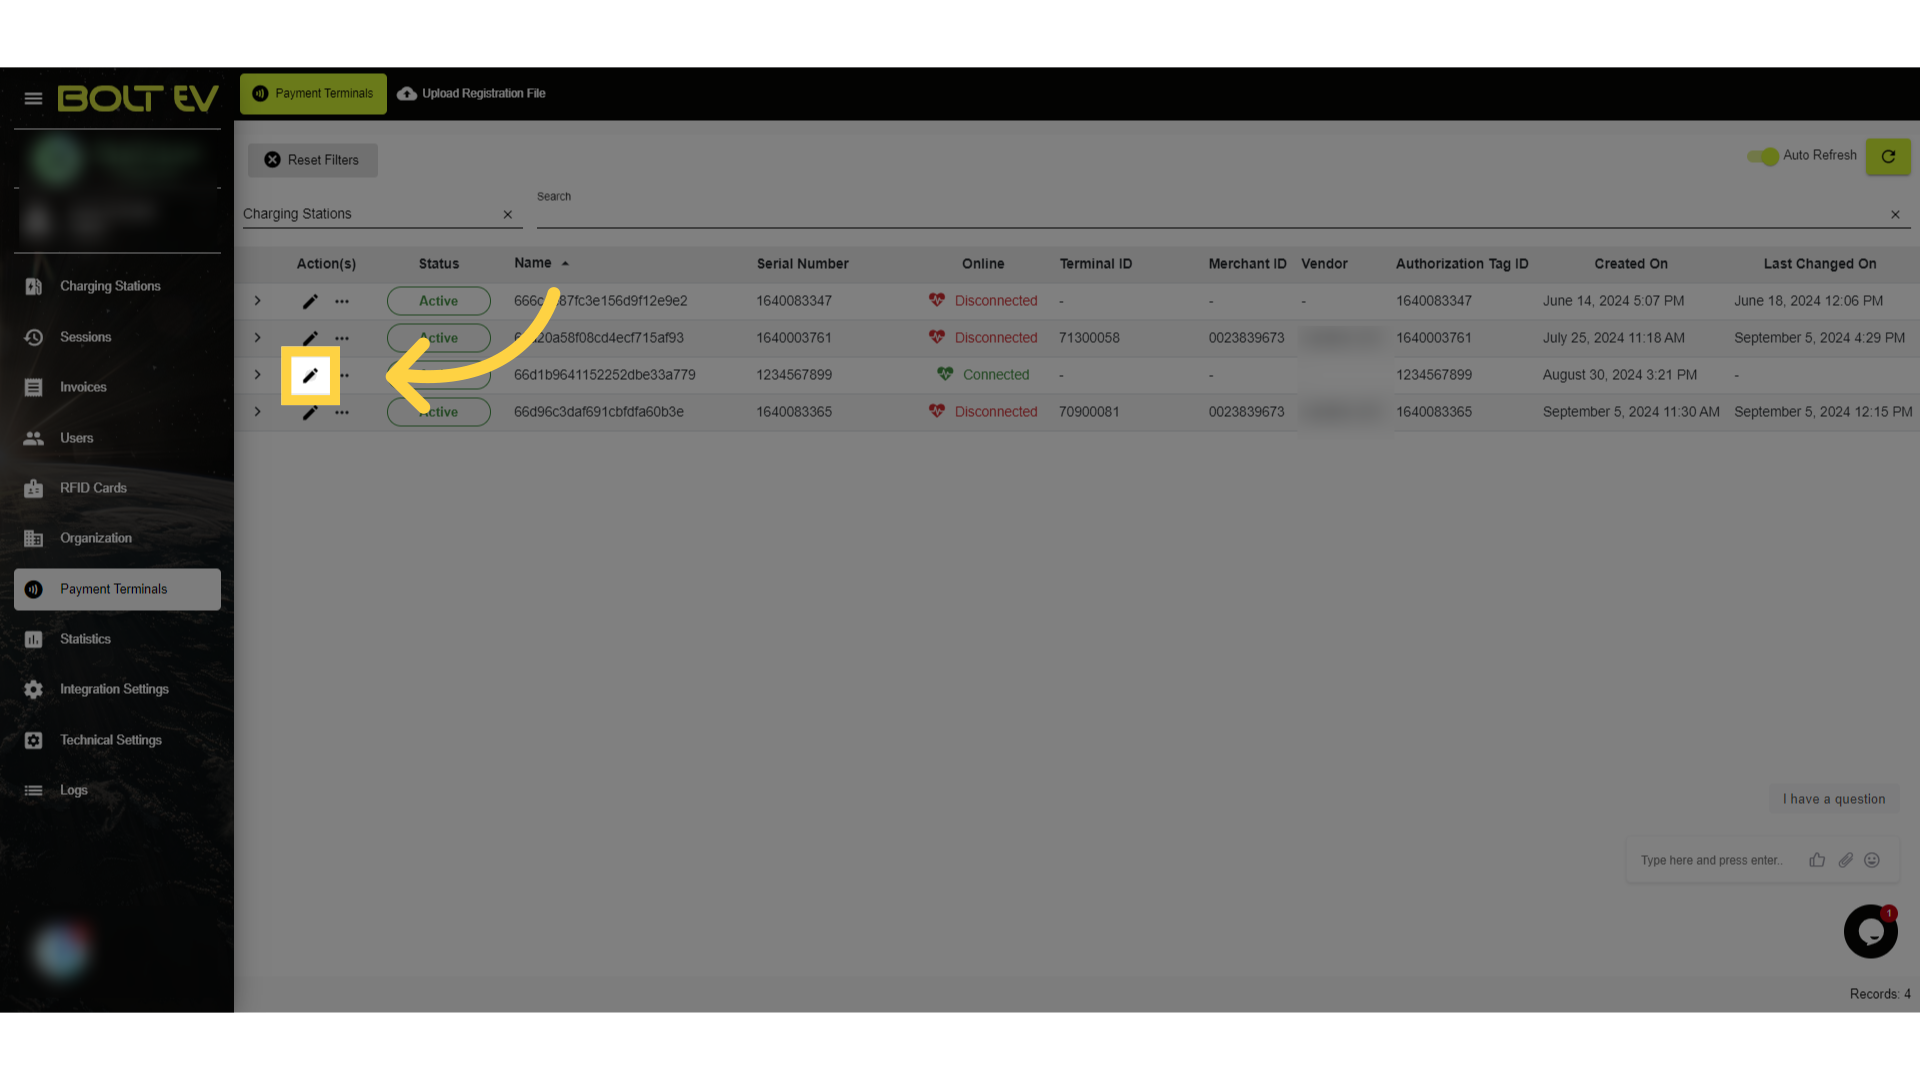
10. Click "edit"
Click on "Edit" icon.
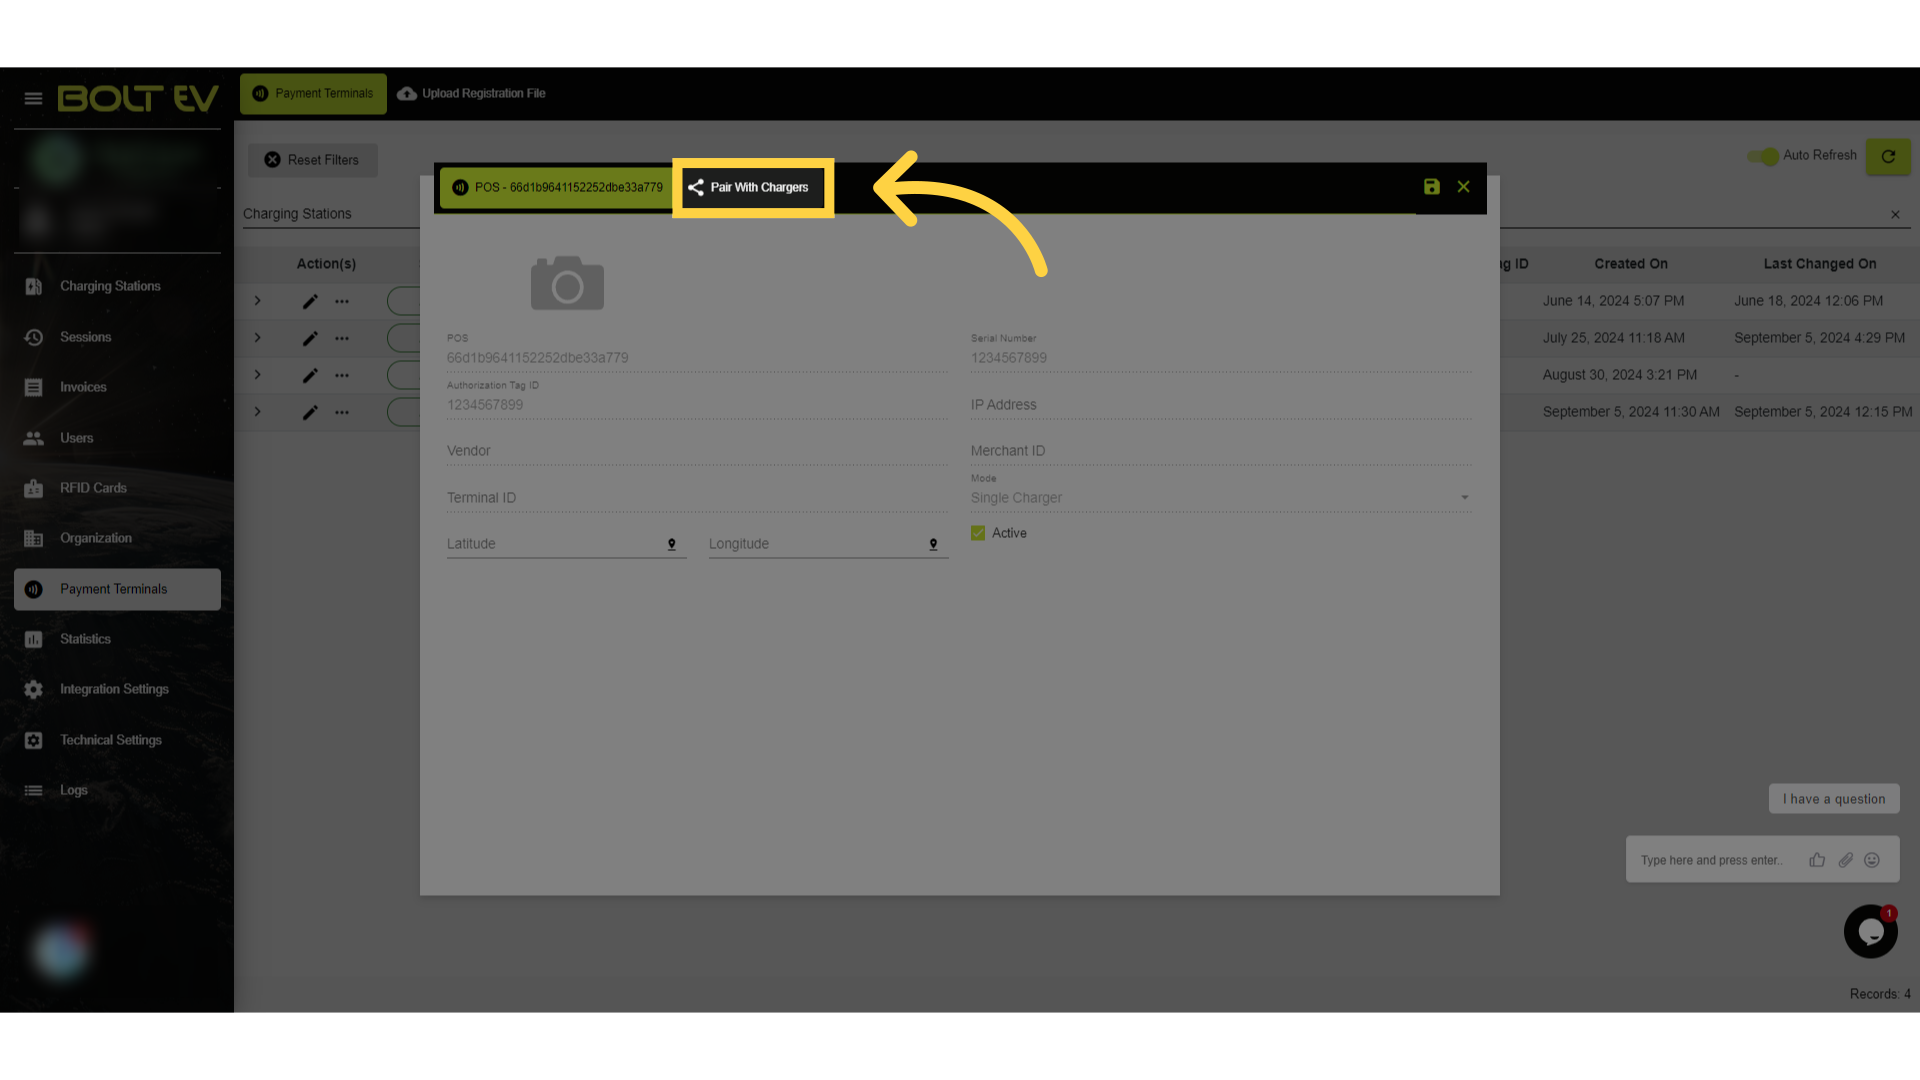
11. Click "Pair With Chargers"
In the emerging tab, we click on "Pair with chargers."
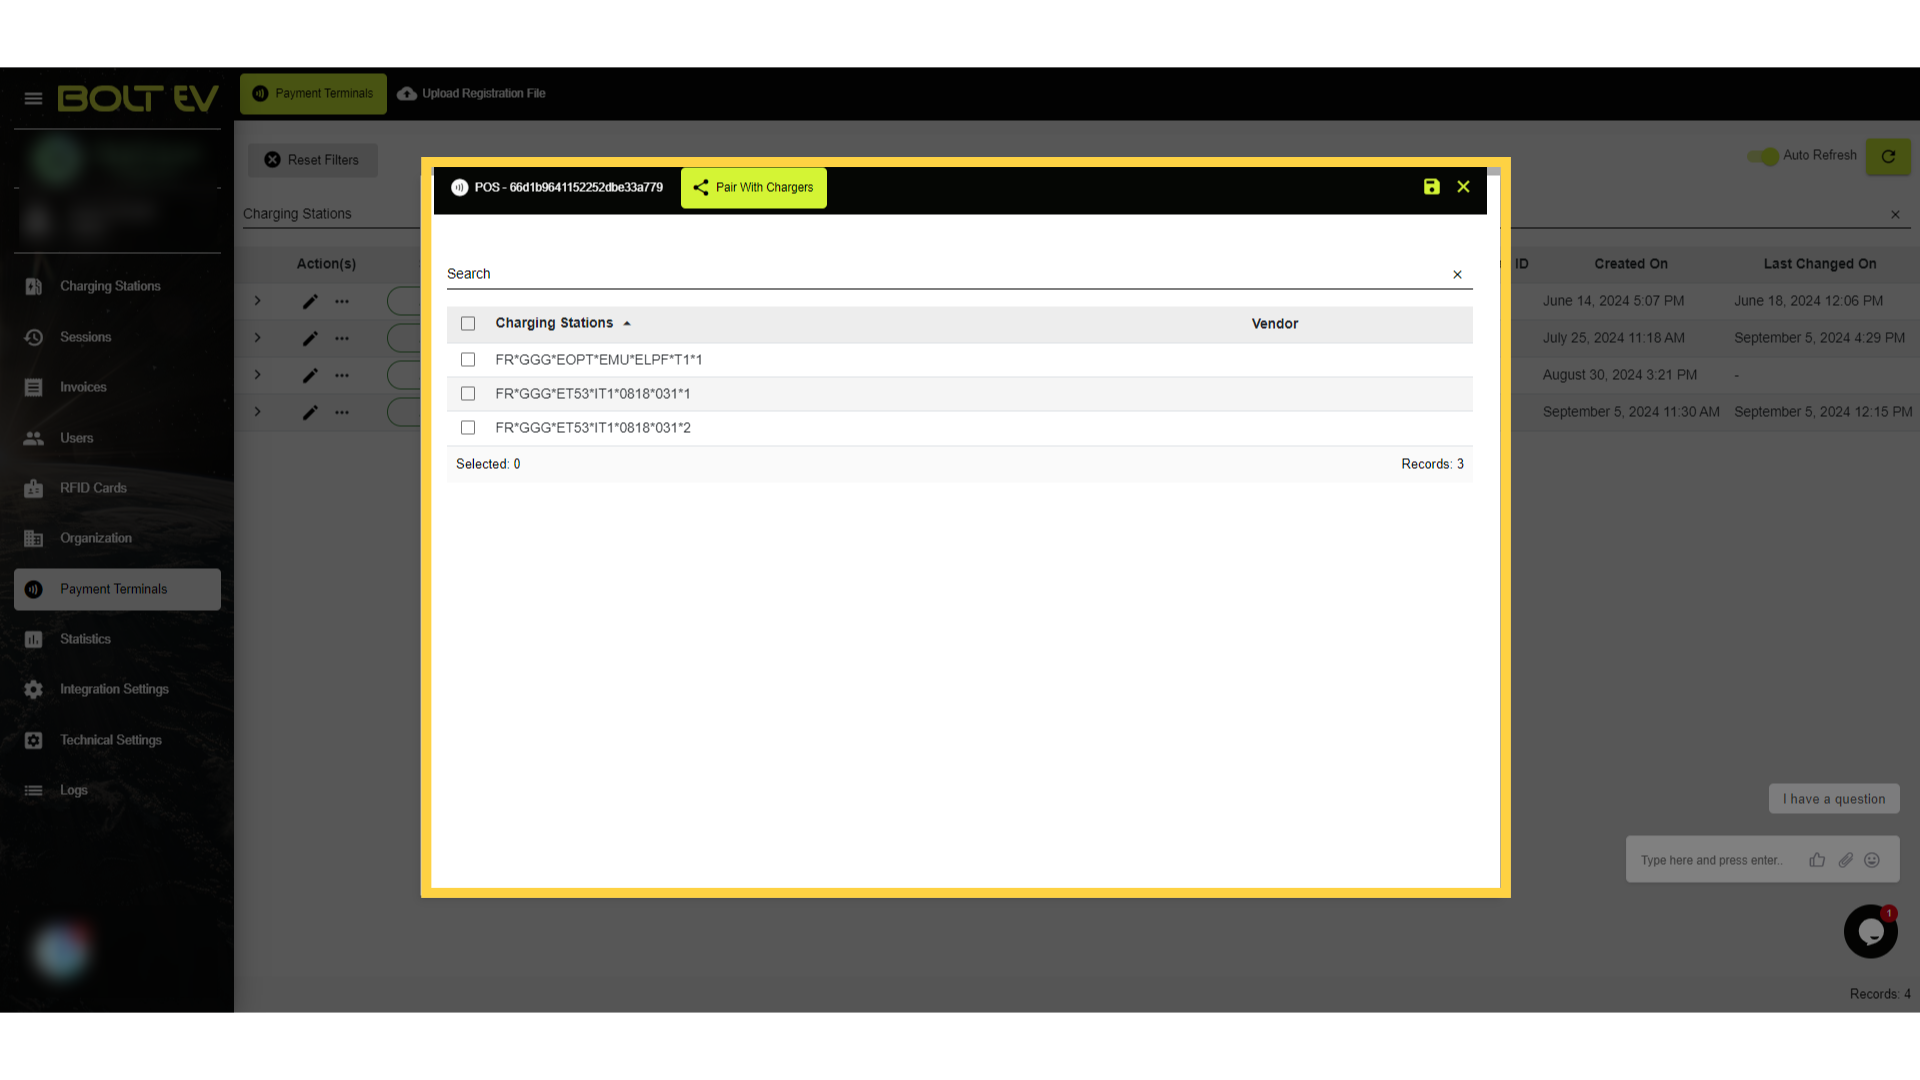
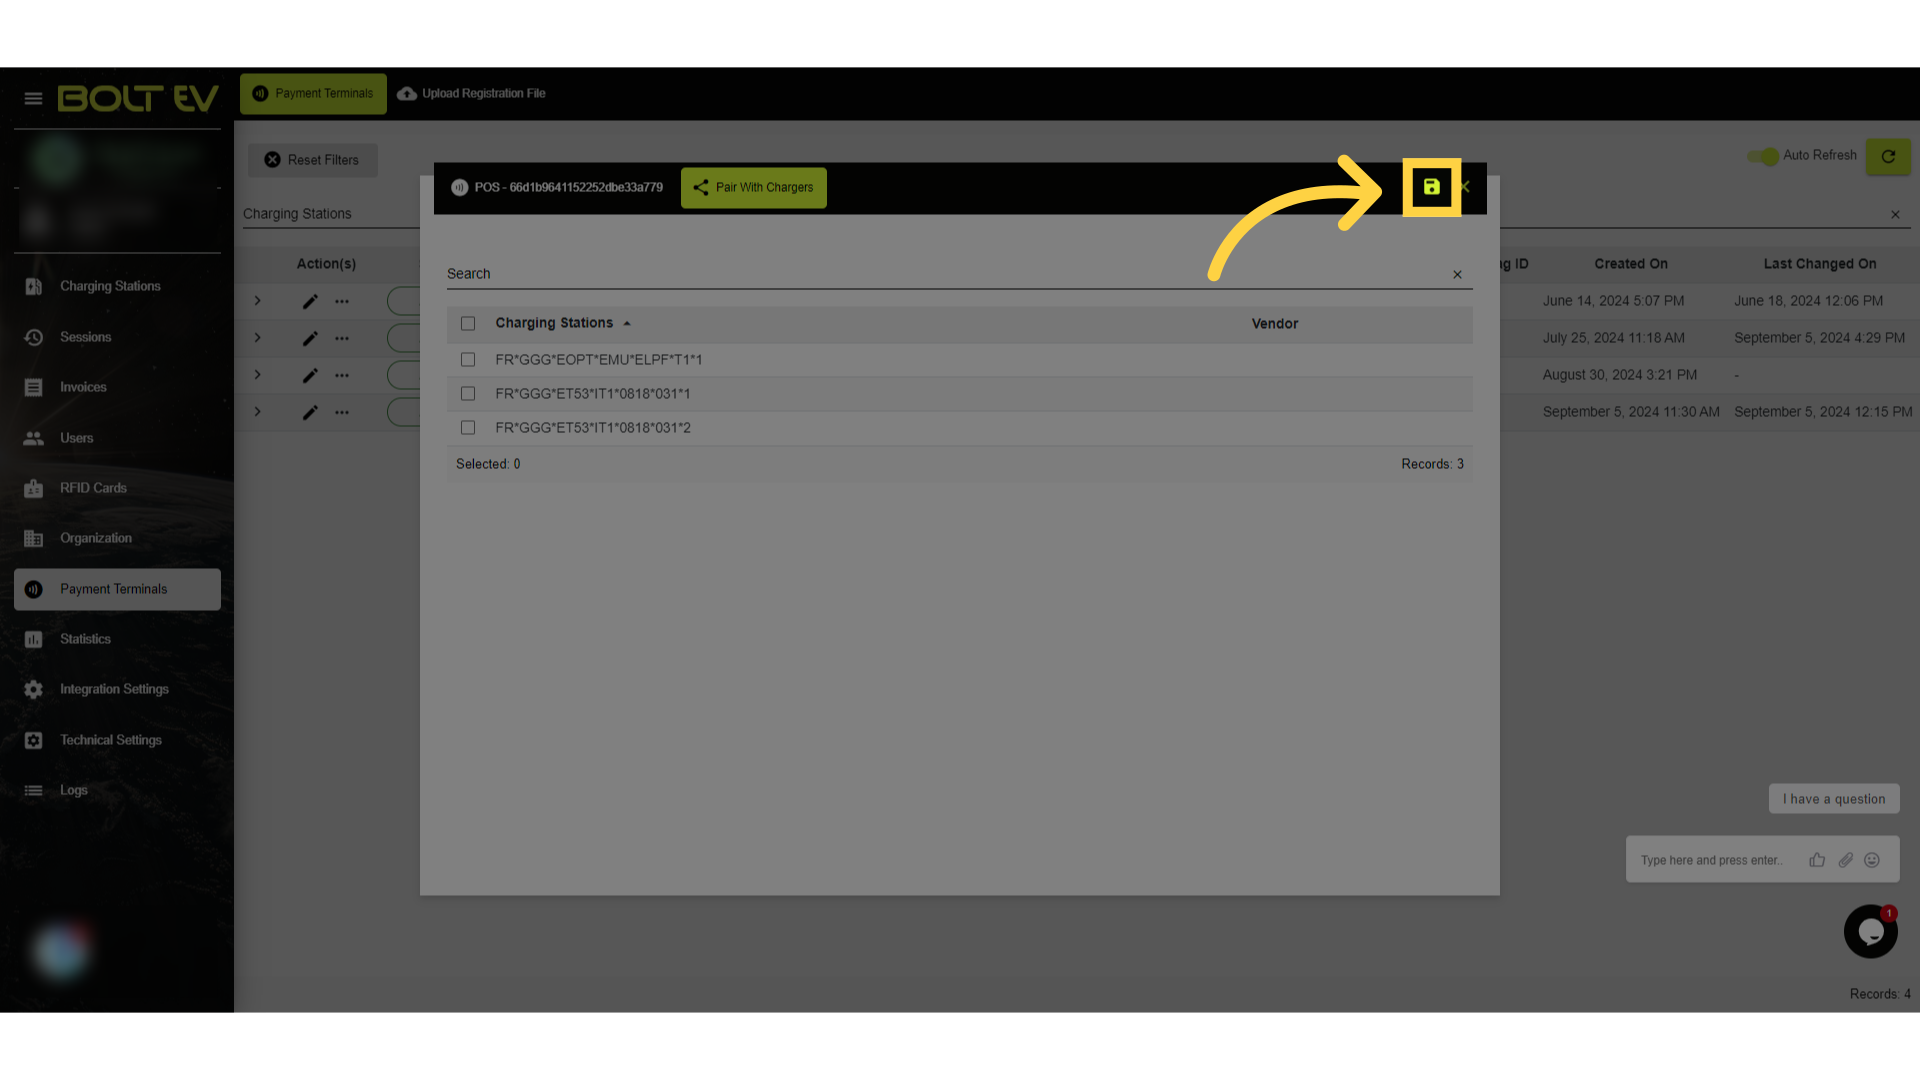
12. Select Charger.
Next, we select the charger with which we want to pair the POS. It should be noted that we can pair with more than one charger.
13. Click "save"
Finally, we save our selection.
14. Confirmation.
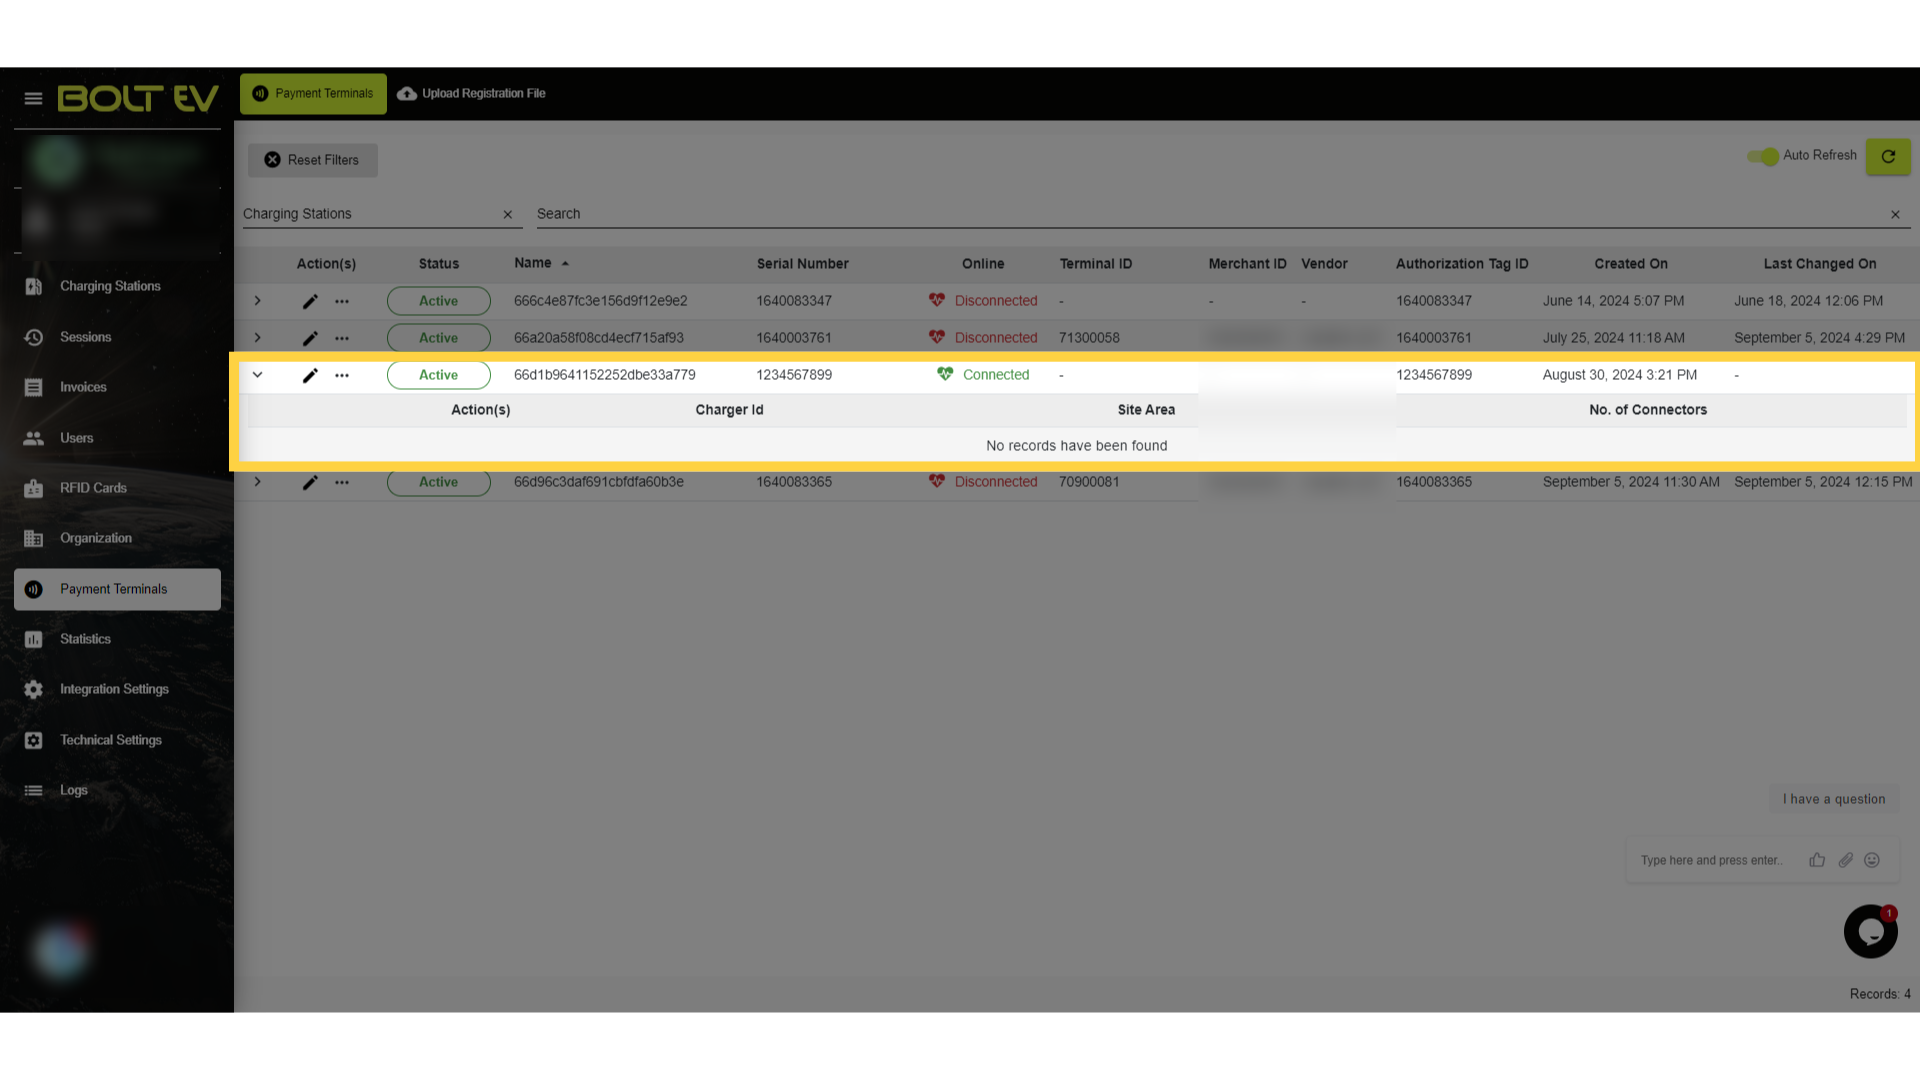
We can confirm if the POS has been paired with the charger by pressing the arrow located to the left of the charger's details.
This brief guide covered the necessary steps regarding the installation of a POS on the Bolt EV platform, and then how to achieve its pairing with one or more chargers. Thank you for your attention, I hope to see you on the next one!